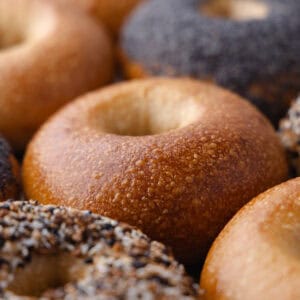
Easy New York-style Overnight Bagel Recipe featuring a beautiful, crisp, shiny blistered crust and a soft and perfectly chewy interior! Enjoy these amazing homemade bagels with my easy 2-ingredient Bagel Schmear.

♡ Why You Will Love this Overnight Bagel Recipe
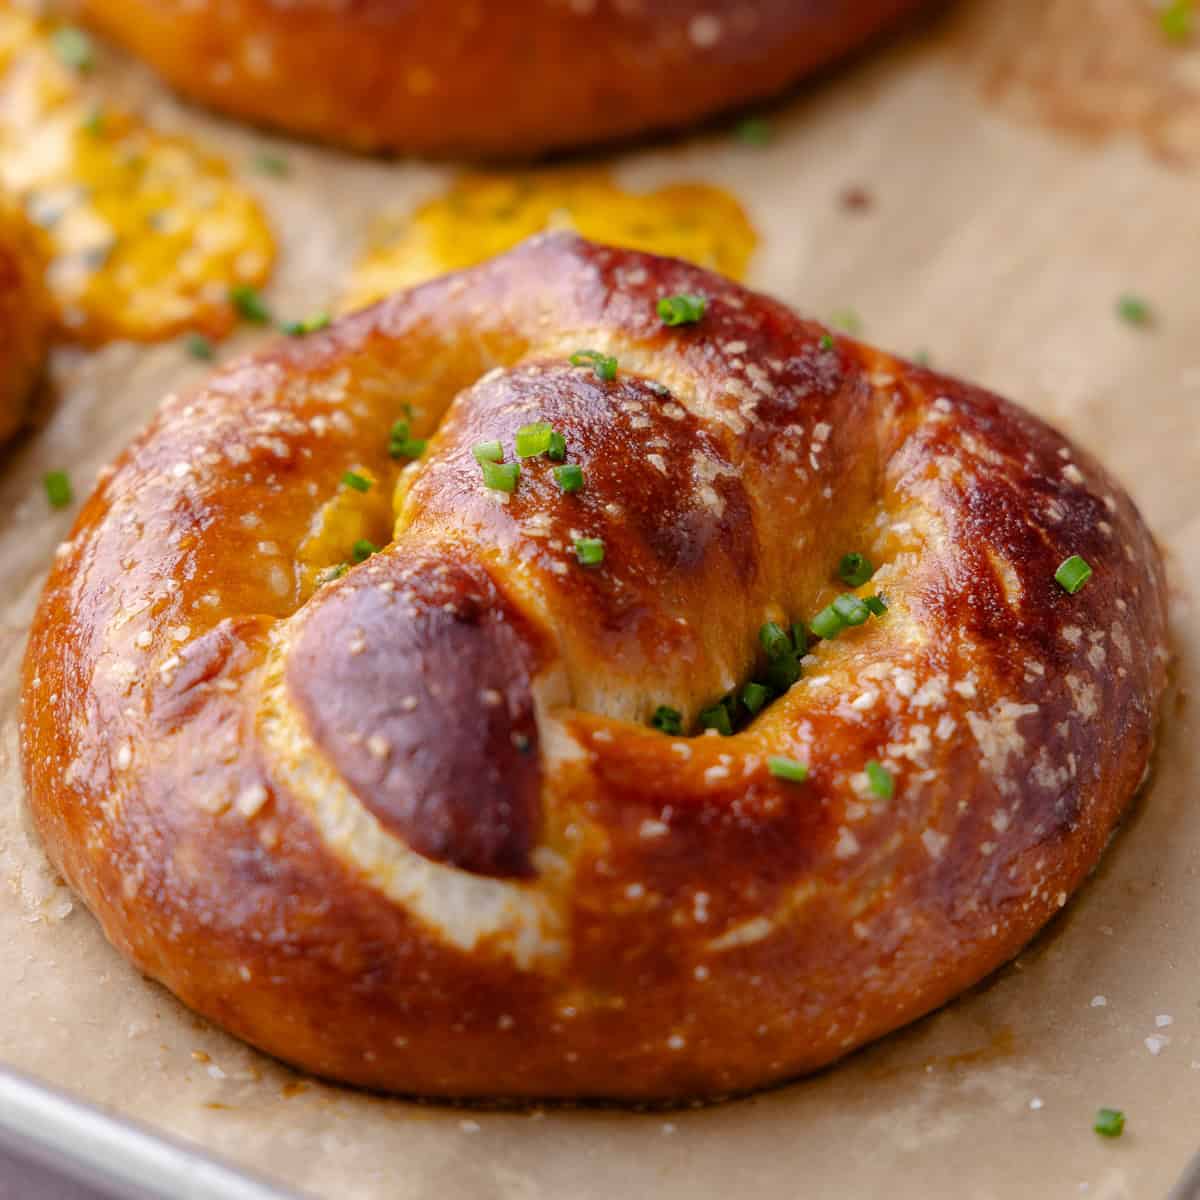
- Blistered crust. The glossy crust with tiny blisters, develops when you let the bagels slowly ferment in the fridge overnight.
- Made overnight. Allowing the bagels to slowly proof in the fridge overnight not only helps develop more flavor, but also improves the texture of the crust and interior.
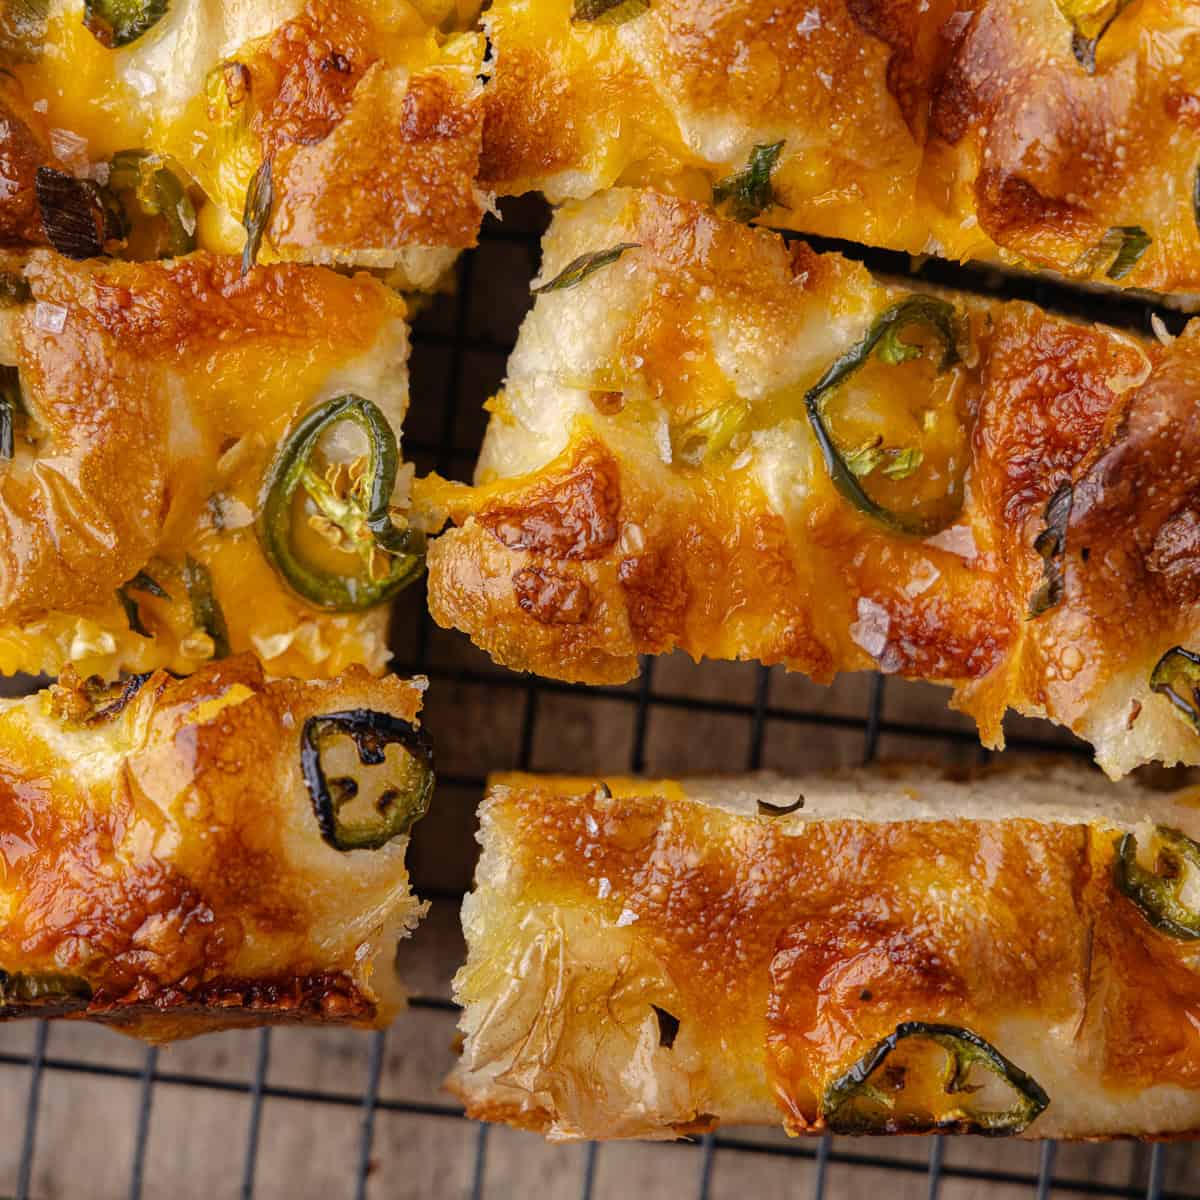
- Customizable - Keep them plain, or dress them up with everything bagel seasoning, poppy seeds, white sesame seeds, black sesame seeds, caraway seeds, jalapeño & cheddar, rosemary, onion flakes or sea salt.
- Freeze really well. They taste as fresh as the day you made them. I like to freeze them sliced because they heat up so quickly in the toaster. I've included heating instructions in the storage section below.
Jump to:
What is a New York-Style Bagel?
New York bagels are characterized by a thick shiny crust, a super chewy and slightly dense interior and is flavored with barley malt syrup. Old-school New York bagels are also hand rolled, a lot fatter in size and have a smaller hole, then a Montreal-Style bagel. They are kettle boiled in water sweetened with barley malt syrup and then baked on soaked burlap covered boards and then flipped to continue baking.
Sounds like a lot of work, but don't fret. I've simplified the process a lot to make it easier to bake at home!
How to Make New-York Style Bagels
For authentic New-York style bagels, you will need to pick up a few special ingredients like, bread flour and barley malt syrup. The rest of the ingredients are probably already in your pantry.
On day 1, you'll only need to dedicate about an hour to make the dough, rest the dough and shape the bagels. It then goes into the fridge for a long cold rest for at least 12 hours. When you are ready to bake them on day 2, it'll take about an hour total to let the bagels sit on the counter, boil and then bake. Easy peasy!

Ingredient Notes
Here are some notes about all the ingredients used in this Overnight Bagel Recipe. Quantities and full instructions are in the recipe card below!

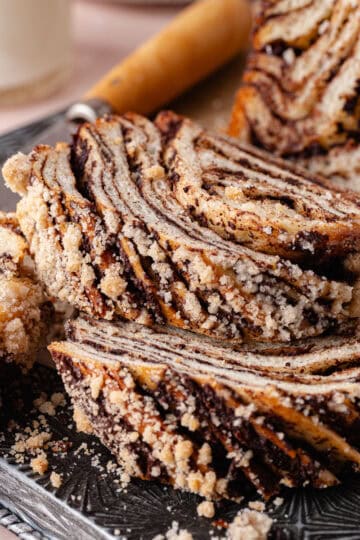
- Flour - We are using a combination of mainly bread flour (aka strong flour) and all-purpose flour for the perfect soft and chewy texture. During my testing, I found that using only bread flour, made the bagels a bit dense. I did a few test batches with a bit of all-purpose flour, and it was a lot softer and fluffier, but still super chewy. I'm a fan of using a combination of the two flours to create that perfect texture, just like my Nutella Filled Donuts and Pumpkin Cheesecake Donuts.
- Yeast - I recommend sticking with active dry yeast to prevent over proofing.
- Barley Malt Syrup - The syrup will feed the yeast and will be added to flavor the bagel dough. We'll also add it to the boiling water, to help the bagels brown. I'm using Eden brand, which can be found at Whole Foods, some health food stores and Amazon, but you can use any brand.
- White Sugar - In my testing I did find that adding the extra bit of sugar, helped the bagels brown even more in the oven.
- Salt - For flavor and helps strengthen the gluten strands, which will help the bagels bake up taller.
- Water - Warm water will be used to bloom the yeast. I usually keep it around 105ºF (40ºC).
*See recipe card for quantities.
Step-By-Step Instructions
Here are step-by-step photos and instructions on how to make these Overnight Bagel Recipe! Please find detailed instructions in the recipe card at the end of this post.


Step 1. Bloom Yeast - Combine dry active yeast with warm water/barley malt syrup mixture in a large measuring cup. Allow to bloom for 5 to 7 minutes. Mixture should be frothy.

Step 2. Combine Dry & Wet Ingredients - In a large bowl or stand mixer bowl, combine bread flour, AP flour, sugar and salt. Then pour in frothy yeast mixture.

Step 3. With a spoon, stir mixture together until a dry shaggy ball forms.

Step 4. Knead - If using a tilt-head kitchenaid mixer, knead the dough on speed 2 for 10 minutes. The dough should be tacky, but not sticky and should pull clean from the sides of the bowl. If needed, add a tablespoon of flour at a time.

Step 5. Finish Kneading by Hand - Then transfer the dough to a clean work surface and continue kneading for an additional 5 minutes or until smooth.
💡 Tip
Bagel dough is a low hydration dough which means the dough will be a bit denser and can be tough on your stand mixer. If you have the bowl-lift Kitchenaid mixer, you should be okay to knead in the mixer the whole time. However, if you have a tilt-head stand mixer like I do, keep the speed on 2 and then switch to hand kneading.


Step 6. Poke Test - You're done kneading when the dough is smooth and when you press your finger into the dough, it springs back quickly and leaves a slight indentation. If it doesn't spring back, keep kneading for a few more minutes.

Step 7. Rest - Cover the dough ball with a large bowl or plastic wrap that has been sprayed with oil and allow to rest for 10 to 15 minutes.

Step 8. Divide the Dough - Using a kitchen scale, weigh the entire dough and then divide by 6. Mine were around 114 grams each.

Step 9. Shape Into Buns - Grab a piece of dough and press it flat to get rid of any air bubbles. Gather and pinch the edges together and then place it on your work surface seam side down. Form your hand into a relaxed "claw" shape and cup it over the ball of dough. Then move your hand in small circular motions, gently dragging the ball along until smooth. Flip it over to make sure the seams are closed.


Step 10. Shape the Bagels - Dip your pointer finger into some flour and create a hole in the center of the bun, piercing all the way through. Then twirl it around your pointer finger, rotating several times. As the hole gets larger, wrap it around both pointer fingers and roll in a circular motion. You'll want it to be at least 1.5 inches (3.8 cm) wide as the hole will shrink a little.

Step 11 - Proof Bagels Overnight - Place bagels on a baking sheet lined with parchment paper squares. Cover with plastic wrap that has been sprayed with a bit of oil and allow to proof in the fridge for 12 to 48 hours.

Step 12. Remove from the Fridge - The next day, or when you are ready to bake, let the bagels sit on the counter for 30 minutes. Please note, the size of the bagels won't change too much when you remove them from the fridge. They will puff up slightly as they sit on the counter.
Meanwhile, use this time to preheat oven to 450ºF (232ºC), prep your toppings if using, make the egg wash if using and prep the water bath.
💡 Tip
Perform a float test, to check if the bagels are ready to boil. Simply fill a small bowl with tap water and then, place a bagel in the water. If it floats, it is ready. If it sinks, let it rest on the counter a little longer.


Step 14. Boil - In a large pot, bring 8 cups of water and ¼ cup of barley malt syrup to a boil. Then place 2 to 3 bagels into the boiling water top side down. Remove the parchment paper (the steam will release the paper) and boil for about 45 seconds per side. Then using a kitchen spider or slotted spoon, scoop the bagels out and transfer to a large baking sheet lined with parchment paper.
💡 Tip
Boiling times can vary from 30 seconds, up to 1 minute & 30 seconds per side. A longer boil, will result in a thicker crust and a chewier texture. I usually boil between 45 seconds to 60 seconds, but you can play around with the timing to see what you like.

Step 15. Egg Wash - Lightly brush the bagels with the egg wash and add toppings if desired. If you're not using an egg wash, add your toppings when it comes out of the water. If the bagels dry up before adding the toppings, you can lightly brush it with the starchy cooking water.

Step 16. Bake - Bake for 15 to 20 minutes, rotating after 10 minutes. Bake for a full 20 minutes if you'd like a deep golden brown crust as seen below. If your toppings start to brown too quickly, loosely tent the top with foil.
Cool - As soon as the bagels come out of the oven, transfer it onto a wire rack and cool for at least 20 minutes before serving. Enjoy!

Substitutions
- Flour - Feel free to use all bread flour instead of the combination of bread flour and all-purpose flour. I don't recommend substituting for only all-purpose flour though as your bagels won't be very chewy.
- Yeast - I recommend sticking with active dry yeast to prevent over proofing.
- Barley Malt Syrup - Use barley malt syrup if you can, however, you can substitute with molasses, maple syrup, honey or brown sugar for the dough. For the boiling water, you can replace with 3 tablespoons of molasses, 3 tablespoons of maple syrup or 3 tablespoons of honey. You can also substitute with a 2 teaspoons of baking soda.
Variations
- Mini Bagels Bites - Shape them into little buns.
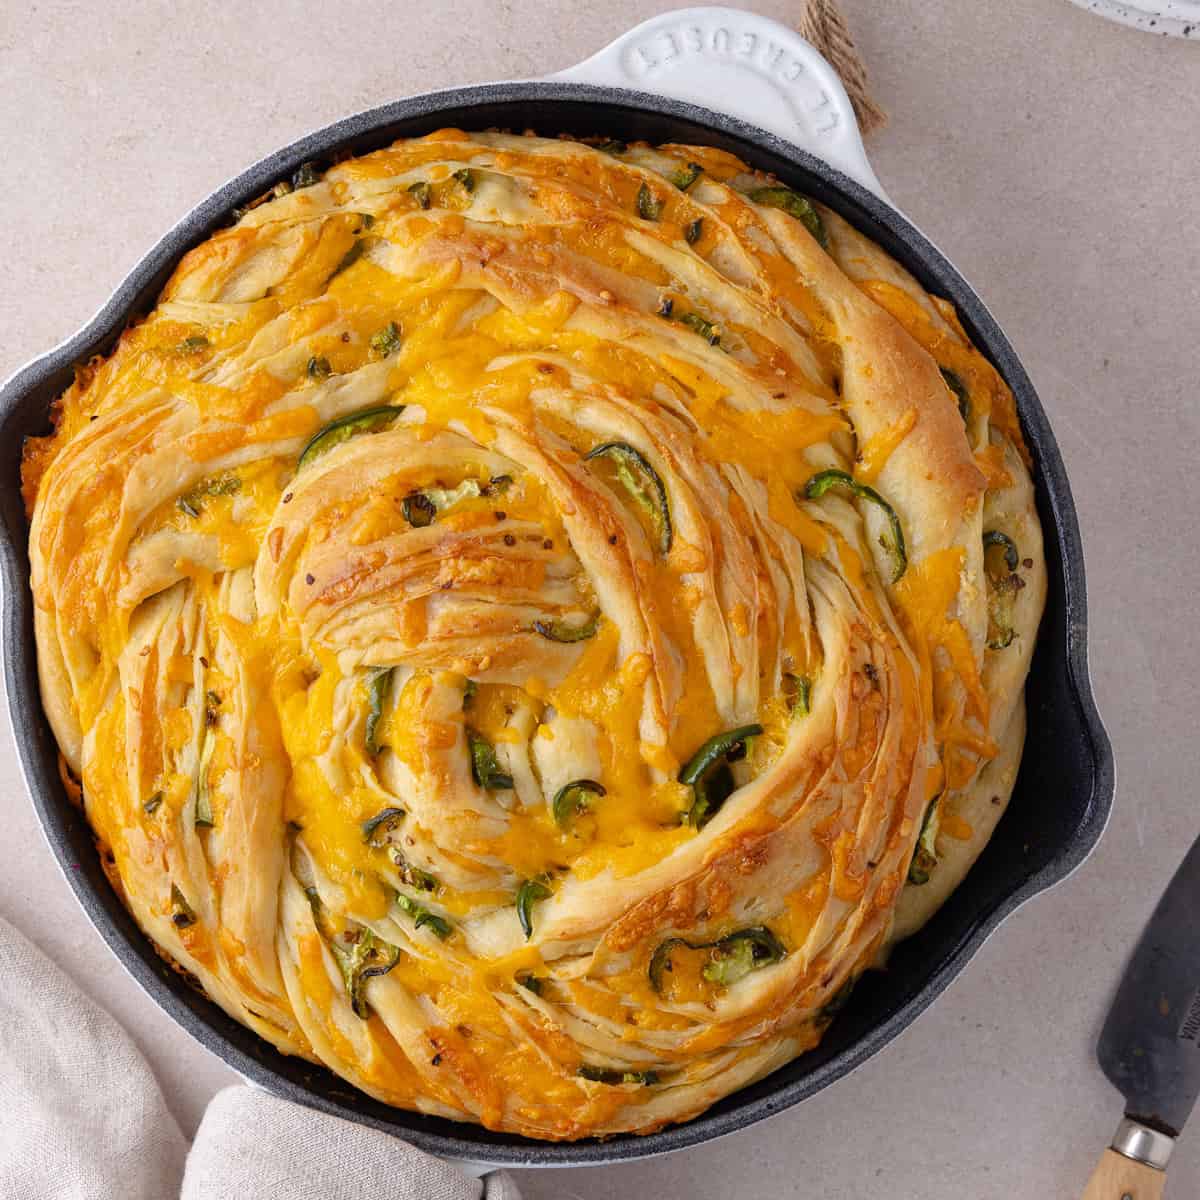
- Cheese Stuffed Mini Bagel Bites - You can stuff them with chunks of melty cheeses like cheddar, mozzarella, pepper jack, gouda or swiss cheese.
Key Equipment
- Kitchen Scale
- Stand-mixer (if using)
- Bowls
- Baking Sheets
- Large Pot - For boiling the bagels.
- Slotted Spoon or Kitchen Spider
Storage
- Room Temperature - You can store bagels in an airtight on the counter for about 2 days. Toast before eating.
- Refrigerator - Store bagels in the fridge in an airtight container for up to 5 days.
- Freezer - Once completely cooled, freeze whole or sliced bagels in freezer-safe bags for up to 2 months. Reheat whole bagels in a preheated oven at 350ºF (180ºC) for 10 to 12 minutes. Reheat sliced bagels in the toaster or toaster oven for a few minutes.

✨ Expert Tips
Use a kitchen scale to weigh all your ingredients. Baking in grams rather than in volume, is the best and most accurate way to bake! All my recipes include gram conversions based on King Arthur's Weight Chart.
If you are not using a kitchen scale, measure your flour correctly. Fluff and aerate your flour first, then spoon into your measuring cup and finally level off with the back of a butter knife. Do not pack it in as it will add too much flour.
Opt for active dry yeast. This is prevent you from overproofing.
Perform a "float test", to check if the bagels are ready to boil. Simply fill a small bowl with tap water and place a bagel in the water. If it floats, it is ready. If it sinks, you can let it sit on the counter a little longer.
Loosely tent with foil to prevent the toppings from burning. If your toppings are getting too browned, loosely tent the top of the bagels with foil.
Enjoy these overnight bagels with my schmear. Only 2 ingredients and it whips up in minutes!
Freezing Bagel Dough
Unbaked bagel dough freezes surprisingly well! I conducted 3 tests and here are the results.
- Method 1: After shaping the bagels, I immediately froze the bagels.
- Results: These bagels took the longest to thaw/pass the float test and baked up the flattest.
- Method 2: After shaping the bagels, I let them sit at room temperature for 20 minutes, then froze the bagels.
- Results: These bagels were the fluffiest/tallest out of the 3 methods.
- Method 3: After shaping the bagels, I refrigerated them for 8 hours, then froze the bagels.
- Results: These bagels had the best crust, with the most visible fermentation bubbles and the best flavor overall, which is no surprise. If you're not pressed for time, you could totally refrigerate them longer to develop even more flavor before freezing.
Whichever method you choose, freeze bagels on parchment paper squares on a baking sheet. Once completely frozen, transfer bagels (with paper) to freezer bags and store in the freezer for 1 to 2 months. When you're ready to boil/bake, leave the bagels out on the counter, covered with plastic wrap that has been lightly sprayed with oil, for 1 to 2 hours. They are ready to boil/bake when it passes the float test. Carefully place the bagel in a small bowl filled with tap water and if it floats, you're ready to go!


Method/results of 1, 2 & 3, from top to bottom.
FAQ
You do not, however, allowing bagels to slowly ferment in the fridge overnight will develop more flavor and help create a studier and crisper crust with tiny blisters. If you'd like to bake them the same day, skip the cold proof and let the shaped bagels sit on the counter for 30 to 40 minutes before boiling. Learn more in my Jalapeño Cheddar Bagel post.
I have not tested these bagels with instant yeast, but you probably could. However, I recommend using active dry yeast to prevent the bagels from overproofing.
Usually it's a sign that the bagels have been over-proofed and therefore collapses when boiled. It's better to underproof bagels than to overproof them. When you pull your bagels from the fridge, boil them within 30 minutes.
It's usually a sign that the bagels need more time to proof. Make sure you proof overnight in the fridge for at least 12 hours or up to 48 hours. After you remove it from the fridge, let it sit on the counter for about 30 minutes. Then perform a float test by filling a small bowl with tap water and place a bagel in the water. If it floats, it is ready. If it sinks, let it sit a little longer.
If you've done everything correctly and you're bagels are still sinking, there's a chance you could have used too much flour which causes dense bagels. I always recommend measuring ingredients with a kitchen scale.
Boiling gelatinizes the crust and locks in the moisture. Boiling also prevents the bagels from rising too much in the oven.
Yes, these plain bagels are dairy-free! They are also vegan, if you skip the egg wash.

You May Also Like
♡ Did you try this recipe?
Please consider leaving a 5-star rating and review below. This provides helpful feedback to myself and other readers. Thank you so much!
📖 Recipe
Overnight Bagel Recipe
INGREDIENTS
Overnight Bagel Dough
- 1 Cup + 2 tablespoons (255g) Water
- 2 Teaspoons (14g) Barley Malt Syrup
- 1 Teaspoon (4g) Active Dry Yeast
- 2 ½ Cups + 2 Tablespoons (315g) Bread Flour
- ¾ Cup (90g) All-Purpose Flour
- 2 Teaspoons White Sugar
- 2 Teaspoons Fine Salt
Water Bath
- 8 Cups Water
- ¼ Cup (42g) Barley Malt Syrup see note below
Egg Wash (optional)
- 1 Egg + 1 Tablespoon Water
Instructions
- Bloom Yeast - Warm water and barley malt syrup in the microwave or small saucepan until it reaches 95ºF (35ºC). Combine active dry yeast with the warm water/barley malt syrup mixture in a large measuring cup or bowl and allow to bloom for 5 to 7 minutes. Mixture should be frothy.1 Cup + 2 tablespoons (255g) Water2 Teaspoons (14g) Barley Malt Syrup1 Teaspoon (4g) Active Dry Yeast
- Combine Dry & Wet Ingredients - In a large bowl or stand mixer bowl, combine bread flour, all-purpose flour, sugar and salt. Pour in the frothy yeast mixture and mix until a dry shaggy ball forms.2 ½ Cups + 2 Tablespoons (315g) Bread Flour¾ Cup (90g) All-Purpose Flour2 Teaspoons White Sugar2 Teaspoons Fine Salt
- Knead the Dough - If using a tilt-head kitchenaid mixer, knead the dough on speed 2, for 10 minutes. The dough should be tacky (not sticky) and pull clean from the sides of the bowl. If needed, you can add 1 to 2 teaspoons of extra flour at a time (either flour works). Next, transfer the dough onto a clean work surface and continue kneading for another 5 minutes or so. If you don't have a stand mixer, you can also knead by hand the entire time, about 15 minutes. You're done kneading when the dough is smooth and when you press your finger into the dough, it springs back quickly and leaves a slight indentation. If it doesn't spring back, keep kneading for a few more minutes.
- Rest - Cover the ball of dough with a large bowl or plastic wrap that has been sprayed with oil and allow to rest for 10 to 15 minutes. We do not want the dough to double in size. We just want the gluten to relax, so it will be easier to shape.
- Divide the Dough - Using a kitchen scale, weigh the entire dough and then divide by 6. Each dough ball should weigh about 114 grams or so.
- Shape Into Buns - Cover your dough balls with plastic wrap or a kitchen towel to prevent them from drying out. Working one dough ball at a time, press it flat to get rid of any air bubbles. Gather and pinch the edges together and then place it on your work surface seam side down. Form your hand into a relaxed "claw" shape and cup it over the ball of dough. Then move your hand in small circular motions, gently dragging the ball along until smooth. Flip it over to make sure the seams are closed. Please see photos in the body of the post for reference.
- Shape the Bagels - Dip your pointer finger into some flour and create a hole in the center of the bun, piercing all the way through. Then twirl it around your pointer finger, rotating several times. As the hole gets larger, wrap it around both pointer fingers and roll in a circular motion. You'll want it to be at least 1.5 inches wide because it will shrink a little.
- Proof Bagels Overnight - Set bagels on small parchment paper squares (5 inches/12 cm) and then transfer to a large baking sheet. Cover with plastic wrap that has been sprayed with a bit of oil and allow to proof in the fridge for 12 to 48 hours.
- Remove Bagels From the Fridge - When you are ready to bake, remove the tray of bagels from the fridge and let it sit on the counter for about 30 minutes (still covered in plastic wrap). We're not letting the bagels completely come to room temperature. We're just taking the chill off a bit before boiling. See notes below regarding a float test.
- Prep - Meanwhile, set a rack in the center of the oven and preheat oven to 450ºF (232ºC). Line a large baking sheet with parchment paper and set aside. Prep your toppings if using. Make the egg wash (if using) by beating an egg and 1 tablespoon of water. Finally, prep the water bath by bringing 8 cups of water and ¼ cup of barley malt syrup to a boil.
- Boil - When ready, gently place 2 to 3 bagels into the boiling water smooth side down. Remove the parchment paper (the steam will release the paper) and boil each side for about 45 seconds. Using a kitchen spider or slotted spoon, scoop the bagels out and transfer to your prepared baking sheet.
- Egg Wash & Toppings - Lightly brush the bagels with the egg wash and add toppings if desired. If you're not using an egg wash, top the bagels as soon as it comes out of the water as it will help the toppings adhere better. If the bagels dry up before adding the toppings, you can lightly brush it with the starchy cooking water.
- Bake - Bake for 15 to 20 minutes, rotating after 10 minutes. Bake for a full 20 minutes if you'd like a deep golden crust.
- Cool & Serve - As soon as the bagels come out of the oven, transfer it to a wire rack and cool for at least 20 minutes before serving. Enjoy!
Notes


Terry says
Excellent bagels. Would make these again. Thank you!
Lisa says
I'm so happy to hear that! Thank you for your review! 😊
Gg says
First time making Bagels. We went to NY and my husband is obsessed now. I made a batch for him for Valentine's day and it turned out amazing! The perfect chewyiness! Some cheese on top gives the perfect final touch!
Lisa says
Yay, I'm so happy they turned out amazing!! Thank you so much for trying the recipe and for your wonderful review! 😊
Rob says
Excellent recipe - have made them 3 times already. Because of the current egg situation, I use egg whites for my egg wash. For the heck of it, I substituted white whole flour in place of the general purpose flour & they turned out very well too. Everybody has been very pleased with this different breakfast offering 😀.
Thanks!
Lisa says
Hi Rob! I'm so happy to hear that you've made them 3 times! Thank you so much for sharing your feedback and for your awesome review!! 😊
Jillian says
This was our first time making bagels at home and it was a breeze! We didn’t have malt suyrup and were too lazy to go buy some so we used honey instead. The holes closed up and looked like belly buttons 😜, but that was our fault. We didn’t stretch it wide enough! We kept the toppings simple with everything seasoning and kept a few plain. It had the right amount of chew and tender texture and a crispy outer crust. We can’t wait to make these again with other toppings! Thanks a mil!!
Lisa says
The texture is the best! Thanks so much for sharing your feedback and for trying the recipe! Happy baking! 😊
Joyce says
These bagels turned out terrific! Even a New Yorker raved about them. Here in Texas great bagels are not easily found if at all, but these were perfection. I will make these again and they were not difficult at all. What a treat to eat.
Lisa says
Aww, thank you so much for your lovely review! I'm so happy you enjoyed them!! ❤️
Bella says
Dare I say it? These are better than NY bagels!! We’ve been making these nearly every weekend, so we decided to double it. It was a bit more challenging to hand knead, but still turned out great! Highly recommend!!
Lisa says
What a nice compliment! Thank you so much! I'm so happy you enjoyed these bagels! 😊
Rebecca says
Hi, I tried this recipe and everything seemed to be going well but my bagels sank when I boiled them. Any advice? Thanks!
Lisa says
Hi Rebecca, sorry to hear that the bagels sunk! It sounds like it was not proofed long enough. Make sure they proof in the fridge overnight for at least 12 hours. Then perform a float test, by placing a bagel in a small bowl of tap water. If it floats, it's ready to be boiled. If it doesn't float, allow it to sit on the counter for a little longer. I've updated the post with this tip. Hope this helps!
David says
I’ve made it a bunch of times and today the bagels flattened after boiling for the first time! I think I over proofed them (which is interesting because they were in my fridge) or accidentally added too much yeast. I think it could have been both, because I was also constantly opening my fridge.
A lot of people say to use colder water so they don’t over proof while you are kneading and shaping. What are your thoughts?
Lisa Flinn says
Hi David, thank you so much for trying the recipe! You're right, it sounds like it could have been over-proofed and/or too much yeast. During the warmer months or if your kitchen is warmer, you could boil the bagels within 20 minutes of pulling them out of the fridge. I haven't tried making bagels with cold water, but I don't see why you couldn't. If you do try it with cold water, dissolve the active dry yeast in the water as much as you can, so there aren't large granules of yeast in your dough. The mixture won't bloom or foam up, but it will incorporate into the dough more seamlessly. Let me know if you try it. Happy baking!
Susan says
I’m new to baking and these came out great - surprising easy to make! Actually, I’ve made them 2 times with different toppings and enjoyed every bake! I have a feeling I will make these often! <3
Lisa Flinn says
Welcome to the baking community, Susan! It makes me so happy to hear you enjoyed this recipe! Thank you for your lovely review! 😊
Katie says
Can you freeze the dough?
Lisa Flinn says
Hi Katie! I haven't tried freezing bagel dough, so I'm not sure how it will turn out. When I get a chance, I'll freeze a batch and let you know!
Katie says
Thanks! My family is flying through these ever since I made my first batch over the weekend. I thought freezing dough may help me get ahead of the game!
Lisa Flinn says
I'm so happy to hear your family is enjoying the bagels! Baked bagels freeze really well, so it might be easier to make a few batches to keep in your freezer. Once completely cooled, slice them, individual wrap each one in plastic wrap or parchment, and then store in freezer bags. I'll still experiment with freezing unbaked bagel dough though and get back to you!
Lisa Flinn says
Hi Katie! I'm happy to report that you can freeze bagel dough! You can find the methods and results towards the bottom of the blog post. Happy Baking!
Suzanne Bernatovich says
Love the recipe. Going to try cinnamon sugar on top. Wondering if you could add macerated blueberries to the dough
Lisa Flinn says
Hi Suzanne, I'm so happy you love the recipe! It's funny you ask because blueberry bagels (and cinnamon raisin) are on my list to add to the blog! I think macerating the blueberries should work. Freeze-dried blueberries could also be a great addition. Let me know if you end up trying it. I'll test some batches soon too and report back! 😊
Isabell says
These turned out so good!! We’re already on our second batch. Thank you for sharing!
Lisa Flinn says
Yay, I'm so happy to hear that! You're so welcome! Thank you for your awesome review! 😊
Samantha Dewey says
Made these to start the week - these were great! Your directions were so clear and easy to follow and the bagels turned out delicious. I think best bagel recipe I’ve tried so far
Lisa Flinn says
So sweet of you to say that! I'm so happy you enjoyed them, Samantha! Thank you for giving this recipe a try and for your review! 😊