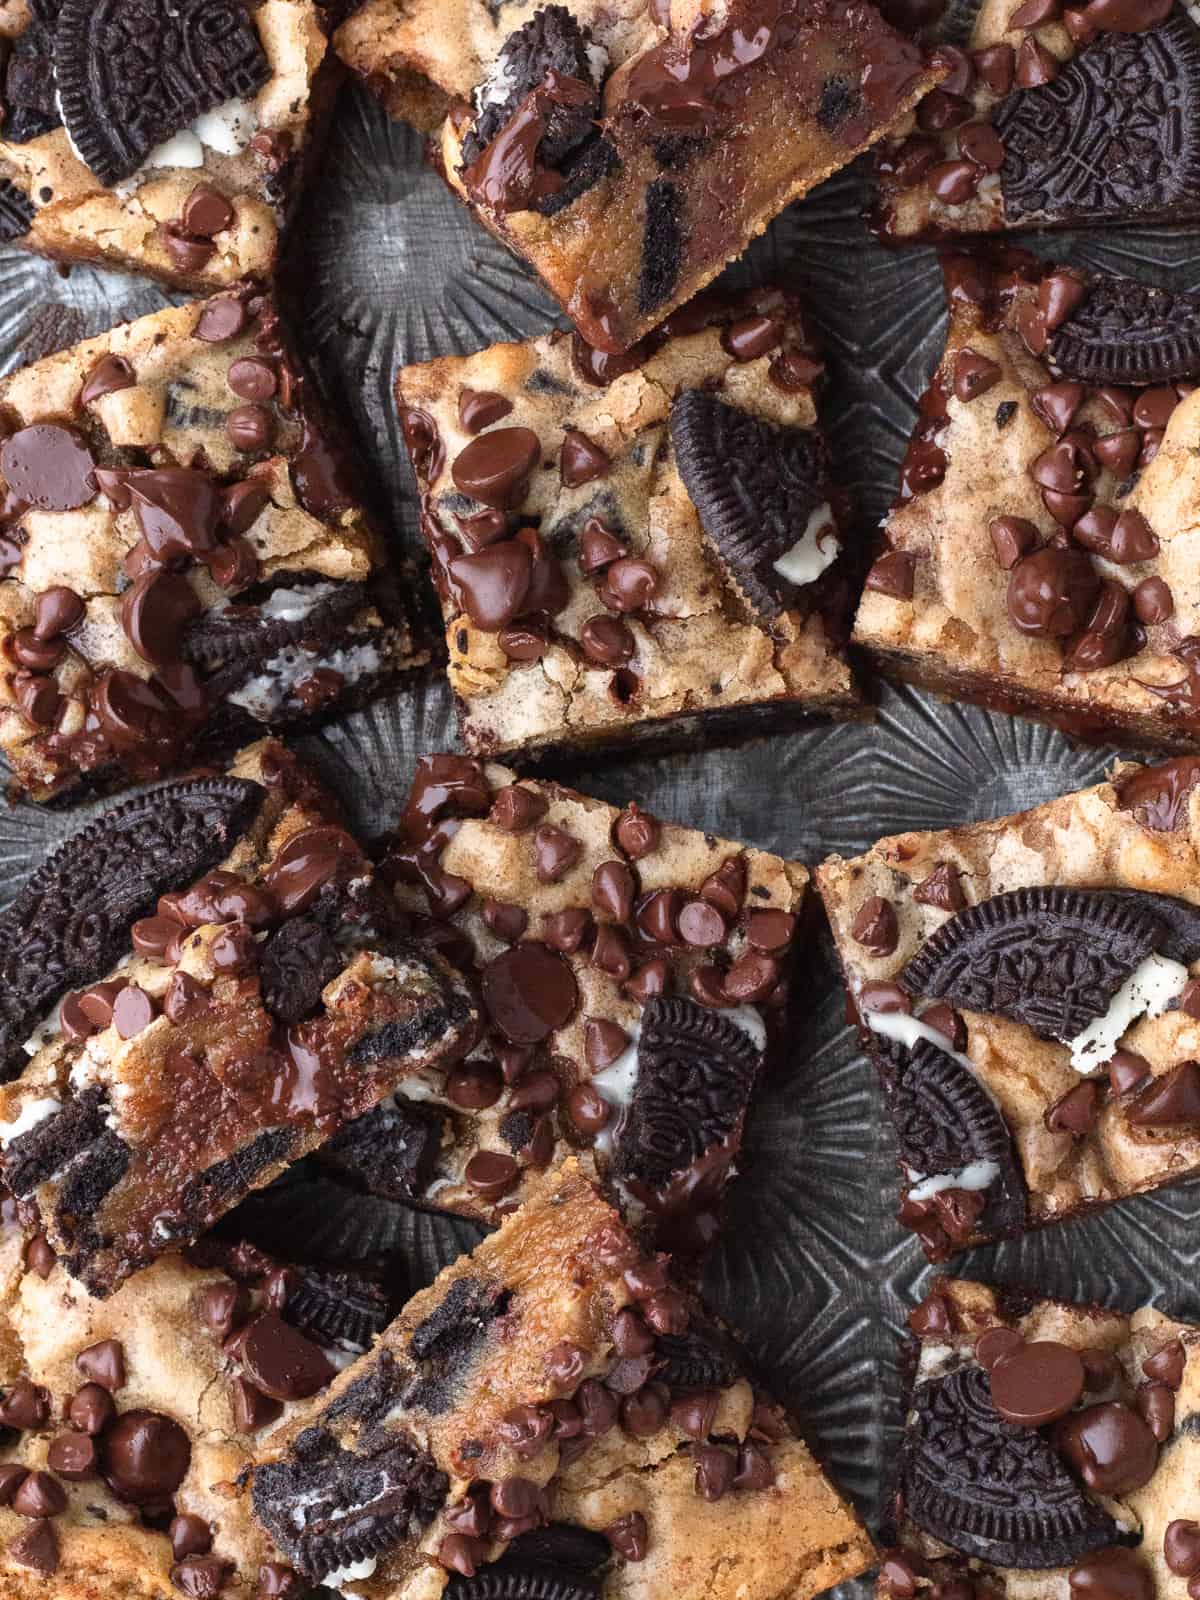
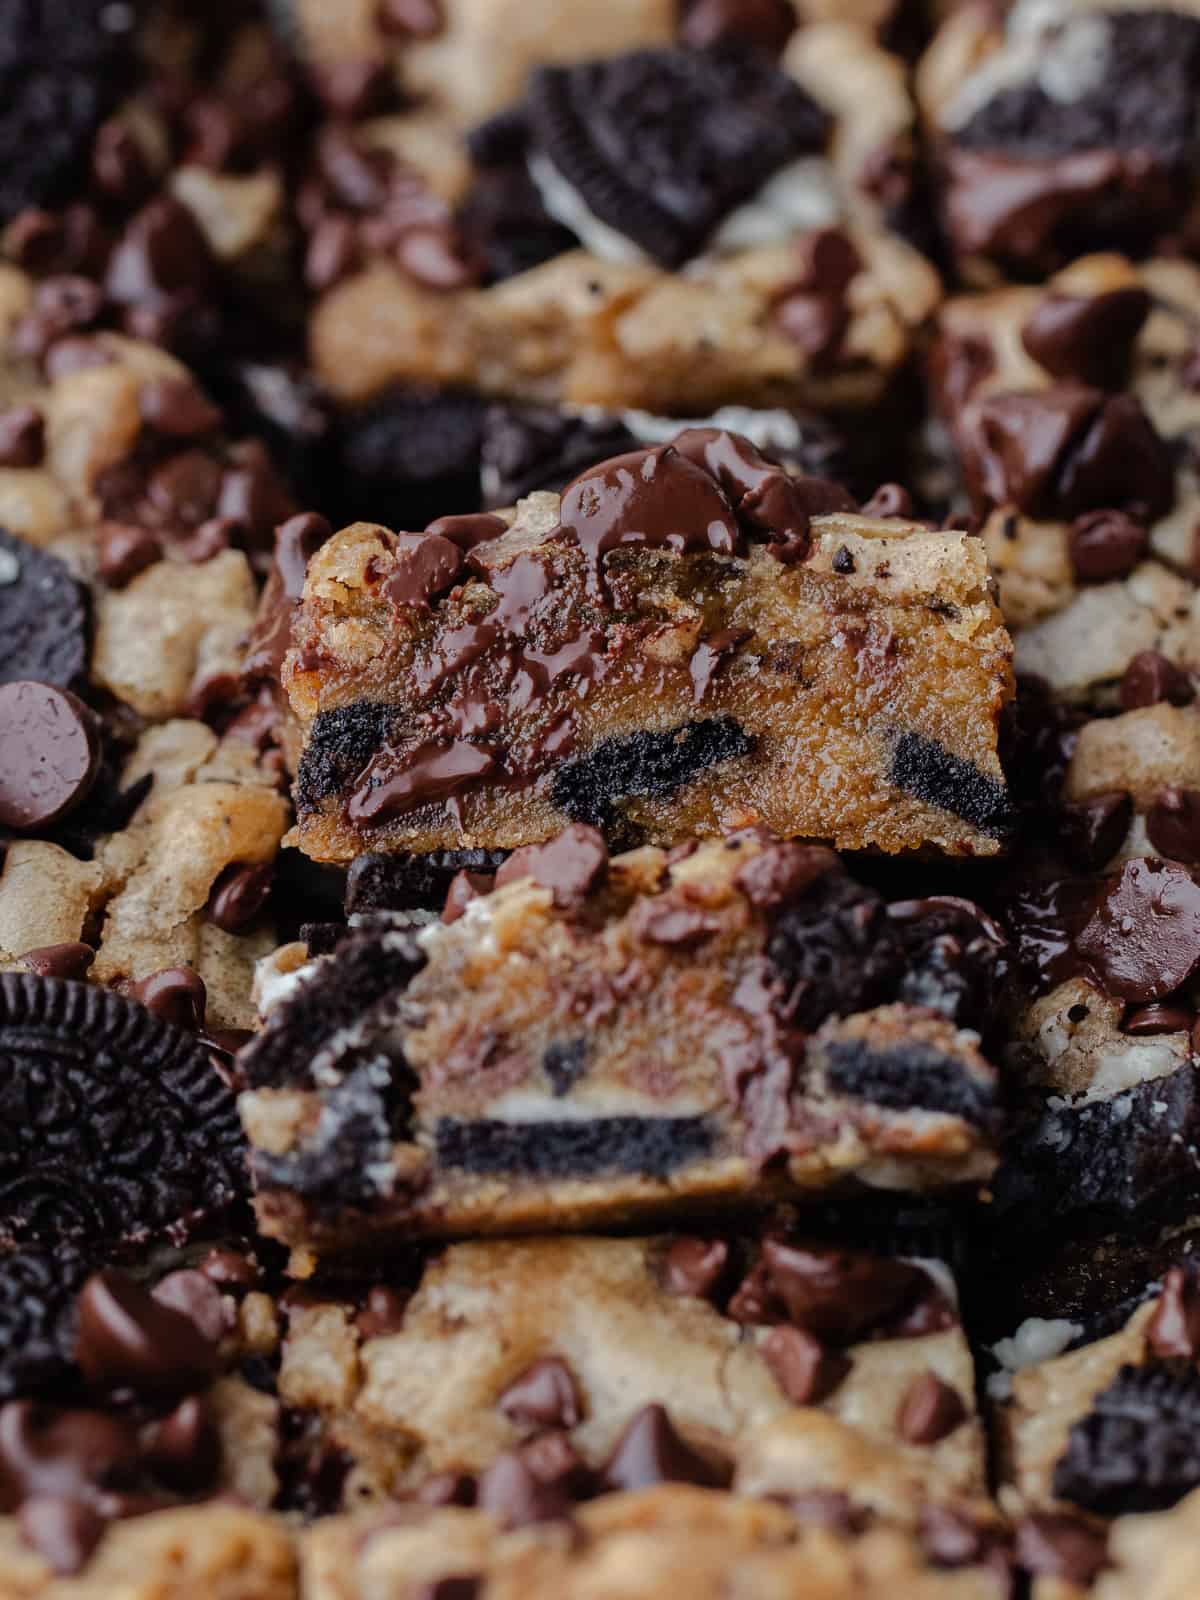
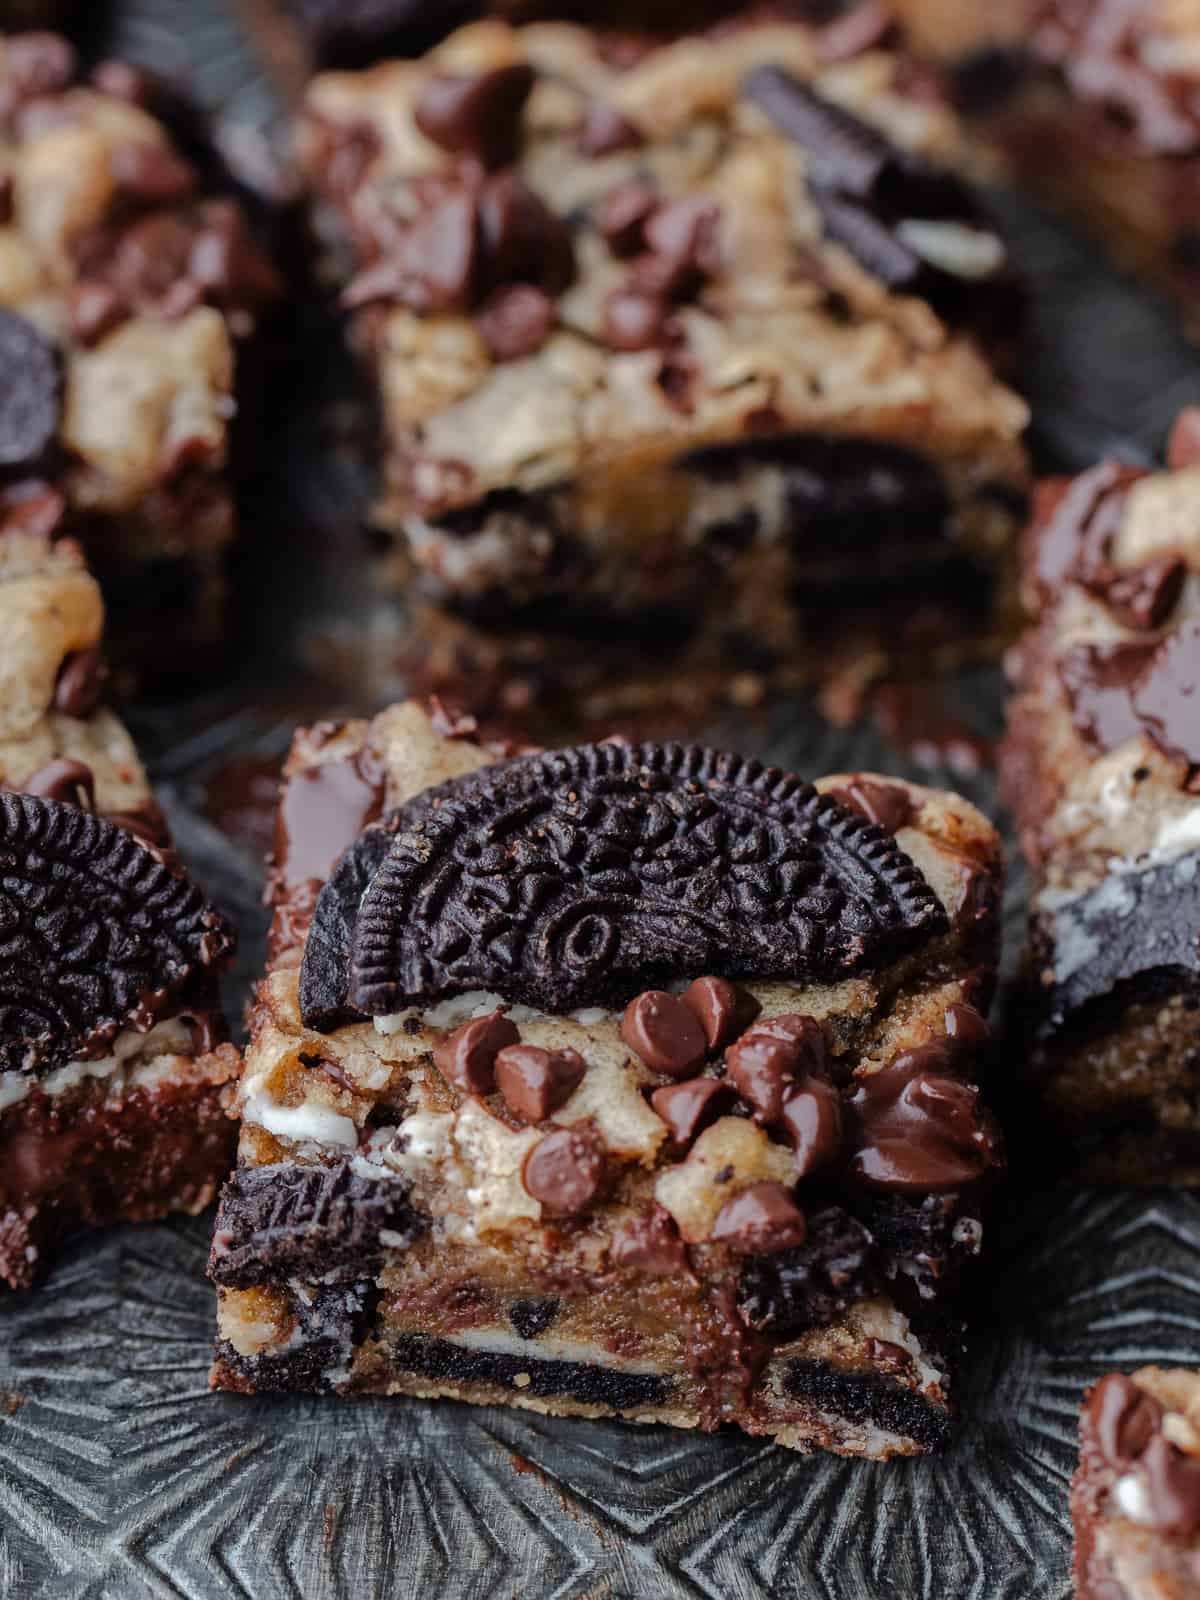
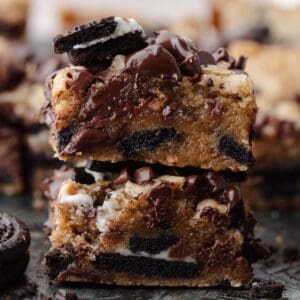
These Brown Butter Oreo Blondies are thick, fudgy and oh so gooey! An irresistible and decadent treat perfect for any occasion!
♡ Why You Will Love These Brown Butter Oreo Blondies
- Brown Butter - The combination of the nutty brown butter, Oreo cookies and dark chocolate are a match made in heaven!
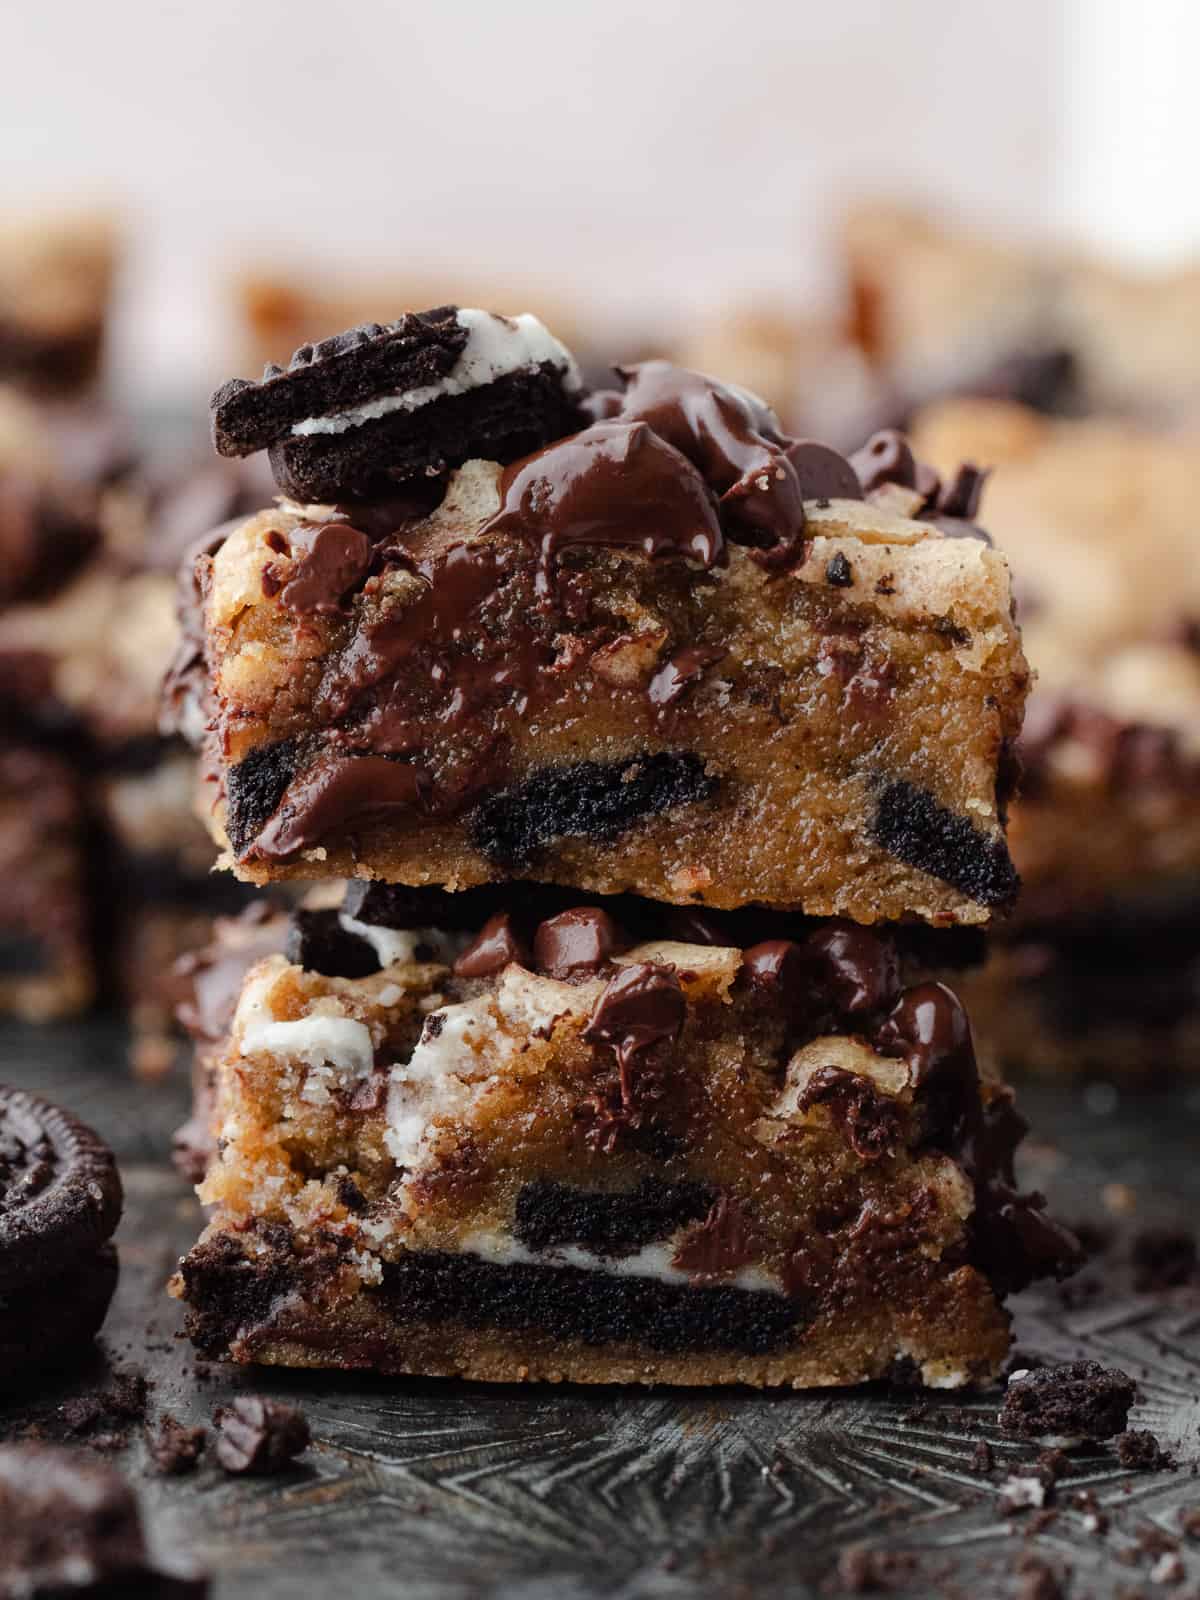
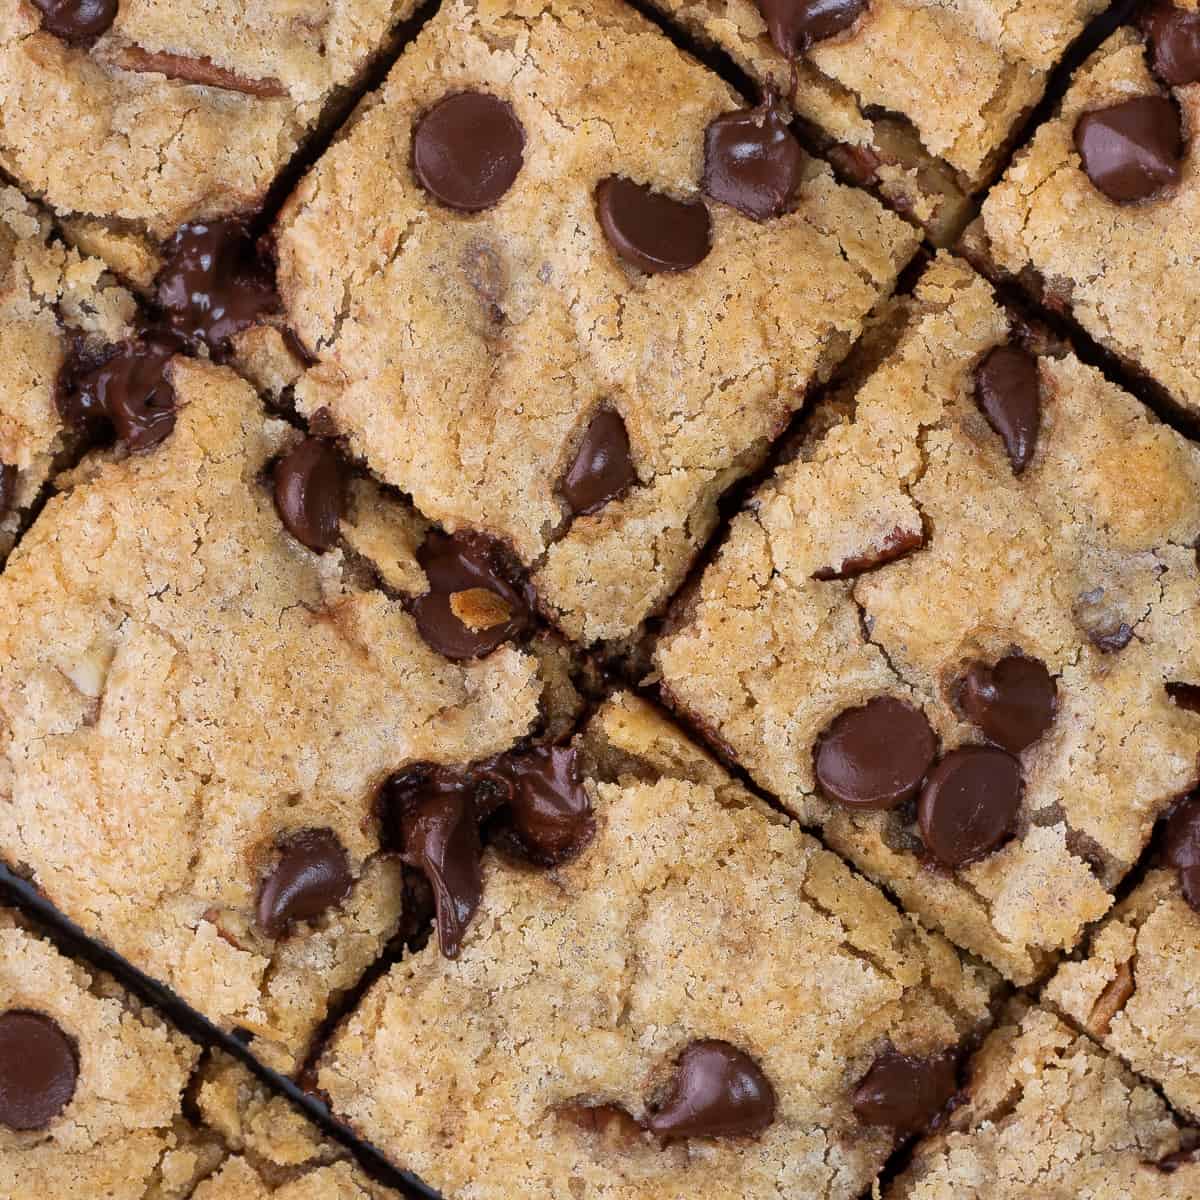
- They have the best texture - They are fudgy, gooey and crispy on the edges. Just like my Brown Butter Bourbon Blondies, White Chocolate and Raspberry Blondies and Brown Butter Chocolate Chip and Pecan Blondies!
- They are SO easy to make! You'll only need 1 pan (for browning the butter), 1 bowl and a whisk! No electric mixer needed.
- There are only 9 simple ingredients. Ingredients that you probably already have in your pantry.
Jump to:
Ingredient Notes
Here are some notes about all the ingredients used for These Brown Butter Oreo Blondies. Quantities and full instructions are in the recipe card below!
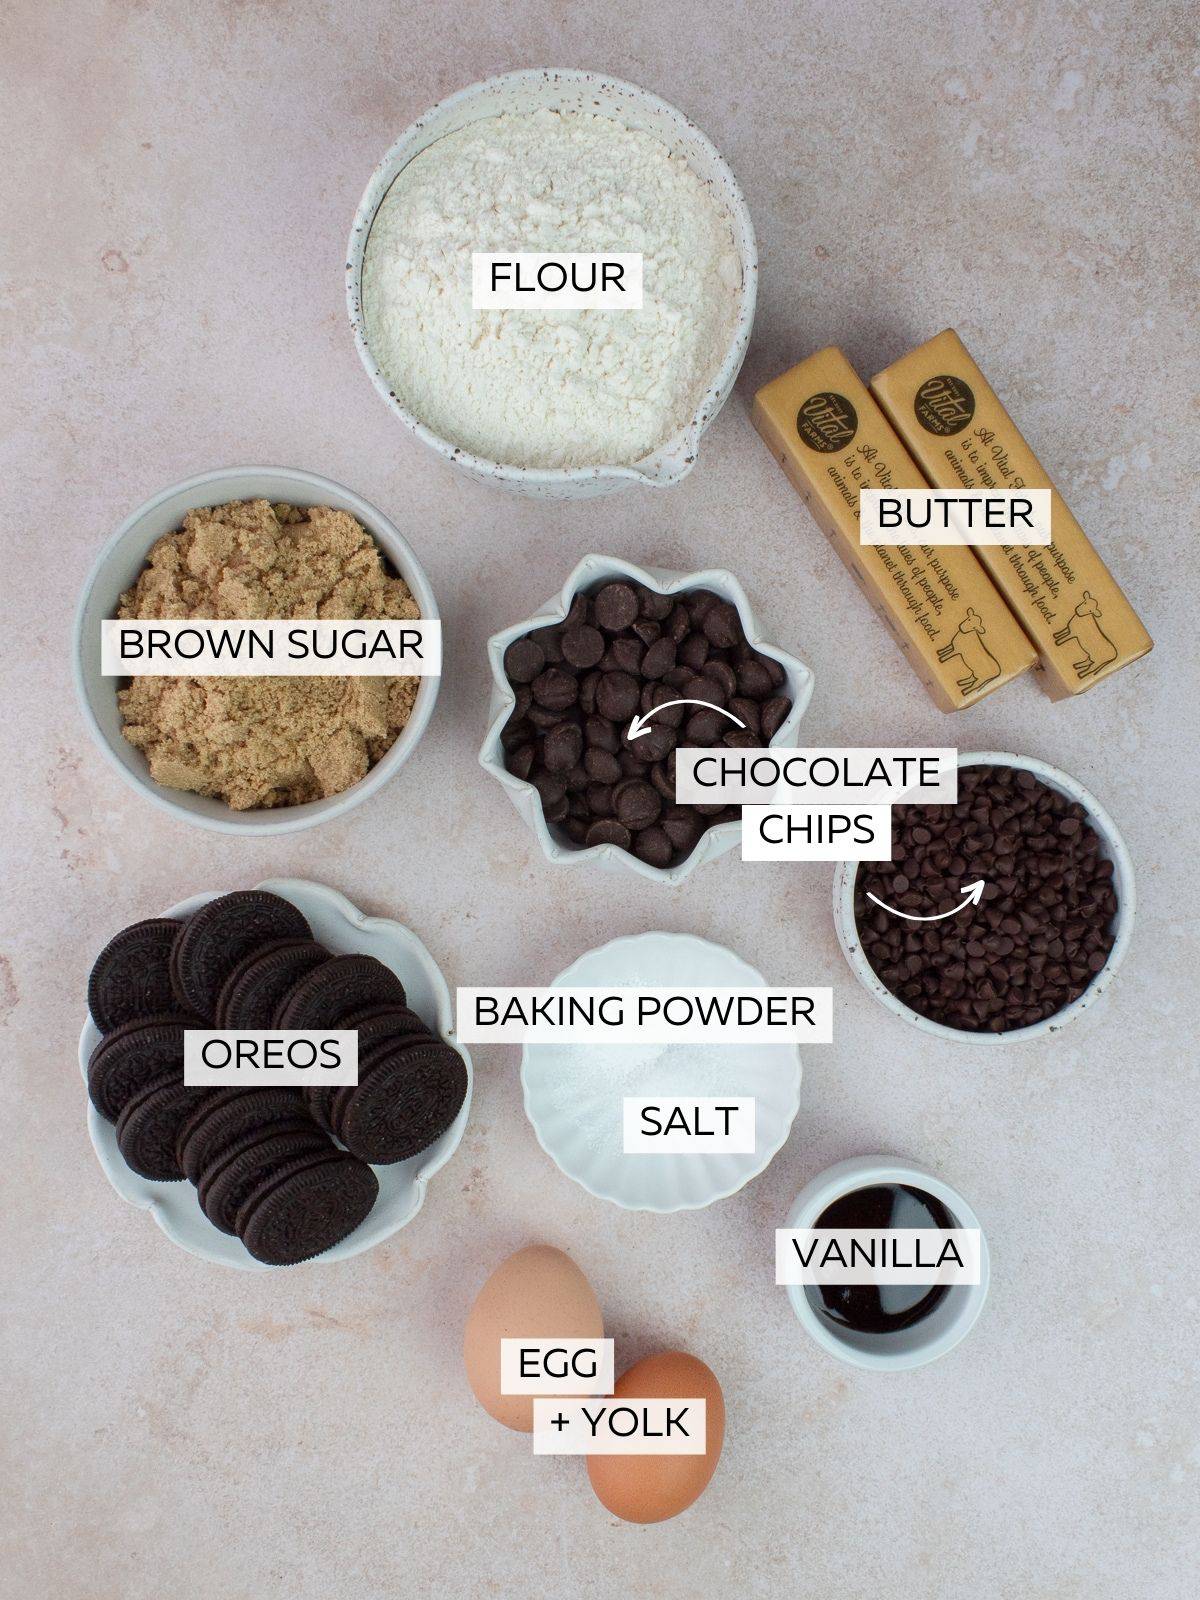
- Unsalted Butter - We will be browning the butter. It adds a beautiful nutty aroma.
- Brown Sugar - We are just using all brown sugar for these blondies. You can use light or dark brown sugar.
- Egg + Yolk - The extra yolk also creates a chewy texture. Make sure your eggs are at room temperature. You can quickly bring them to temp by submerging into hot tap water for 15 minutes.
- Vanilla - You can use vanilla paste or vanilla extract.
- All-Purpose Flour - I love using King Arthur's all-purpose flour.
- Baking Powder (optional) - Helps the blondies rise a bit.
- Salt - Enhances flavors and balances the sweetness.
- Oreos - Oreo cookie pieces are added to the batter and the top before baking.
- Dark Chocolate Chips - I'm using bittersweet chocolate chips and semi-sweet mini chocolate chips.
*See recipe card for quantities.
Step-By-Step Instructions
Here are step-by-step photos and instructions on how to make these Brown Butter Oreo Blondies! Please find the detailed instructions in the recipe card at the end of this post.
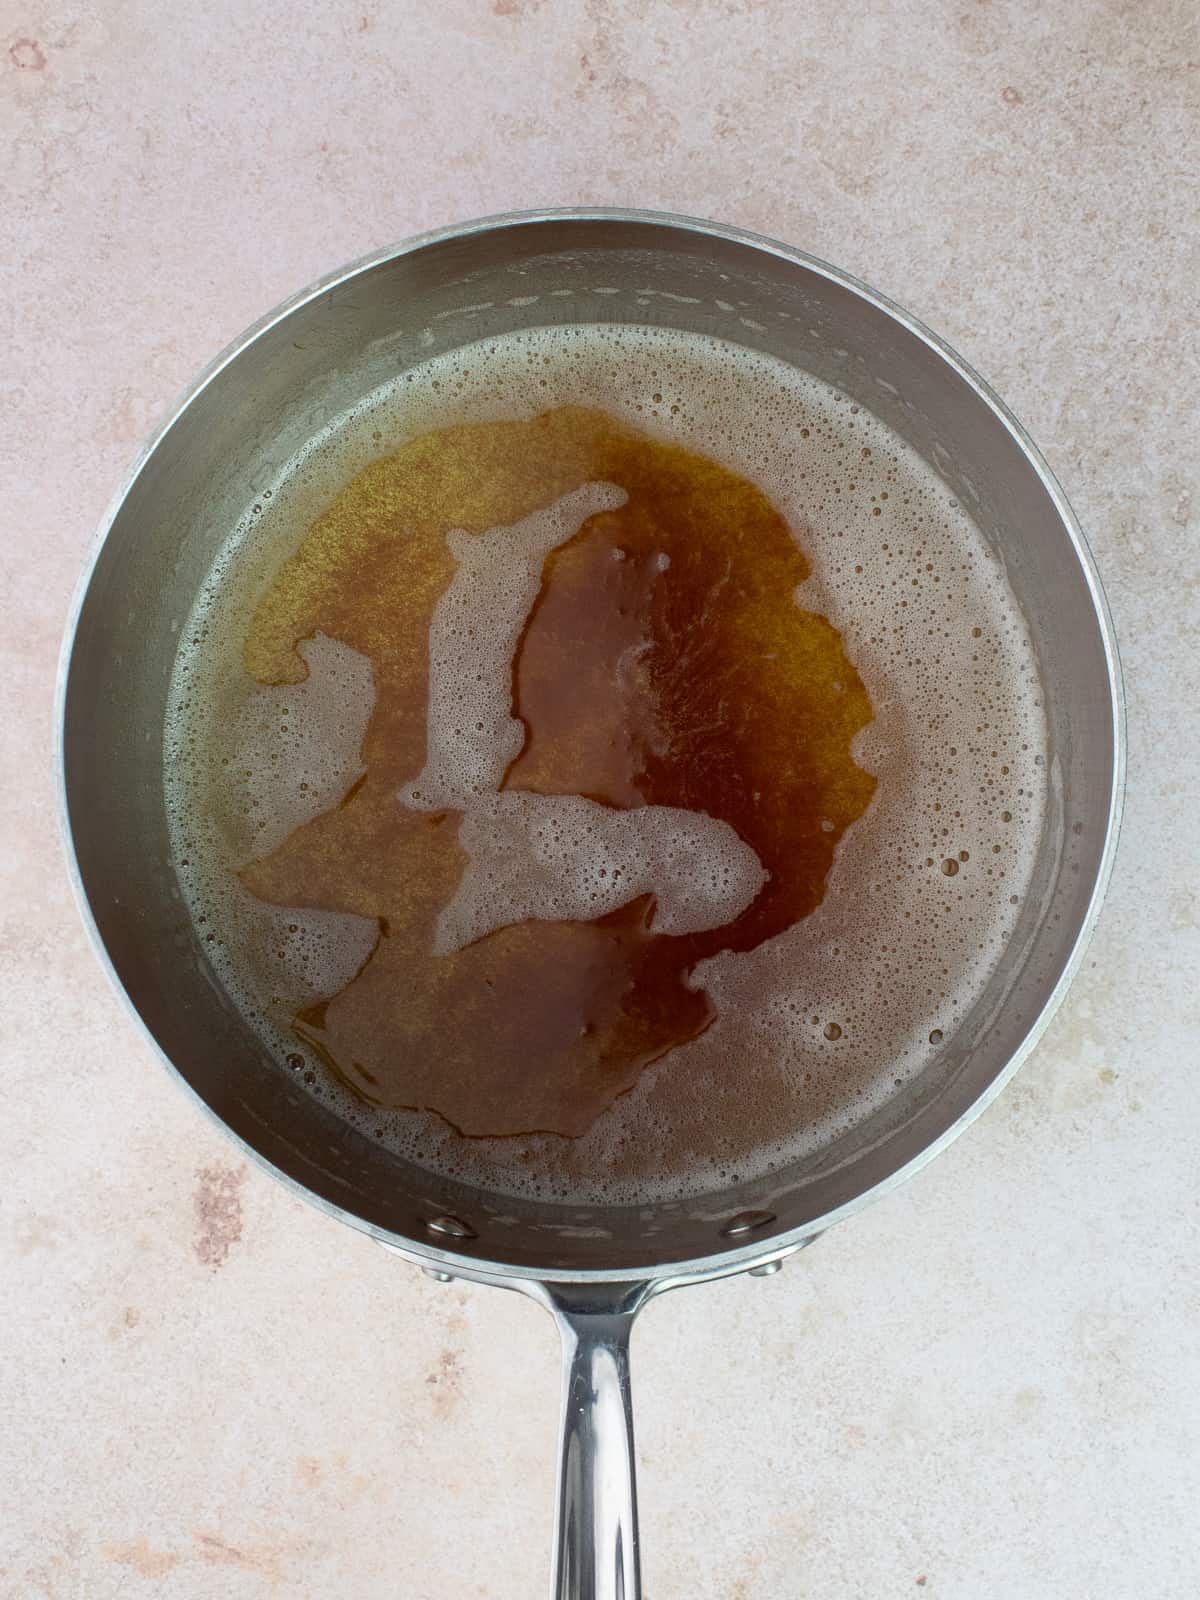
Step 1: Make Brown Butter - Brown your butter in a light color, heavy bottomed skillet or saucepan.
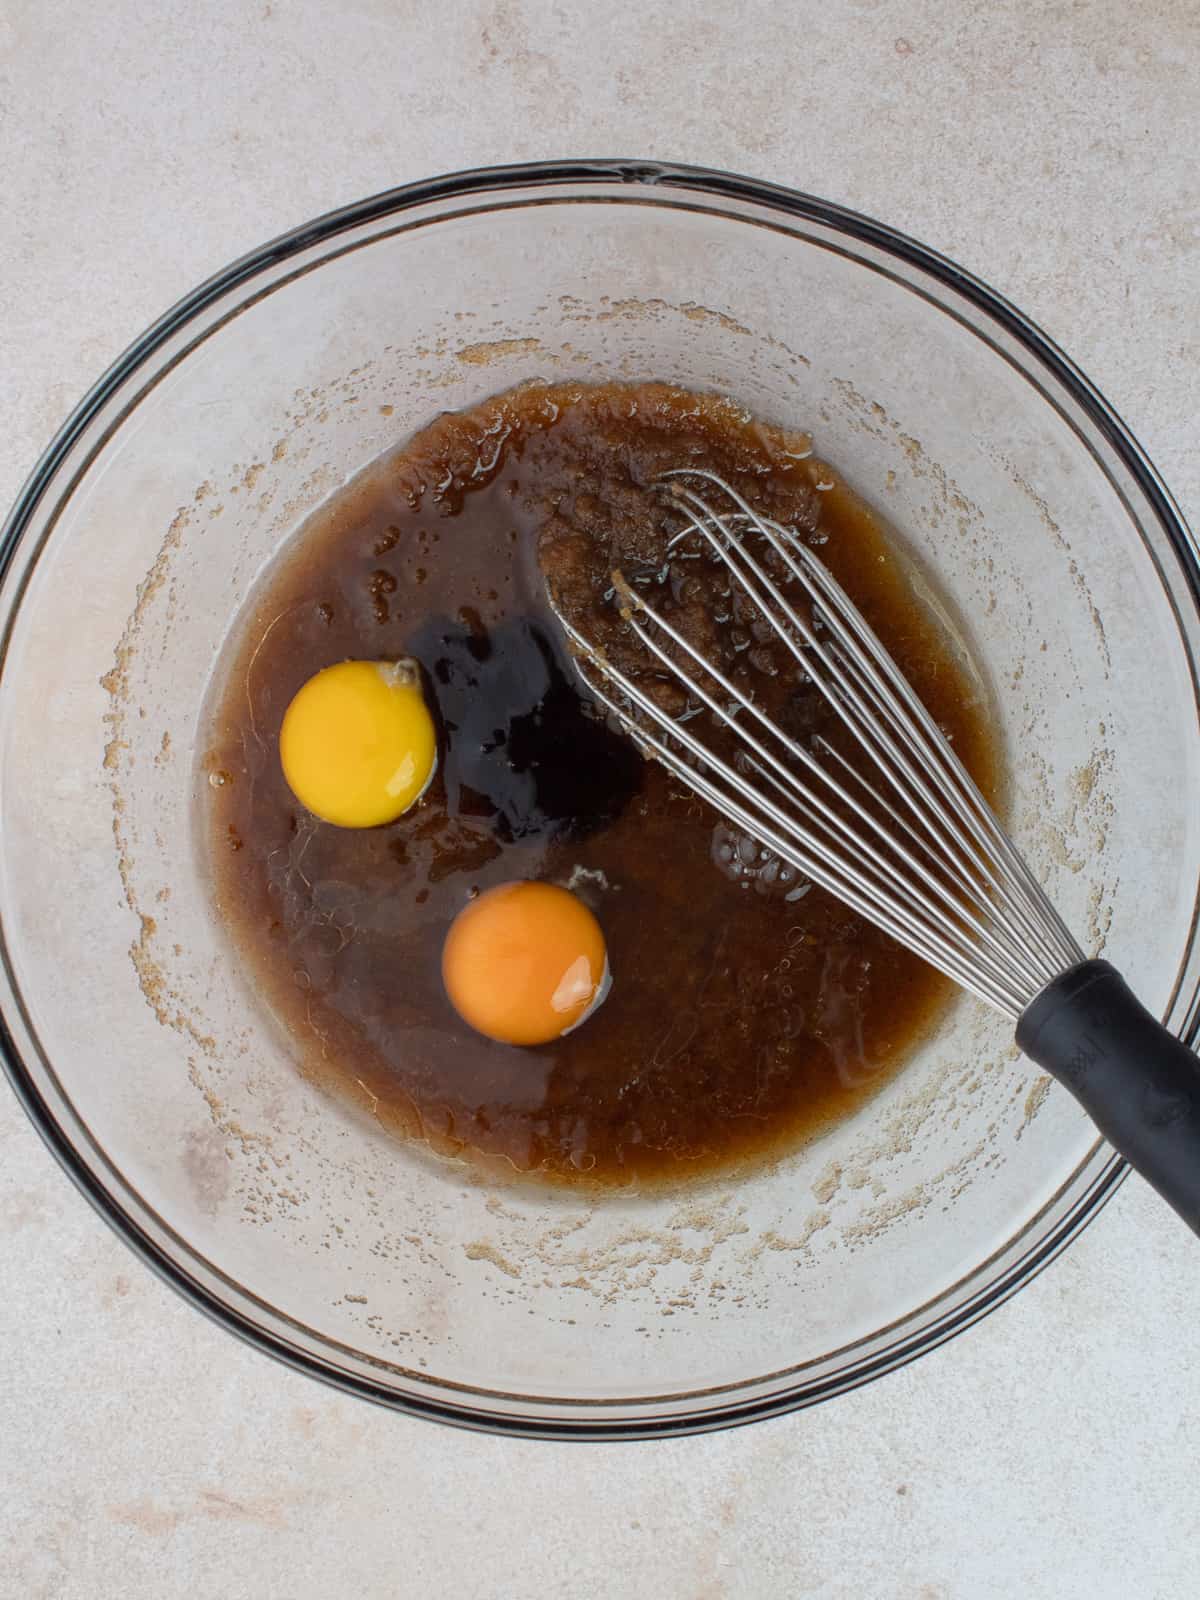
Step 2: Transfer brown butter to a large bowl and whisk in brown sugar. Allow to cool for 10 minutes, then add 1 egg, 1 yolk and vanilla.
TIP: Using a light colored pan allows you to see the color of your butter as it browns. The butter can burn quickly, so being able to see the color progression is helpful.
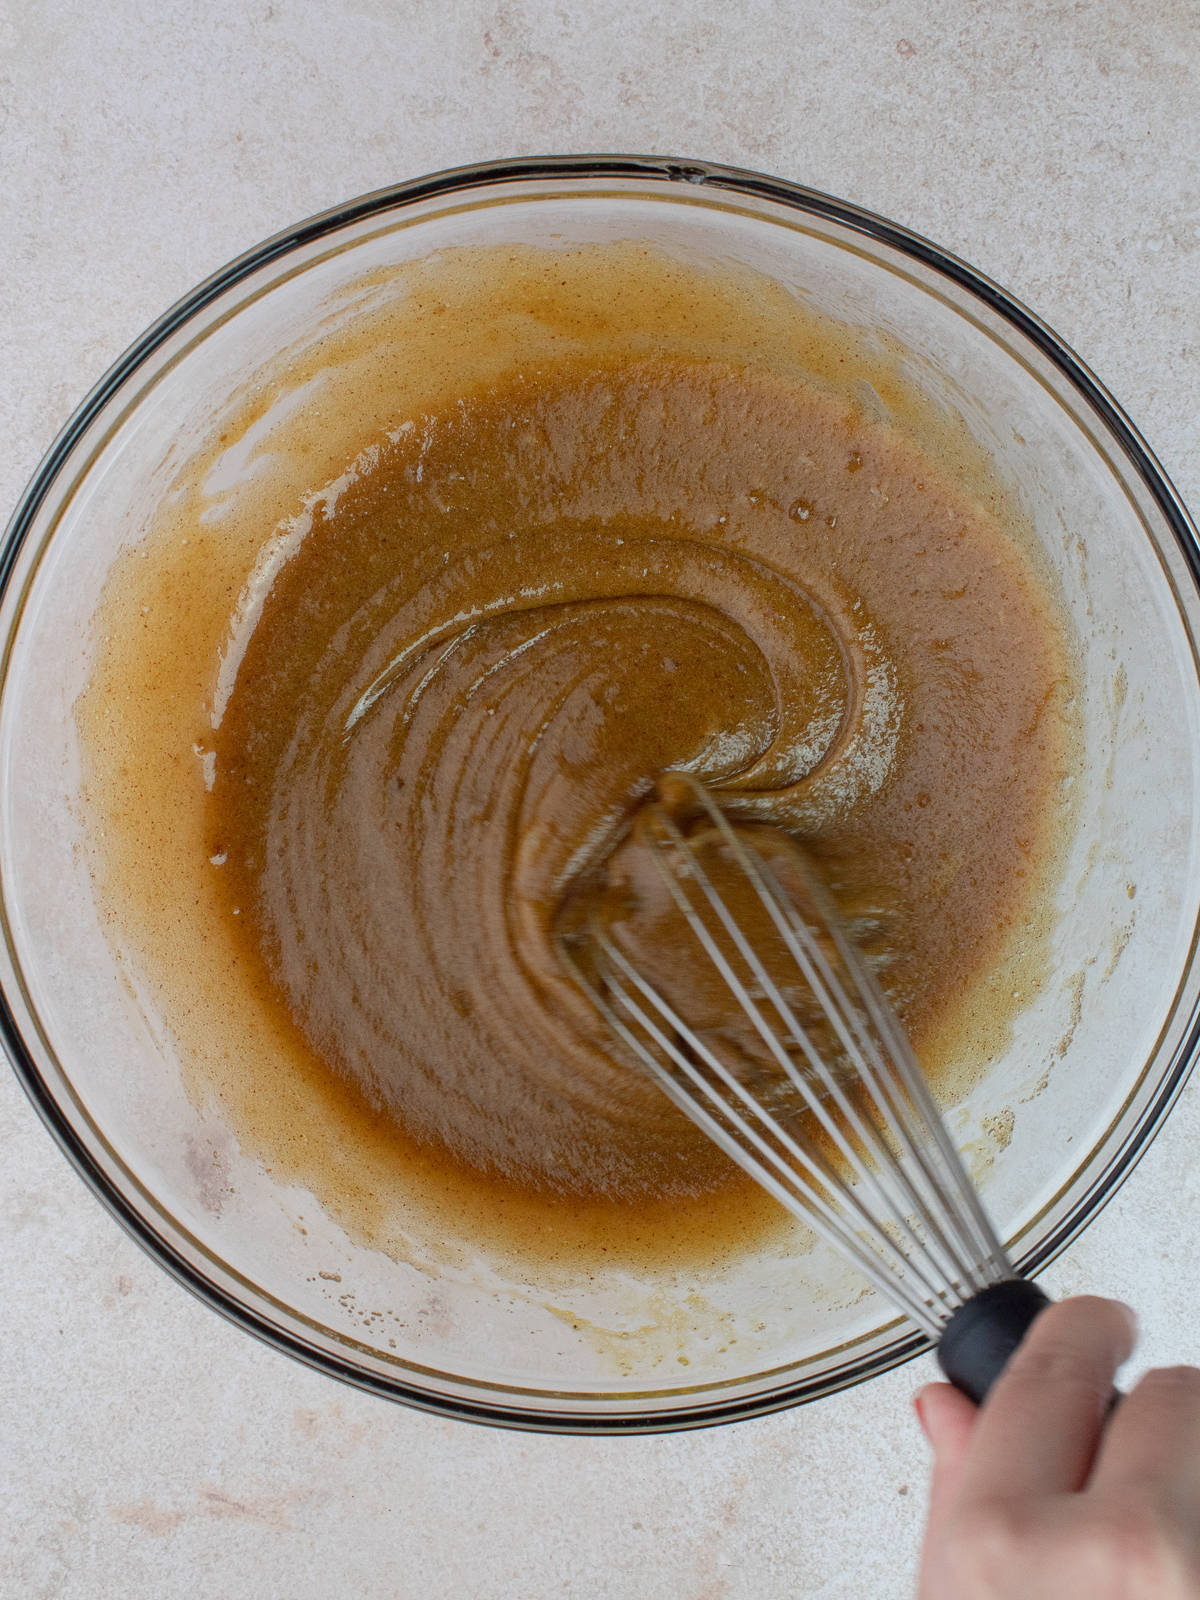
Step 3: Whisk until emulsified.
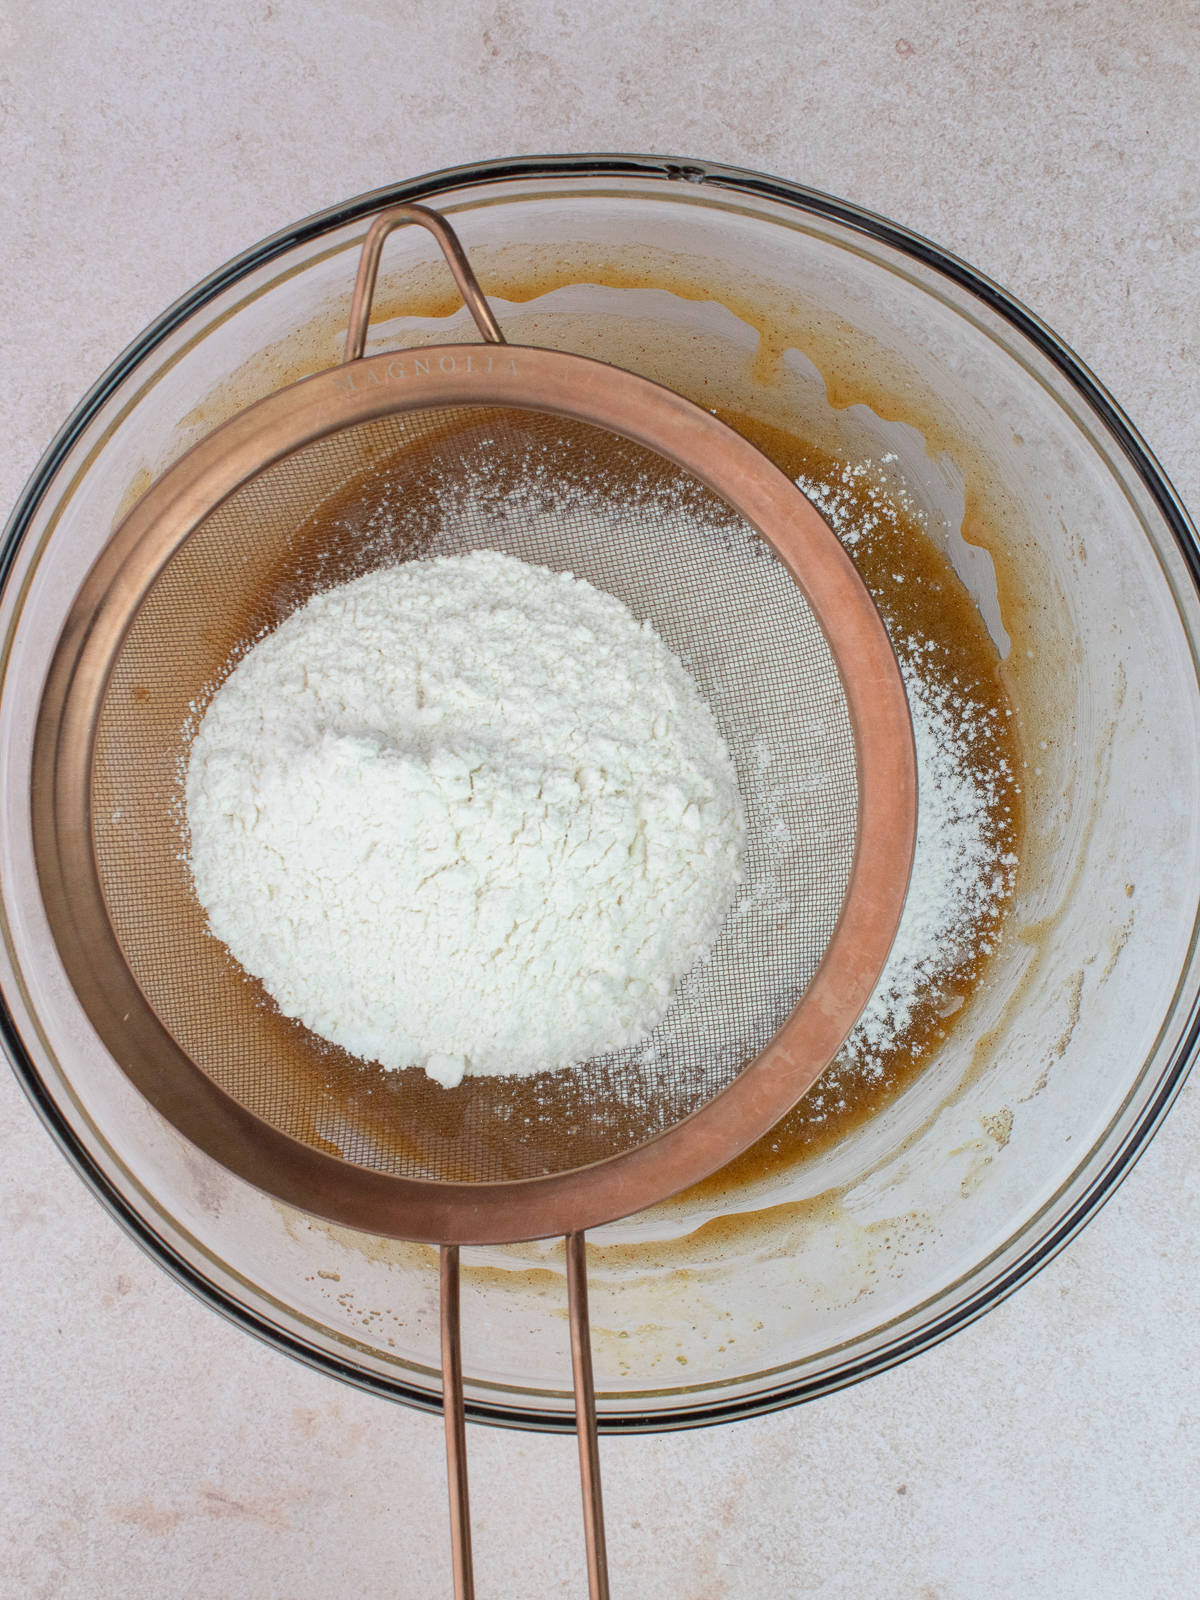
Step 4: Add Dry Ingredients - Sift in dry ingredients (all-purpose flour, baking soda and salt).
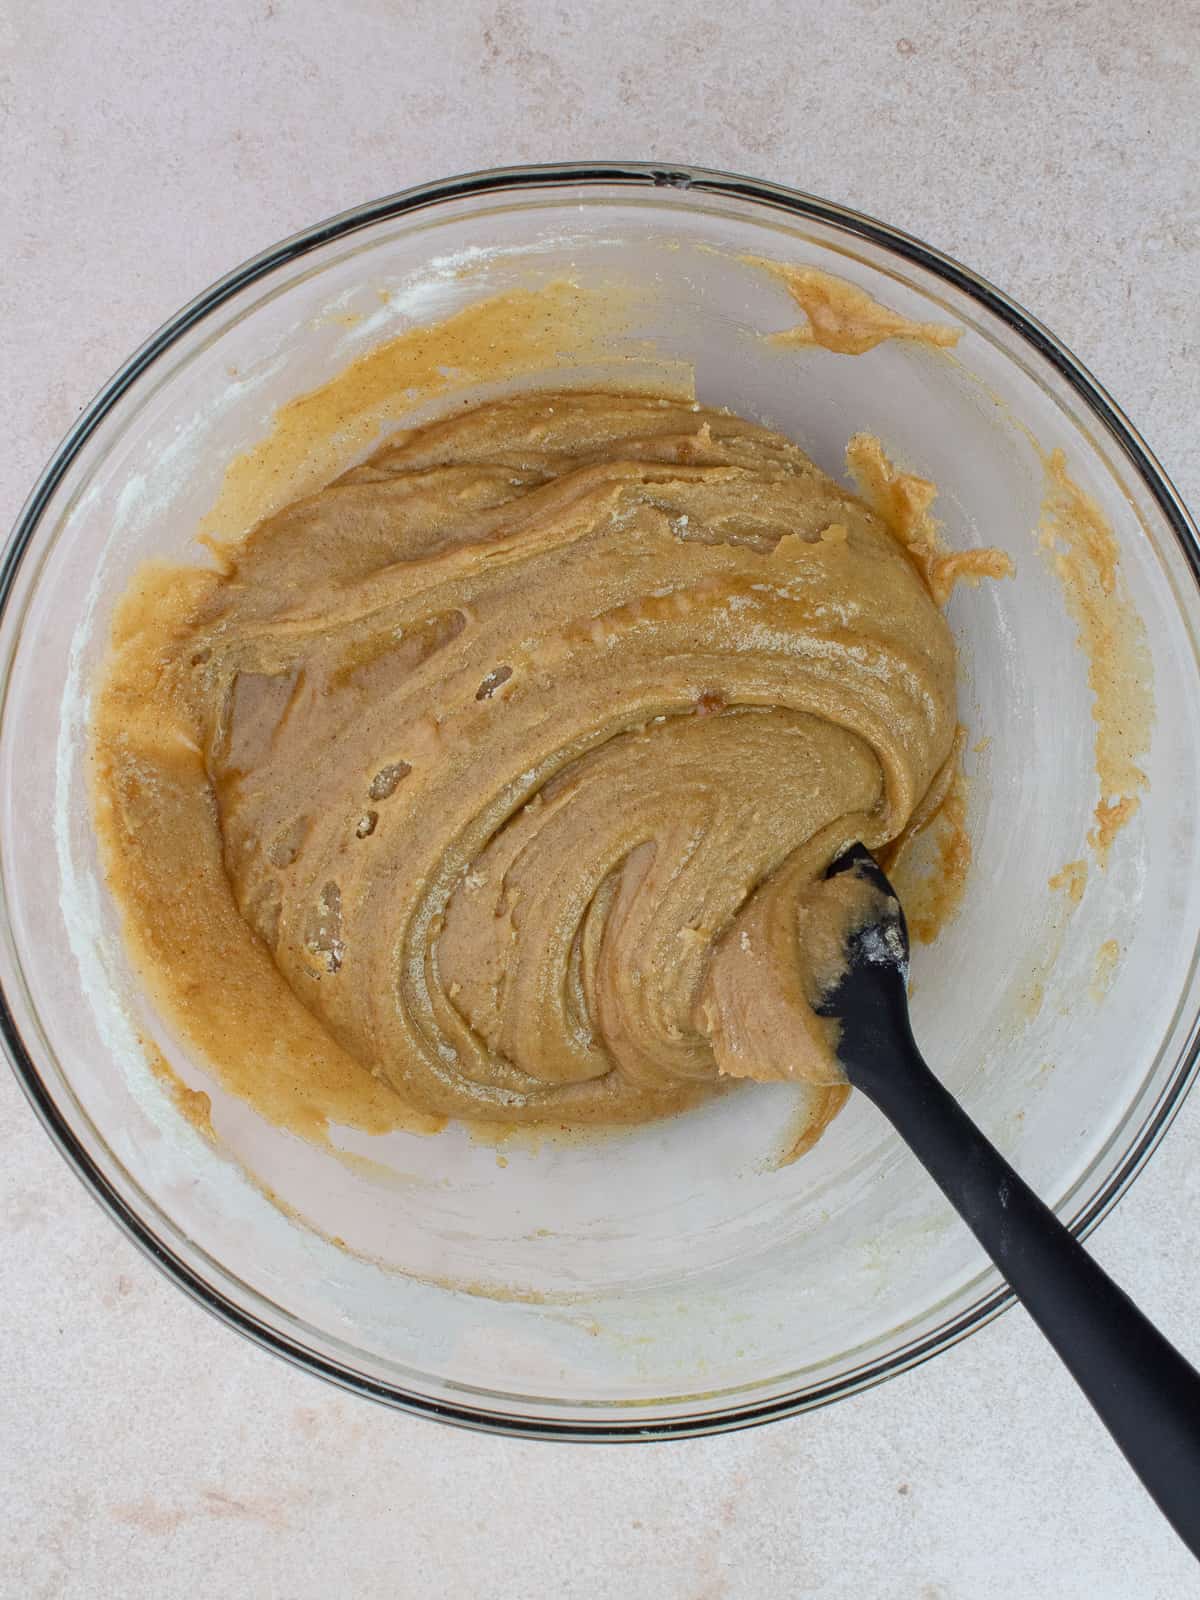
Step 5: Combine Dry & Wet Ingredients - With a rubber spatula, gently fold in the dry ingredients until just combined.
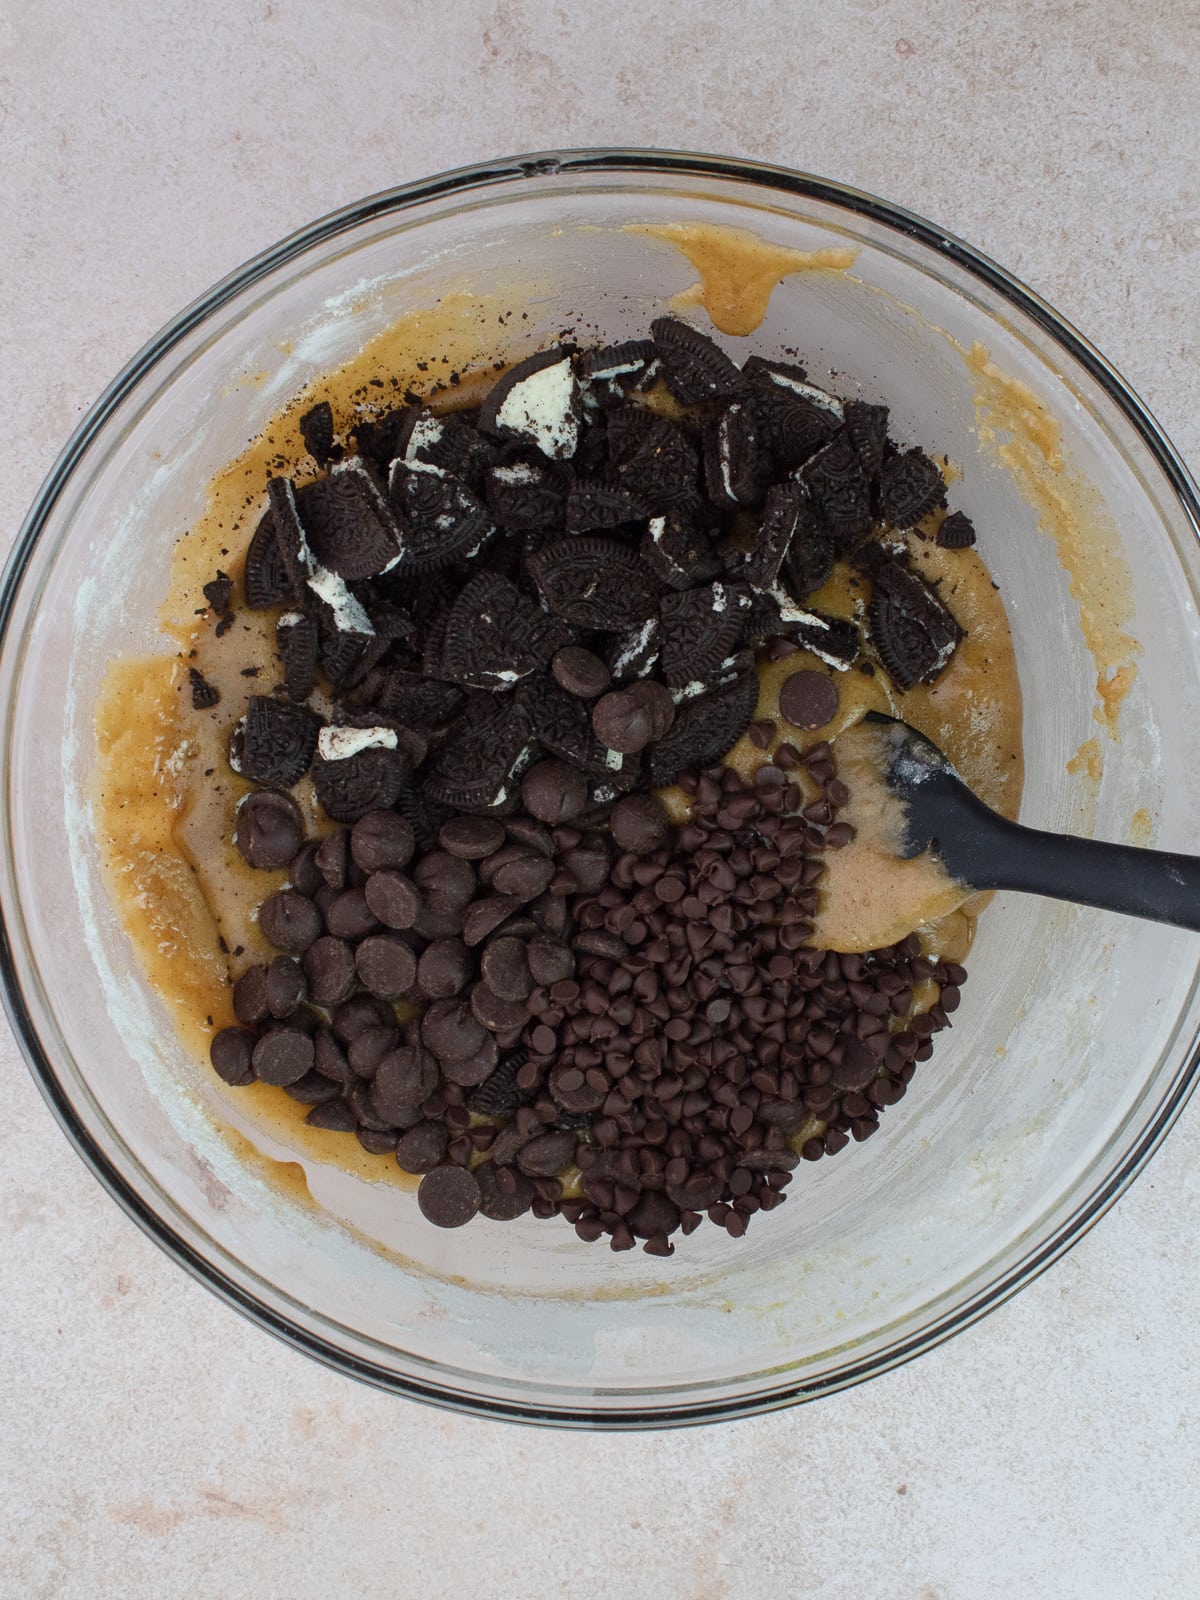
Step 6: Add Mix -Ins - Add chopped Oreo cookies and chocolate chips. Gently mix until combined.
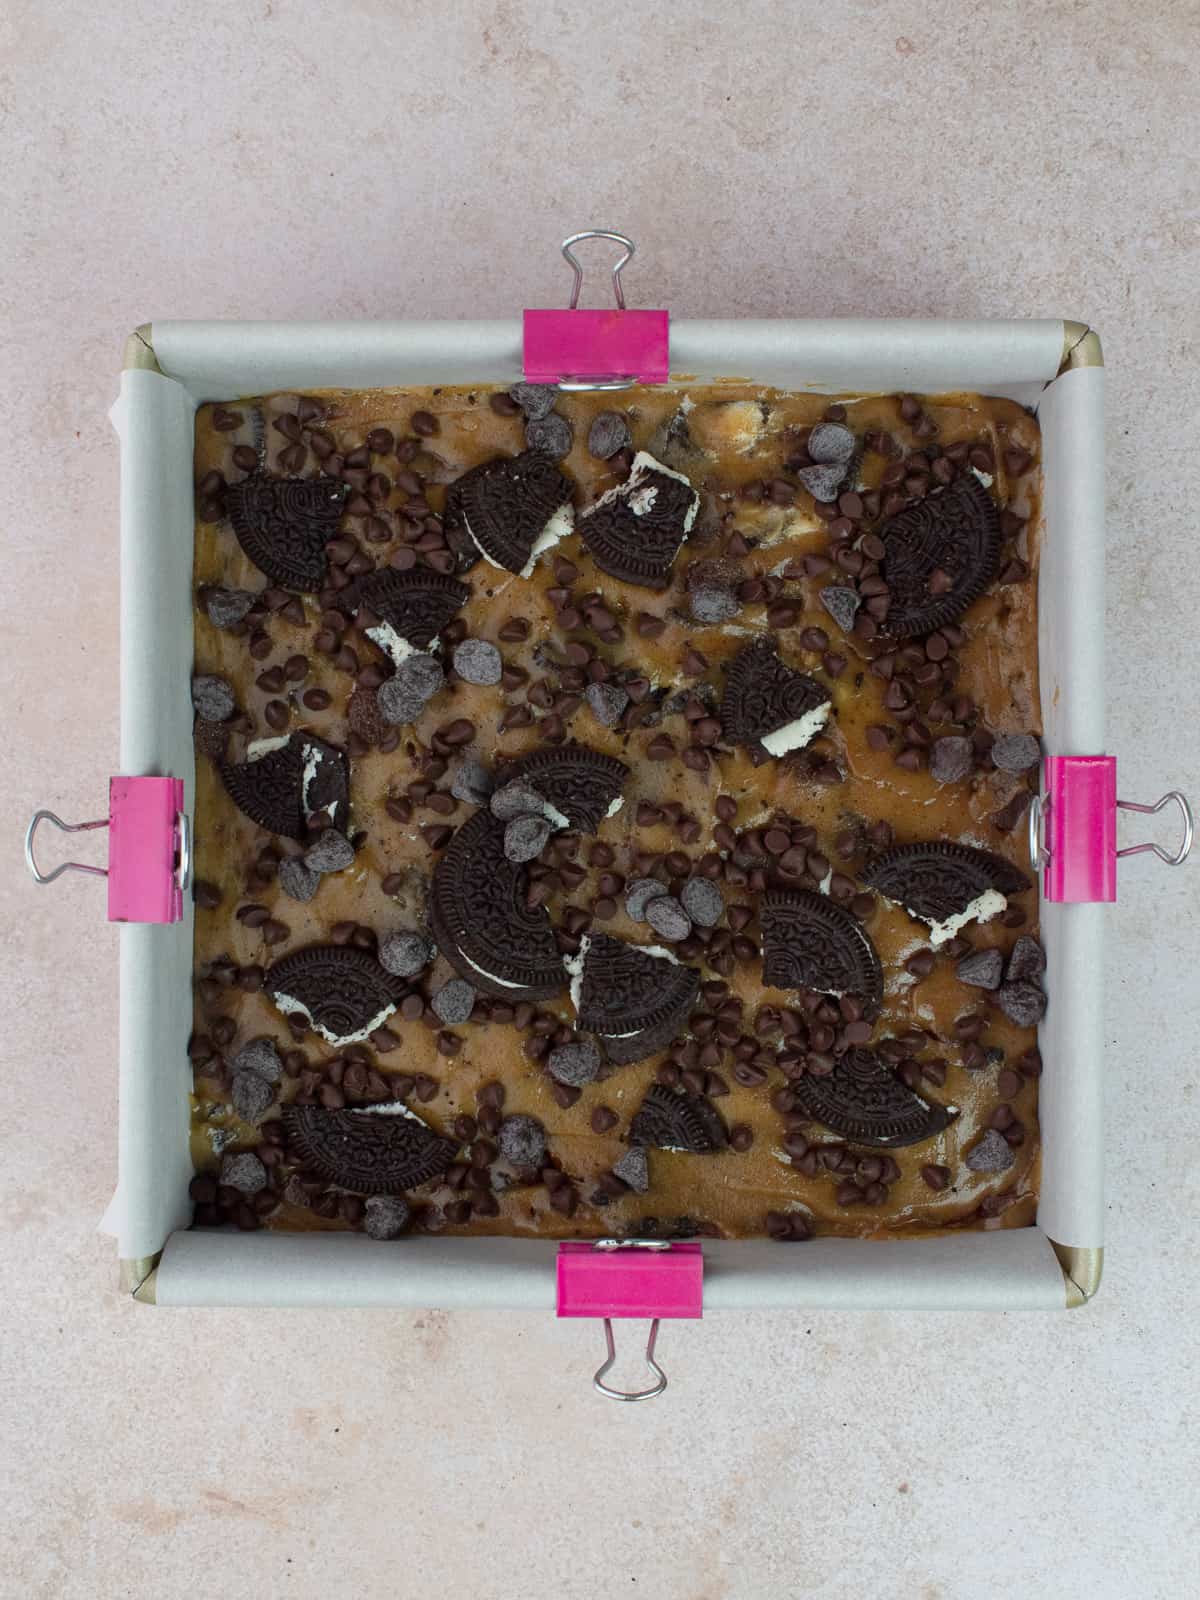
Step 7: Transfer & Bake - Transfer blondie batter into a prepared baking pan. Add a few more Oreo cookies chunks and extra chocolate chips on top. Bake at 350ºF (180ºC) for about 24 to 30 minutes.

Step 8: Cool - Allow to cool completely on a wire rack at room temperature or in the fridge for a few hours.
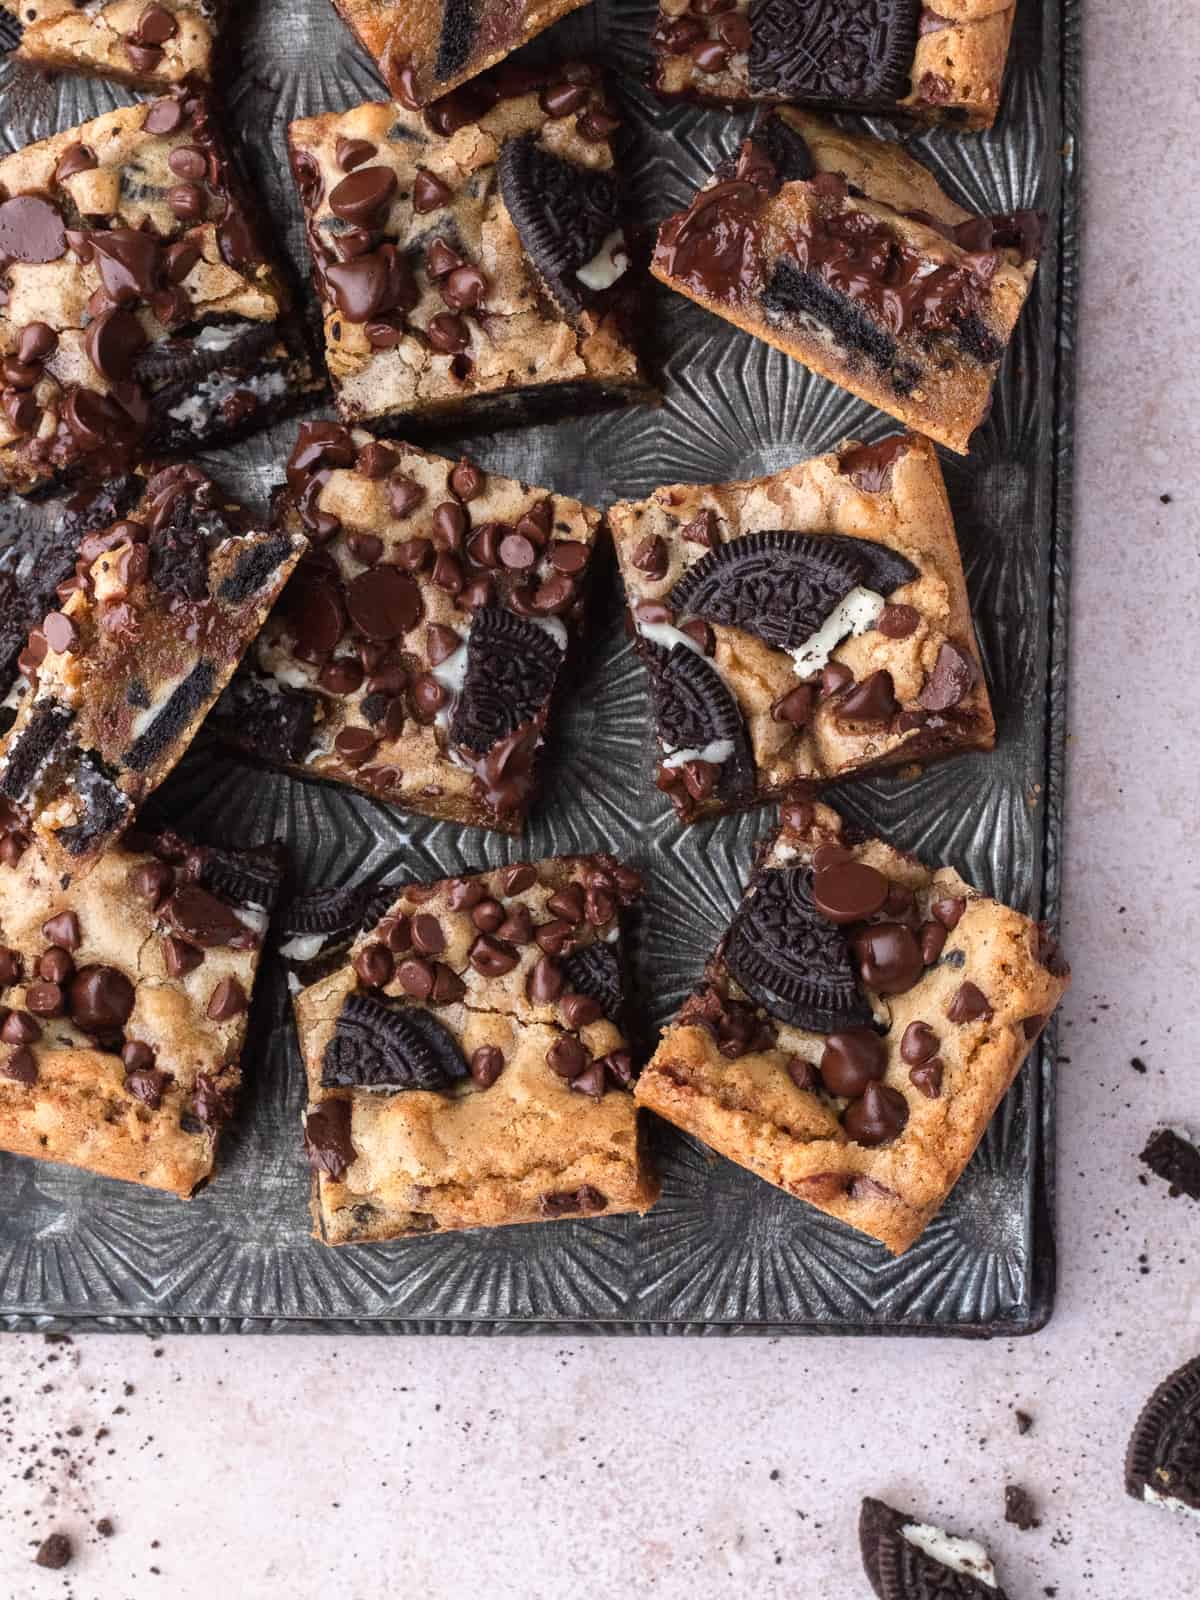
Step 9: Serve & Enjoy - Cut into 16 pieces, serve and enjoy!
TIP: To get clean slices, make sure your blondies are completely cooled! Slice into the blondies and wipe down your knife after each cut.
Substitutions
- For the Brown Butter - If you do not want to brown your butter, you'll need to reduce the butter from 14 tablespoons to 12 tablespoons. The reason why you'll need to adjust the amount is because the water evaporates from the butter when it's browned.
- For the Baking Powder (optional) - It just adds a bit of lift. If you don't have any on-hand, you can omit it completely.
- For the Brown Sugar - You can use light or dark brown sugar.
- For the Chocolate Chips - You can use, chips, chunks or chopped chocolate. I would stick to dark chocolate, rather than milk chocolate, to control the sweetness.
Variations
- Golden Oreo Blondies - For a different take on these blondies, add Golden Oreos and white chocolate or caramel chips.
- Gluten-free - Use gluten-free Oreos and a 1-to-1 cup gluten-free flour blend.
Key Equipment
- Square Baking Pan - 8×8 inch (20×20 cm)
- Small Saucepan or Pot - For browning the butter.
- Bowl
- Whisk
- Cooking Rack
Storage
- Room Temperature -Store in an airtight container on the counter for 3 to 4 days!
- Refrigerator - Store in an airtight container for about 1 week. You can either allow it to come to room temperature before serving or eat it straight out of the fridge.
- Freezer - Store the cooled pieces of blondies in a freezer bag for up to 2 months. Just thaw overnight in the fridge and then eat cold or allow to come to room temperature before serving.
💡 Expert Tips
Brown your butter. Browning butter may seem like a lot of work, but it's really easy and totally worth it! It adds a wonderful nutty flavor to your blondies.
Use a kitchen scale to weigh all your ingredients. Baking in grams rather in volume is the best and most accurate way to bake! All my recipes include gram conversions based on King Arthur's Weight Chart.
If you are not using a kitchen scale, measure your flour correctly. Fluff and aerate your flour first, then spoon into your measuring cup and finally level off with the back of a butter knife. Do not pack it in as it will add too much flour.
Do not overmix. When combining your flour, mix until there are very few flour streaks left. Overmixing will cause the gluten in the dough to overdevelop.
Do not overbake. Your baking time can vary depending on your oven. We want these blondies to be soft and gooey so err on the side of underbaking them slightly. It's ready when the edges are golden brown and is middle is set and not jiggly.
Bake in a metal pan. For best results, bake in a metal pan, not glass.
Line your pan with parchment paper. For easy removal, don't forget to line your baking pan.
Cool completely before serving. For clean slices, allow to cool completely before cutting into it.
FAQ
Blondies are occasionally referred to as "blonde brownies". In place of cocoa powder, vanilla and brown sugar are the main flavor profile for blondies.
You can, however, they will be much flatter. I have not tested them in a 9×9 inch pan, but I'd keep an eye on them as the baking time will be less.
Yes! Use gluten-free Oreos and a 1-to-1 cup gluten-free flour blend.
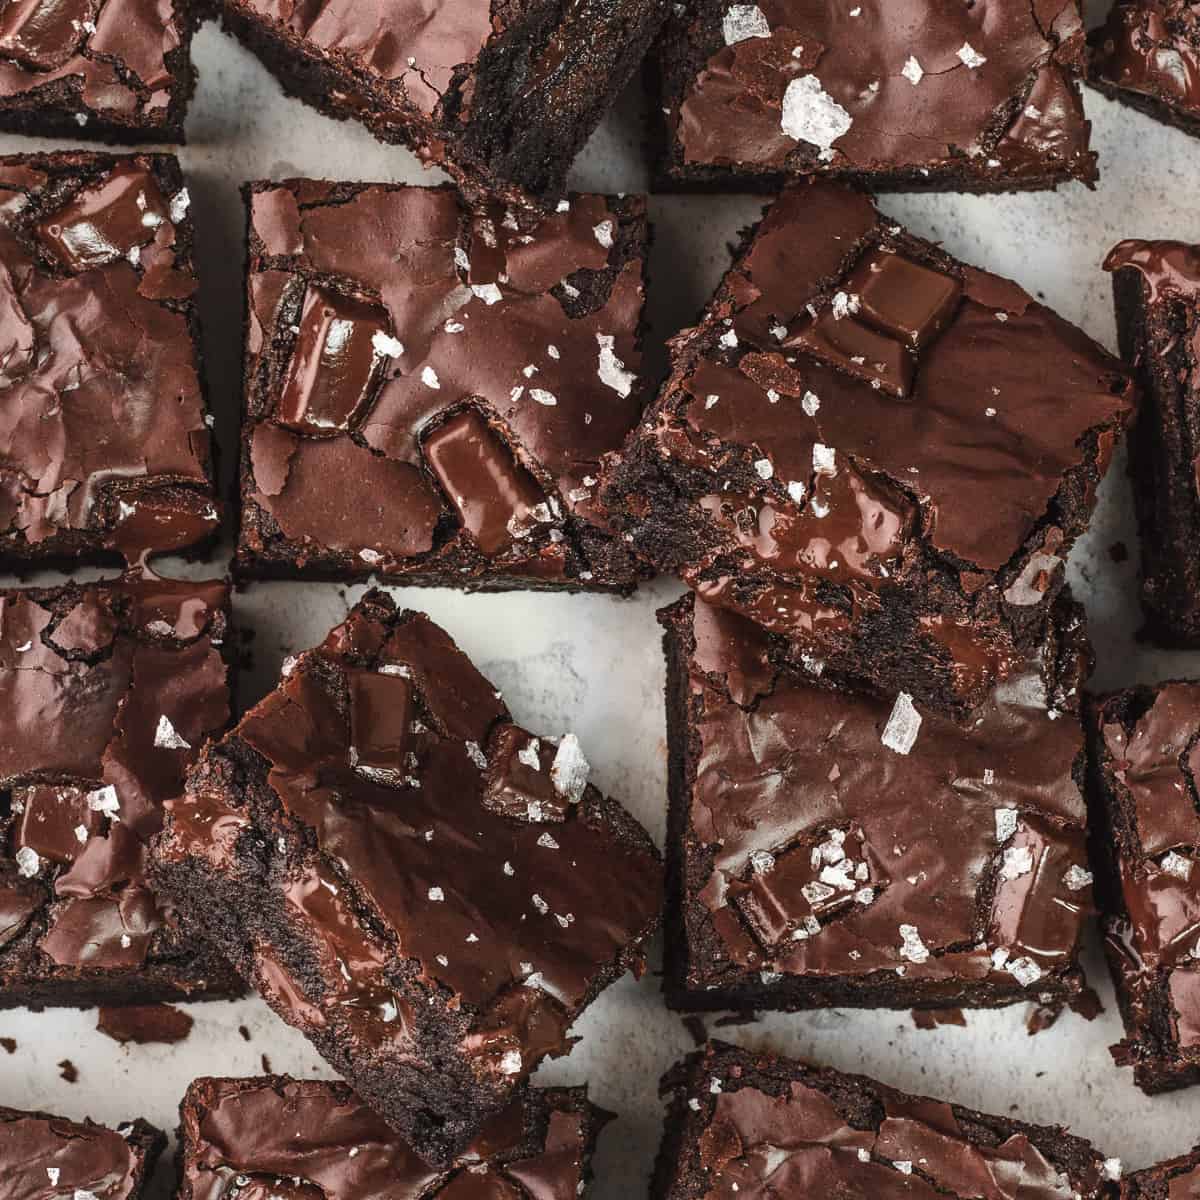
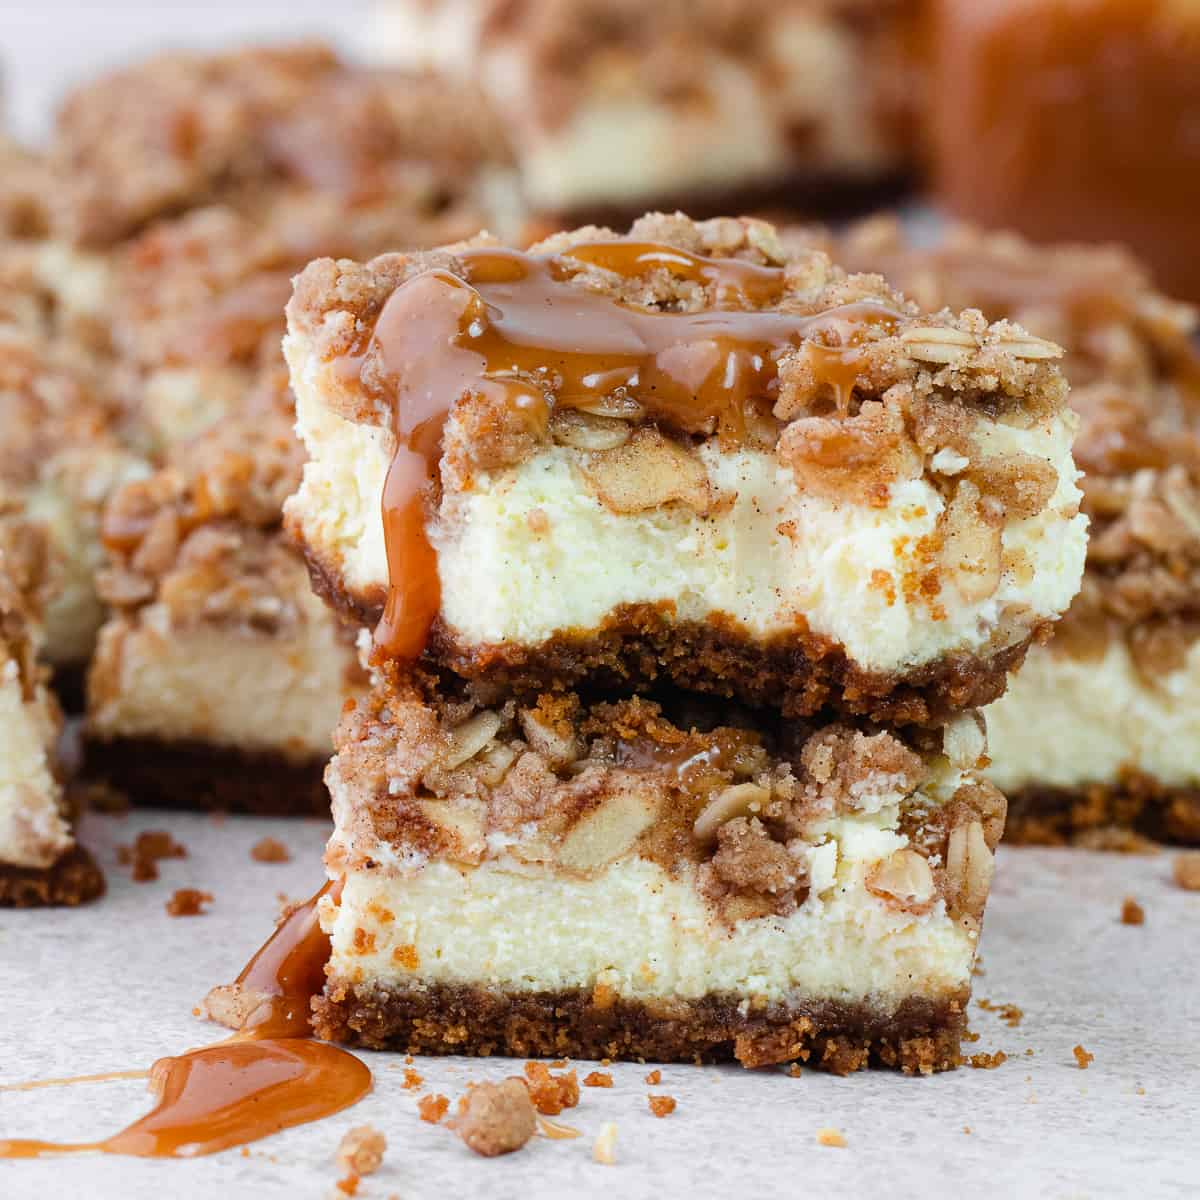
More Brownies And Bars
Did you try this recipe? Please consider leaving a 5-star rating and review below. This provides helpful feedback to myself and other readers. Thank you so much! ♡
📖 Recipe
Brown Butter Oreo Blondies
INGREDIENTS
- 14 Tablespoons (197g) Unsalted Butter browned
- 1 ½ Cups (190g) All-Purpose Flour
- ¼ Teaspoon Baking Powder (optional)
- ½ Teaspoon Fine Sea Salt
- 1 ¼ Cup (250g) Dark or Light Brown Sugar packed
- 1 Whole Large Egg + 1 Yolk room temp
- 2 Teaspoons Vanilla Paste or Extract
- 1 Cup (170g) Chocolate Chips or Chunks
- 9 Oreo Cookies + more for the top roughly chopped
Instructions
- Make the Brown Butter - In a light colored saucepan and over medium heat, add unsalted butter. Swirl the pan and keep the butter moving around constantly. Once completely melted, the butter will foam and sizzle and gradually start to brown and deepen in color. You'll notice a nutty aroma and tiny brown specks at the bottom of the pan. The whole process should take about 10 minutes. Be careful not to burn it.14 Tablespoons (197g) Unsalted Butter
- Combine Brown Butter & Brown Sugar - Once your butter is a done, quickly transfer to a large glass bowl. Make sure to scrape all the tiny brown bits at the bottom of the pan into the bowl. Then immediately add your brown and mix to combine. Allow to sit on the counter for 10 minutes.
- Prep Oven & Pan - Meanwhile, place a rack in the center of the oven and preheat it to 350ºF (176ºC). Prepare an 8x8 inch (20x20cm) square pan by buttering and lining with parchment paper, leaving an overhang for easy removal.
- Combine Dry Ingredients - Sift in the all-purpose flour, baking powder (if using) and salt; mix until there are very few flour streaks left. Do not overmix.1 ½ Cups (190g) All-Purpose Flour½ Teaspoon Fine Sea Salt¼ Teaspoon Baking Powder (optional)
- Combine Wet Ingredients - Once the brown butter/sugar mixture has cooled to a luke warm, add 1 whole egg, 1 yolk and vanilla and whisk until well combined.1 ¼ Cup (250g) Dark or Light Brown Sugar1 Whole Large Egg + 1 Yolk2 Teaspoons Vanilla Paste or Extract
- Add Mix-Ins - Add Oreo cookie pieces, chocolate chips or chunks and gently fold in to the batter. 1 Cup (170g) Chocolate Chips or Chunks9 Oreo Cookies + more for the top
- Transfer & Bake - Transfer to your prepared pan and add a few more cookie pieces and chocolate chips on top. Bake for 24 to 30 minutes. Do not overbake!
- Serve & Enjoy - Allow to cool completely at room temperature or in the fridge. Cut into 9 or 16 equal pieces and Enjoy!
Amy says
These were simple to make and such easy directions to follow! My husband requested these to bring to a work event, and they were the first dessert gone! A huge hit! Thanks for such a yummy recipe!!
Lisa says
Hi Amy, thank you so much for your wonderful review!! YAY, makes me so happy to hear that it was a huge hit! 😍
Maddie says
I saw these on insta and had it on my bake list for a while. I finally made them and oh man…these were SO GOOD!! 😍 I added sprinkles for my boyfriend’s birthday and he loooooved them! HIGHLY recommend!!
Lisa says
Hi Maddie, aah I'm so happy you got a chance to bake them! They do not disappoint! Thank you so much for your review!🤗