I'm so excited to announce that Short Stack Kitchen turns one today!! Yay!
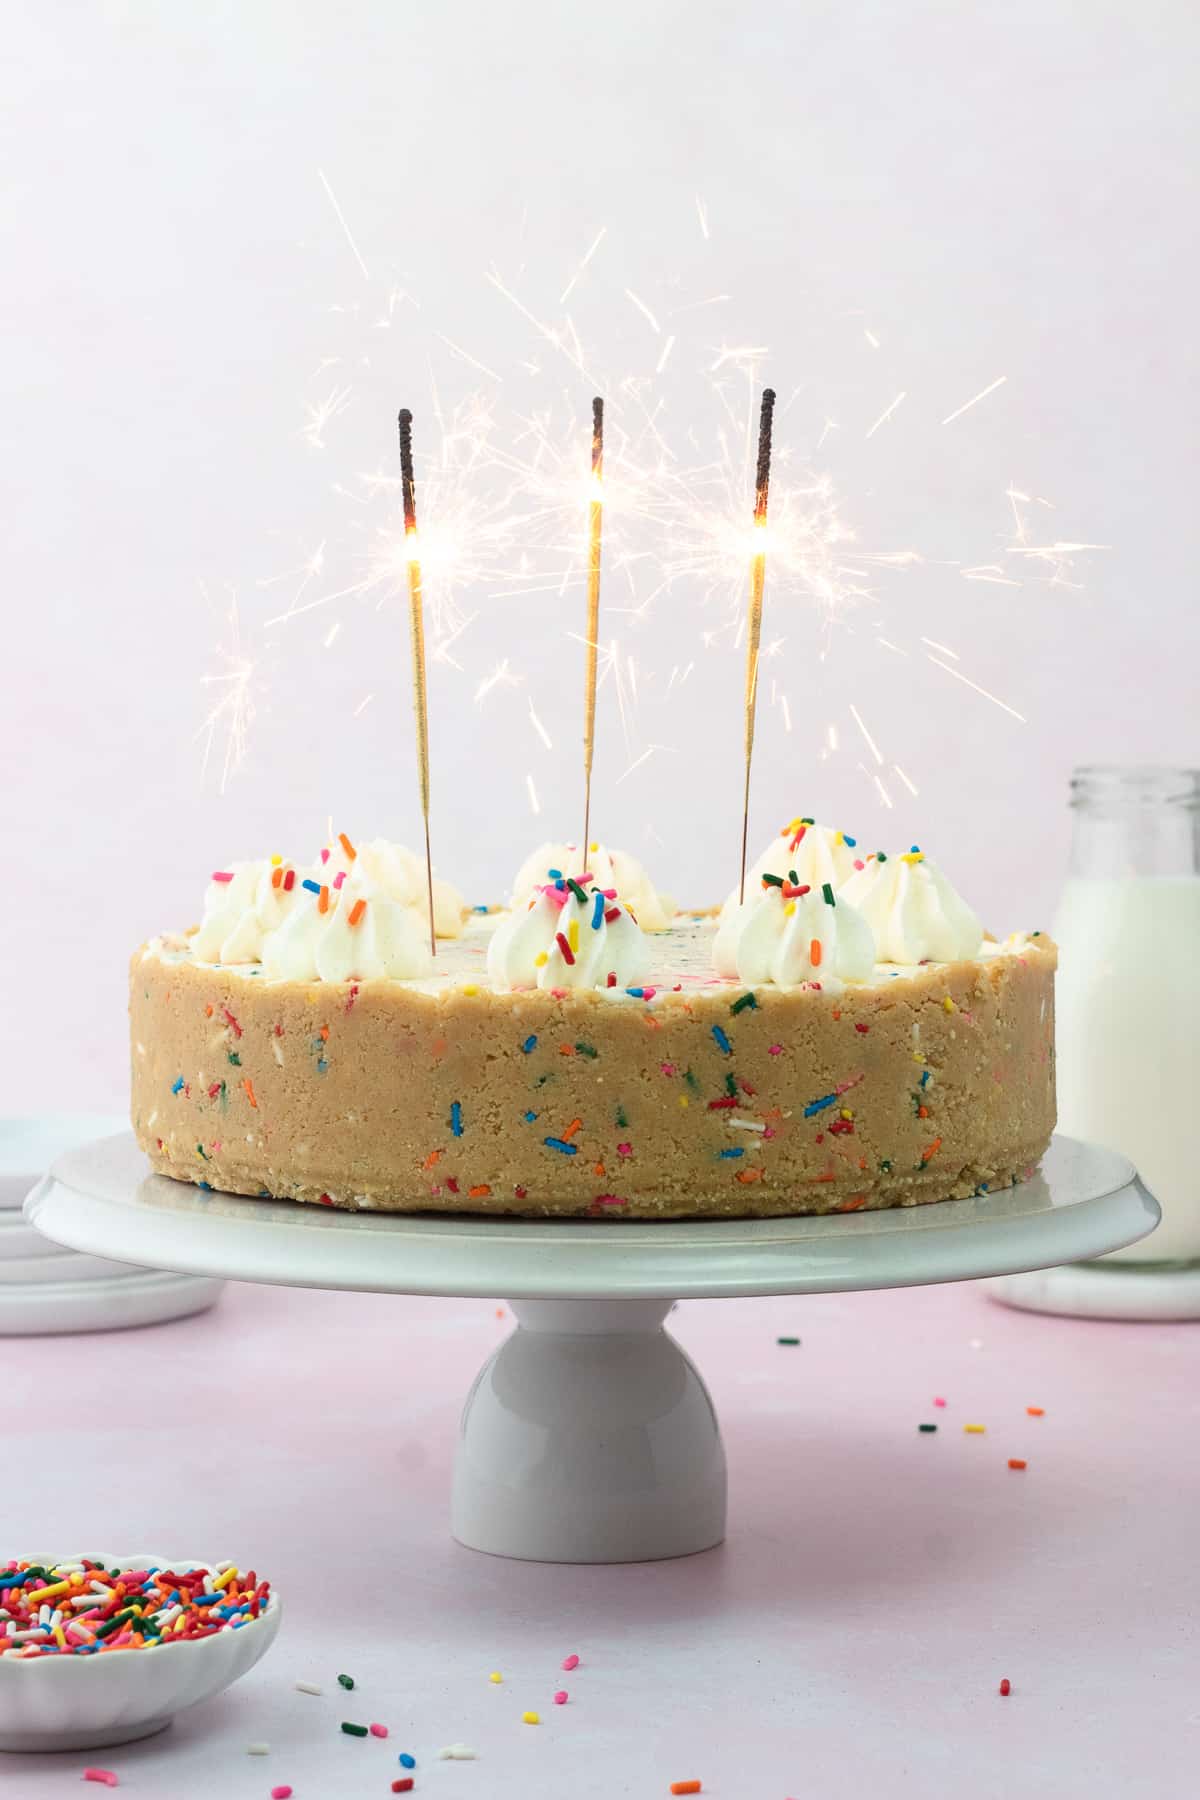
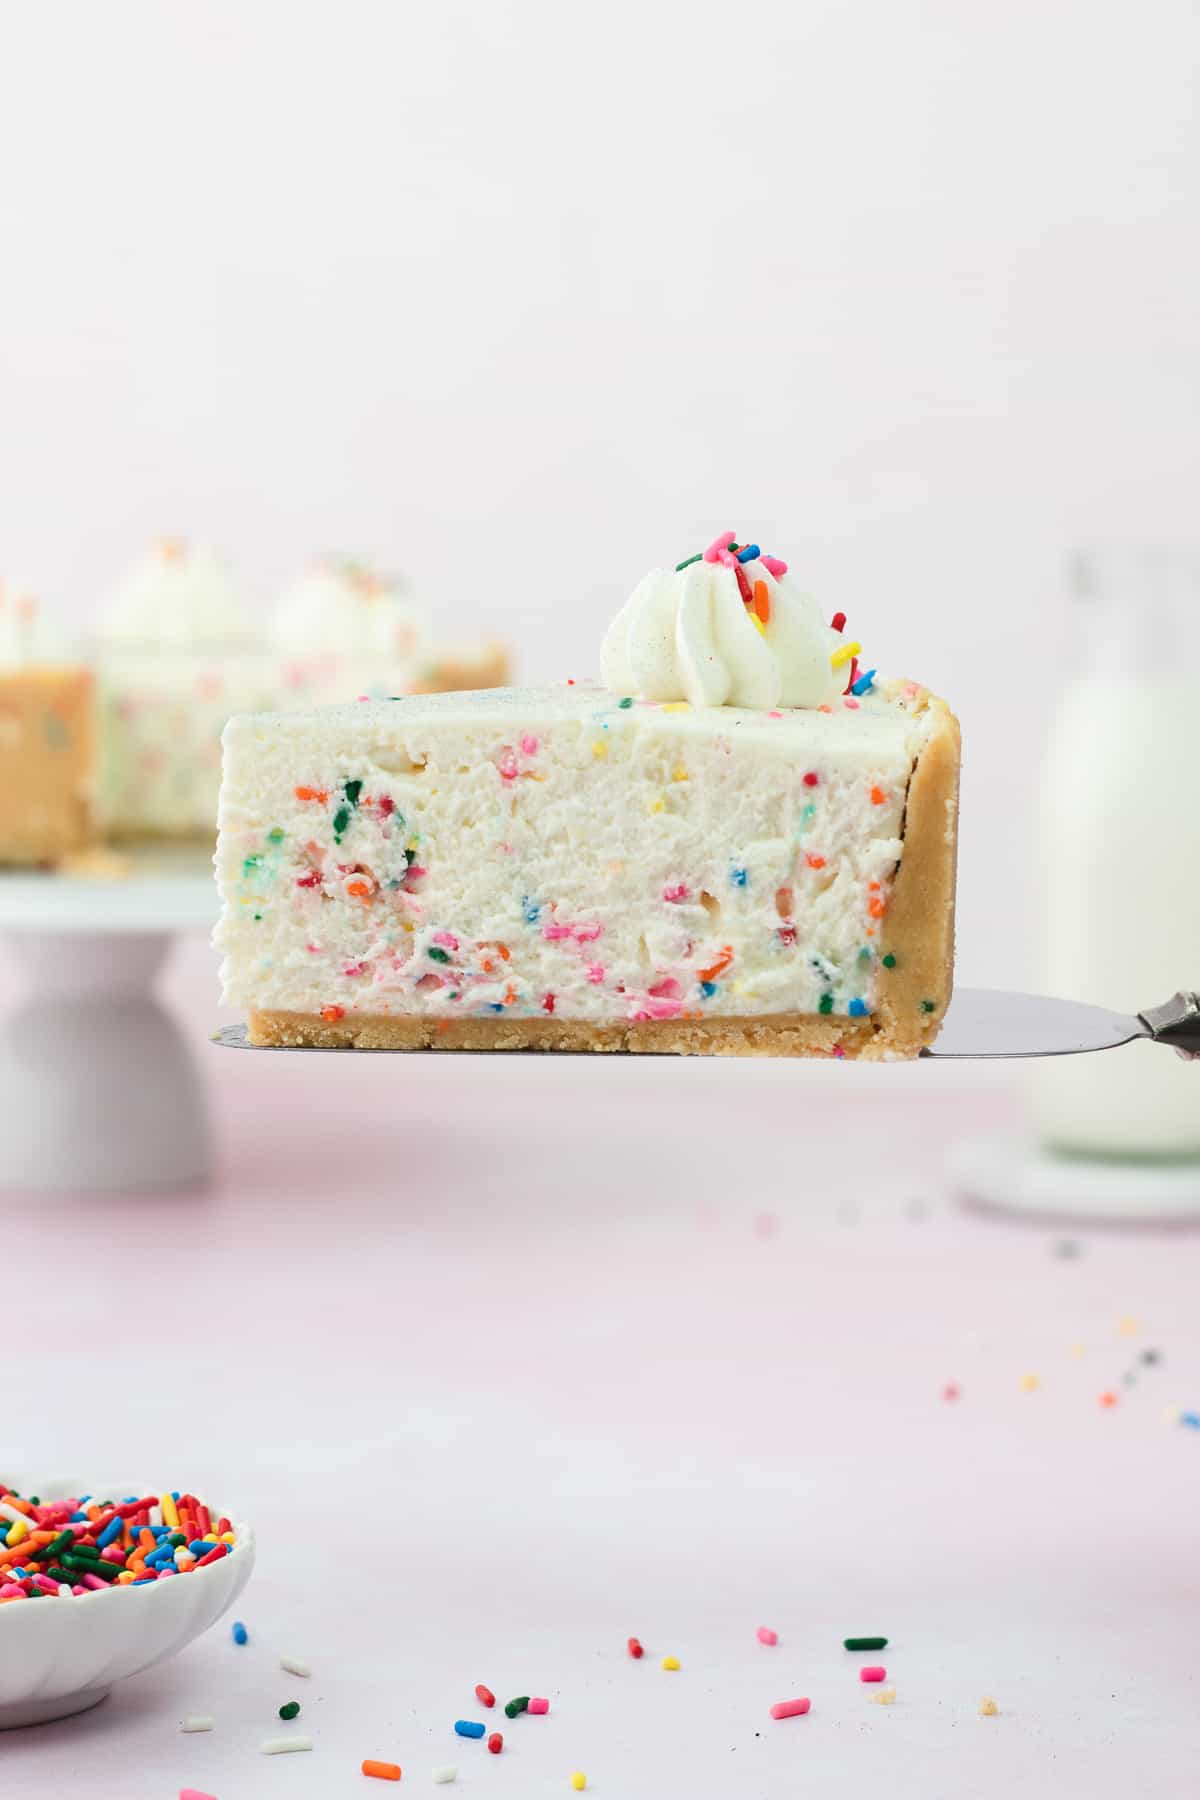
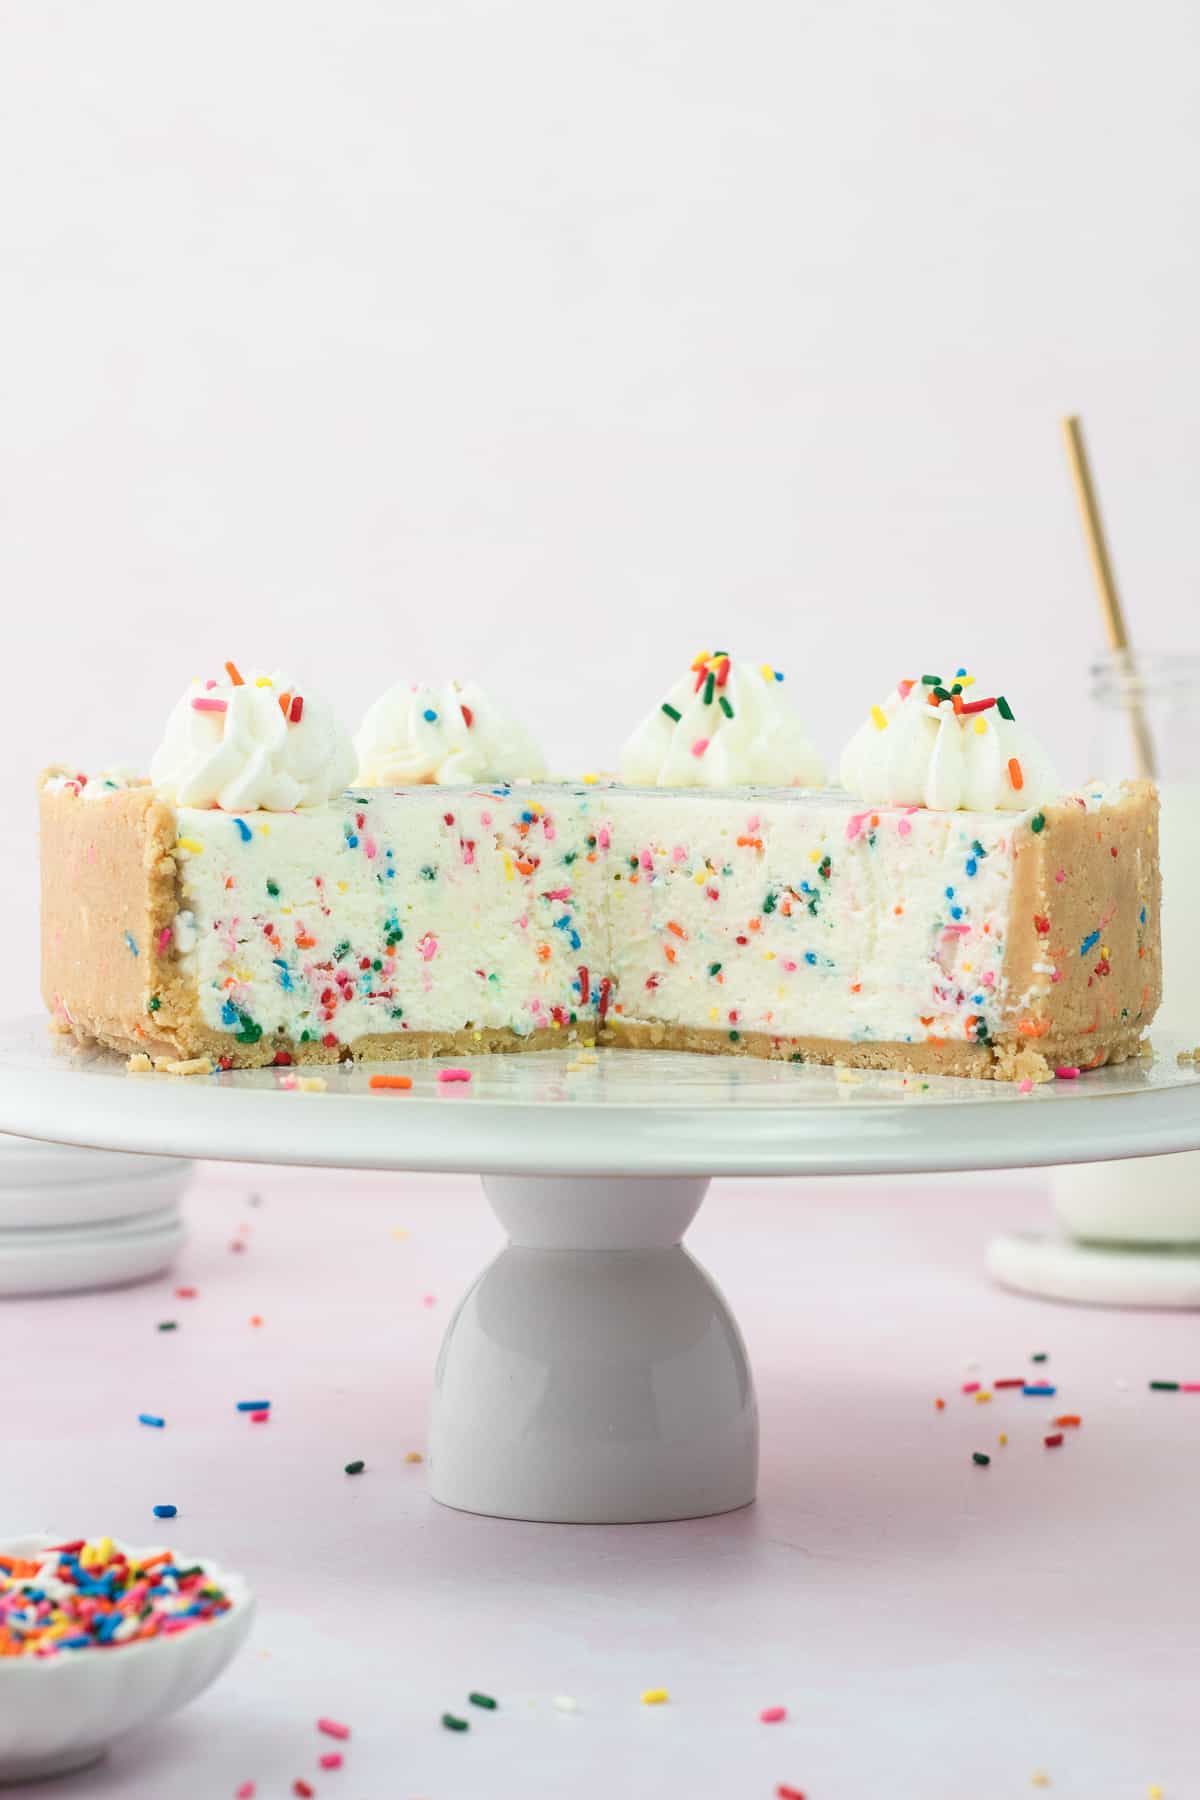
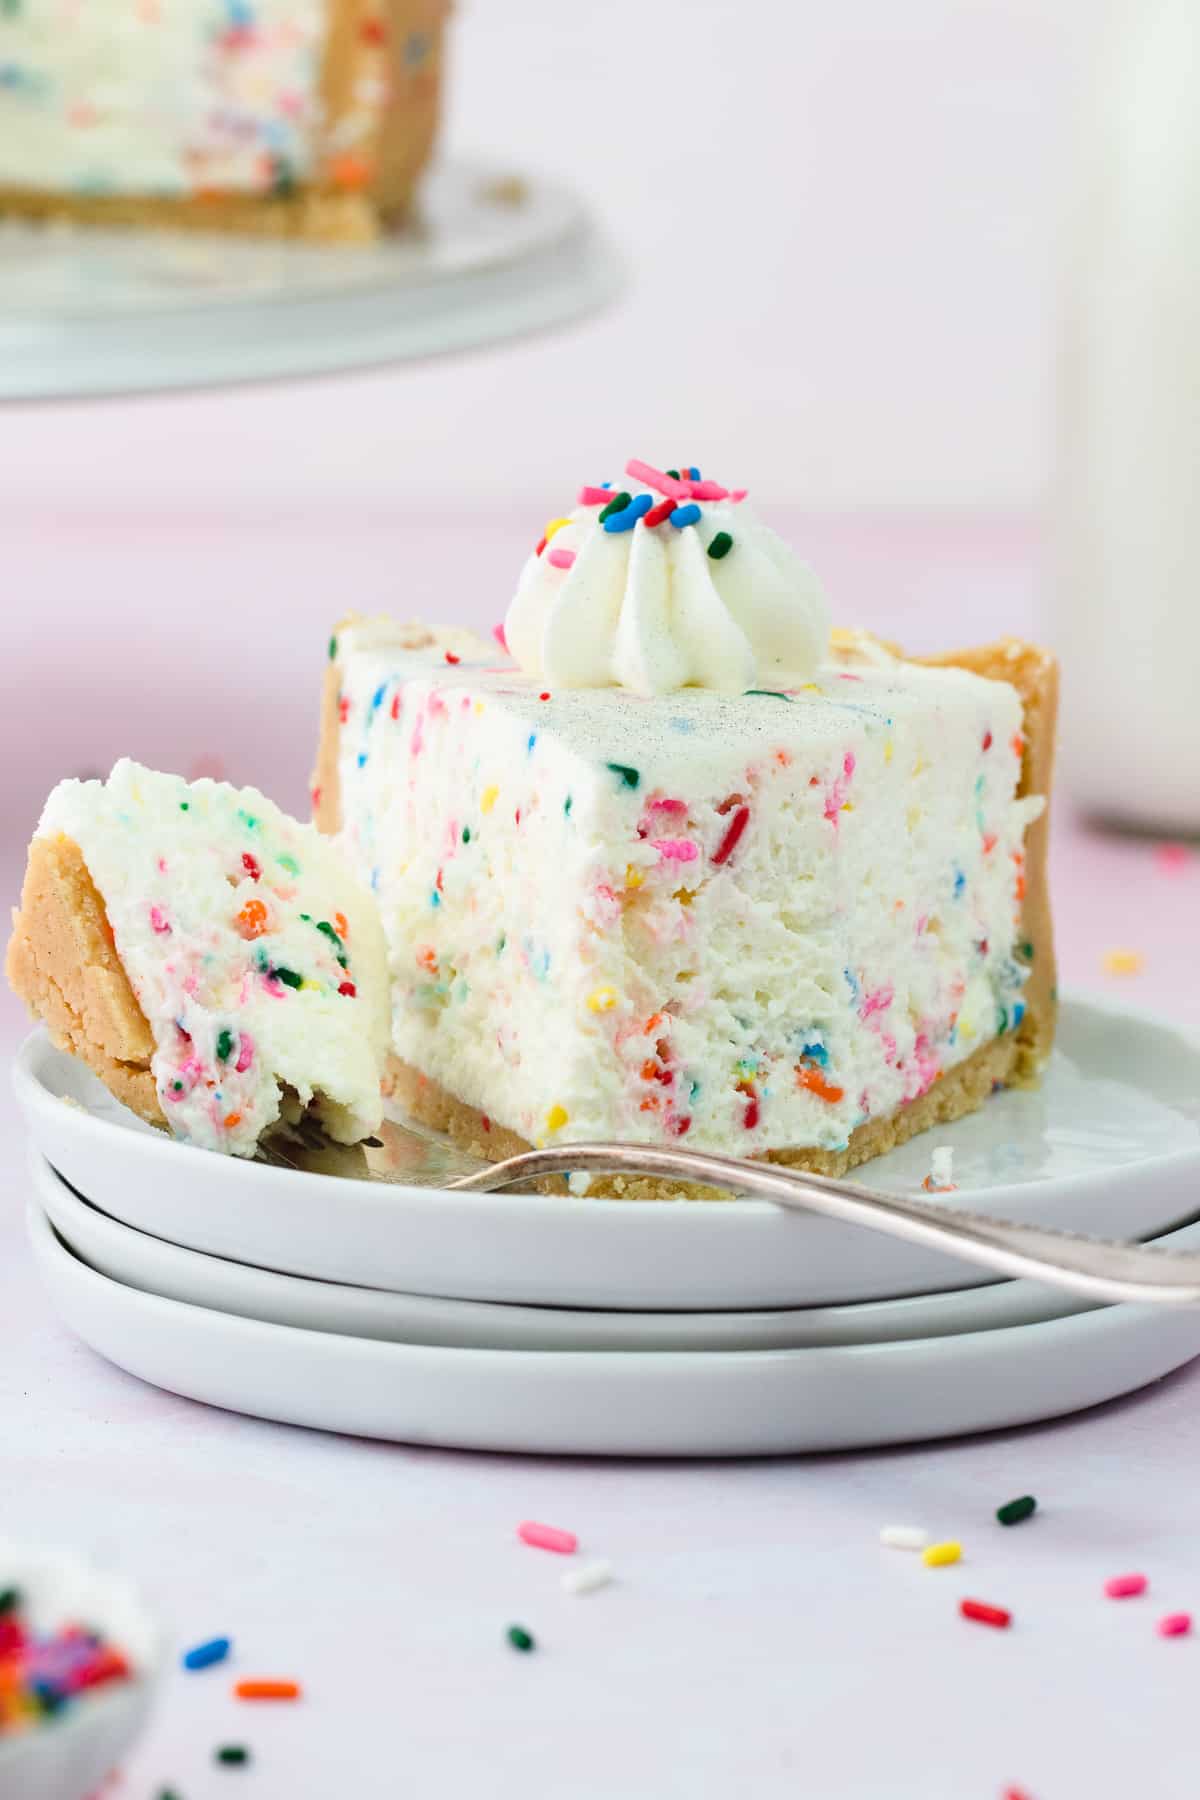
To celebrate this little milestone, we are making this Incredible no-bake Funfetti Cheesecake that's perfect for any occasion! A Golden Oreo cookie crust studded with sprinkles and a dreamy vanilla cheesecake filling loaded with bright sprinkles!
I can't believe that year ago today, I hit publish on my very first blog post! Blogging, recipe development and photography has been such a rewarding experience and I'm so grateful that I get to share this with you. Thank you for all your support and for being here!!
Jump to:
♡ Why You Will Love This Funfetti Cheesecake
- So easy to make. This no-bake cheesecake does not require a water bath and whips up in 30 minutes.
- Texture. Since we are whipping heavy cream into the cheesecake base, the texture is super light and fluffy.
- Rainbow sprinkles. Sprinkles make any occasion so festive.
- Can be made days ahead. Make up to 3 days ahead and store it in the fridge until you're ready to serve.
Check out these no-bake cheesecakes next! Strawberry Shortcake Cheesecake, Biscoff Pumpkin Cheesecake Jars and No-Bake Blackberry Honey Cheesecake.
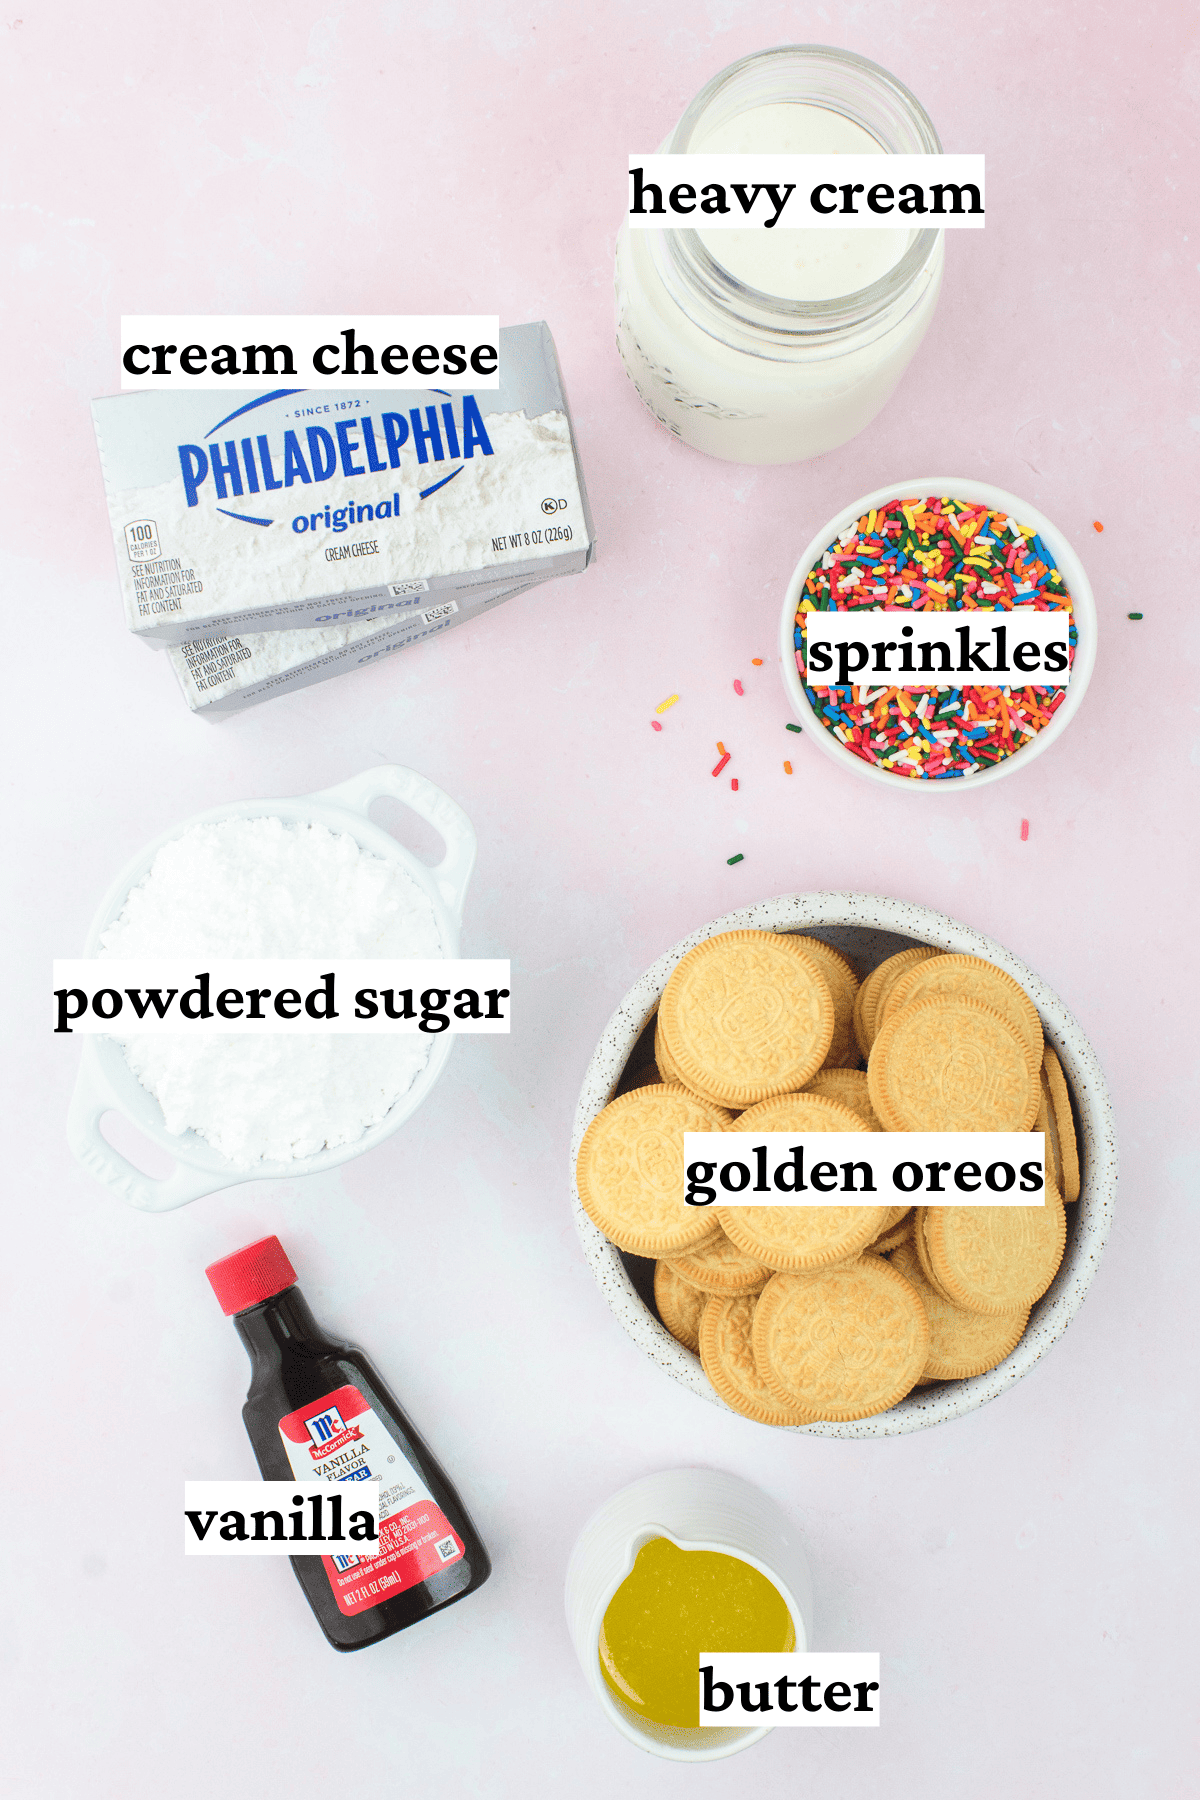
Ingredient Notes
Here are some notes about all the ingredients used for no-bake Funfetti Cheesecake. Quantities and full instructions are in the recipe card below!
Golden Oreo Crust
- Golden Oreos. We'll be using whole Golden Oreos (with filling) for the crust. You can also make a graham cracker crust.
- Butter. Unsalted melted butter helps bind the no-bake crust.
Vanilla Cheesecake Filling
- Cream Cheese. Use blocks of cream cheese, not whipped cream cheese. Philadelphia cream cheese is my favorite.
- Heavy Cream. Whipped to stiff peaks. Gives the cheesecake structure and it's mouselike texture.
- Powdered Sugar. Helps thicken the filling.
- Clear Vanilla. I am using Clear Vanilla for that classic funfetti taste, but you can use pure vanilla. You can also add a bit of almond extract.
- Sprinkles. For best results, we are using rainbow jimmies.
*See recipe card for quantities.
Step-by-Step Instructions
Here are step-by-step photos and instructions on how to make this Funfetti Cheesecake! Please find detailed instructions in the recipe card at the end of this post.
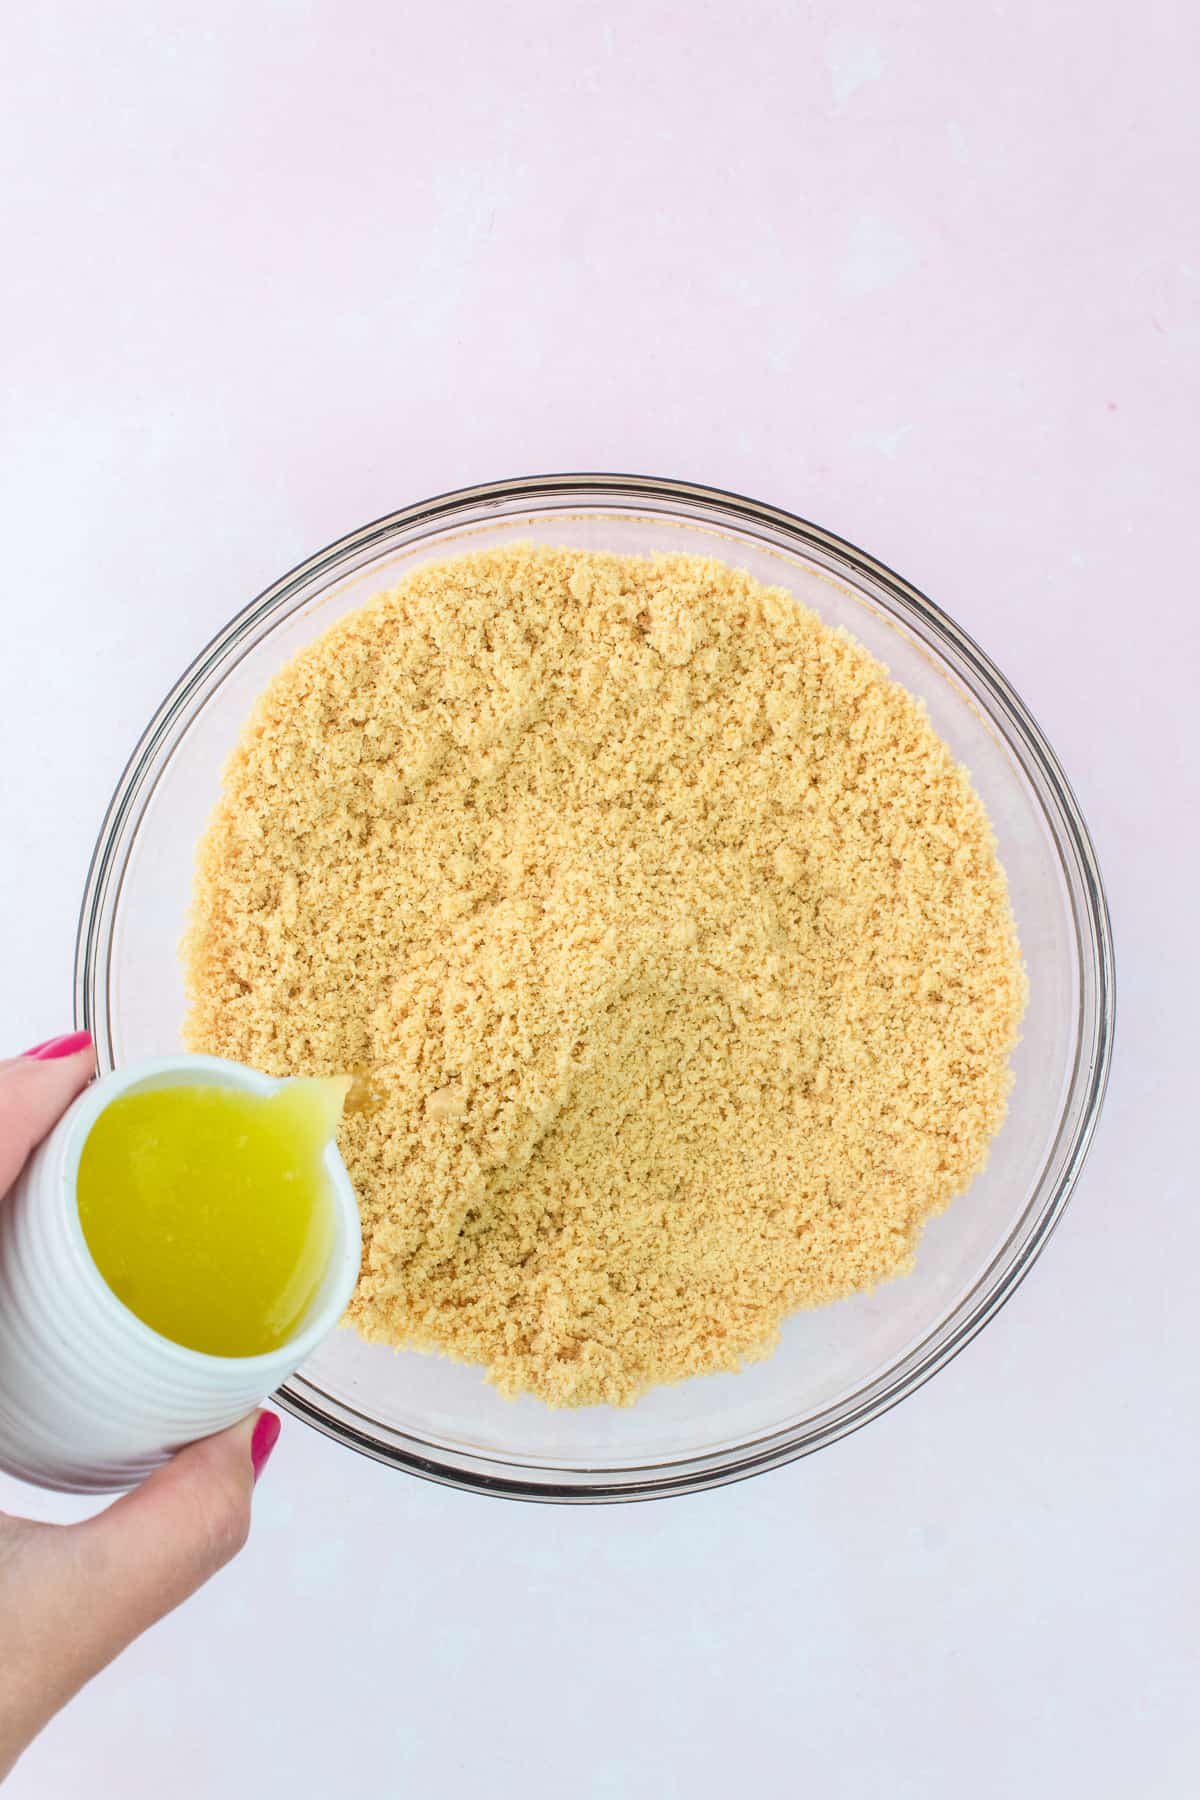
Step 1 - Make the crust - In the bowl of your food processor fitted with an 'S' blade, pulse whole golden Oreo cookies into fine crumbs. Transfer crumbs to a bowl and toss with melted butter. Crumbs should resemble wet sand and hold together when squeezed. Then, mix in the sprinkles.
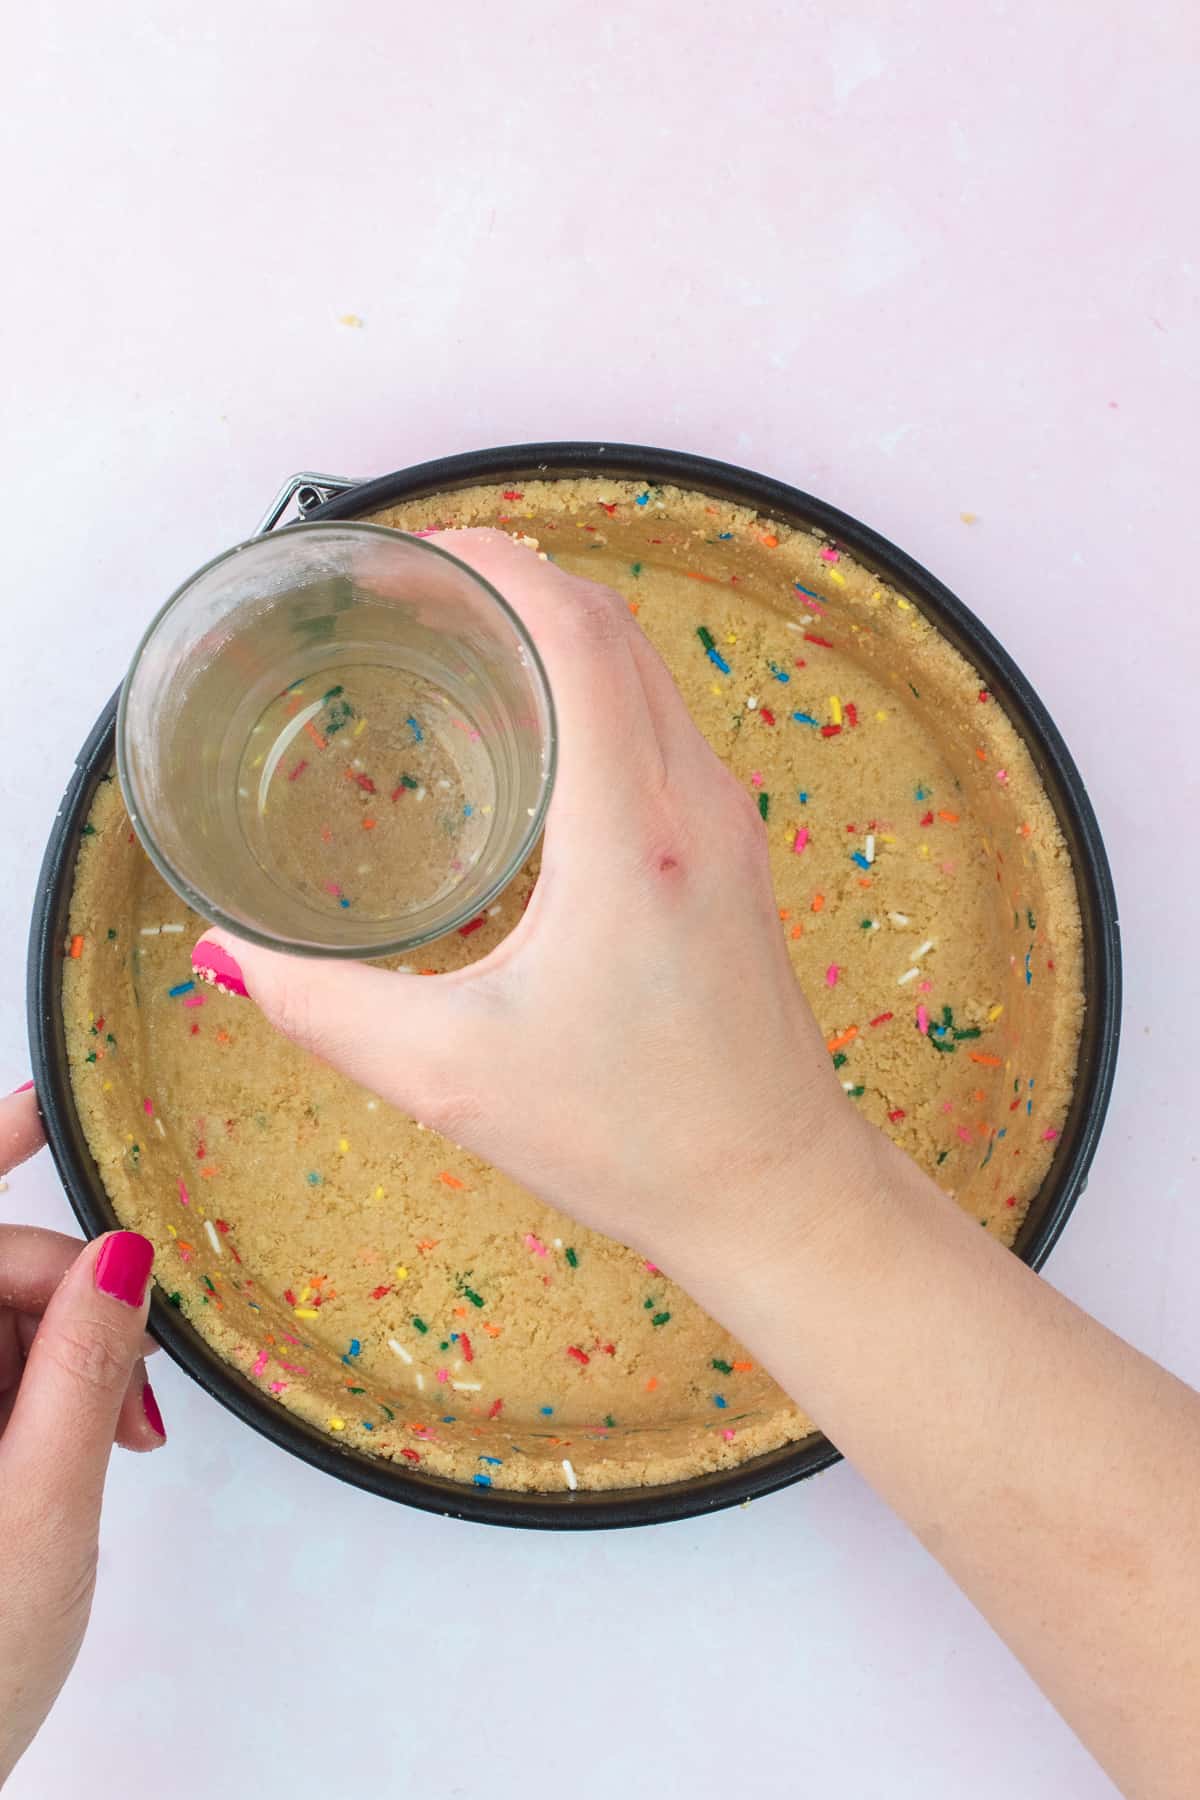
Step 2 - Transfer the crumbs to a 8-inch (20cm) springform pan and firmly press into the bottom and up the sides of the pan. For best results use a drinking glass with straight sides. Place in the freezer while we work on the filling.
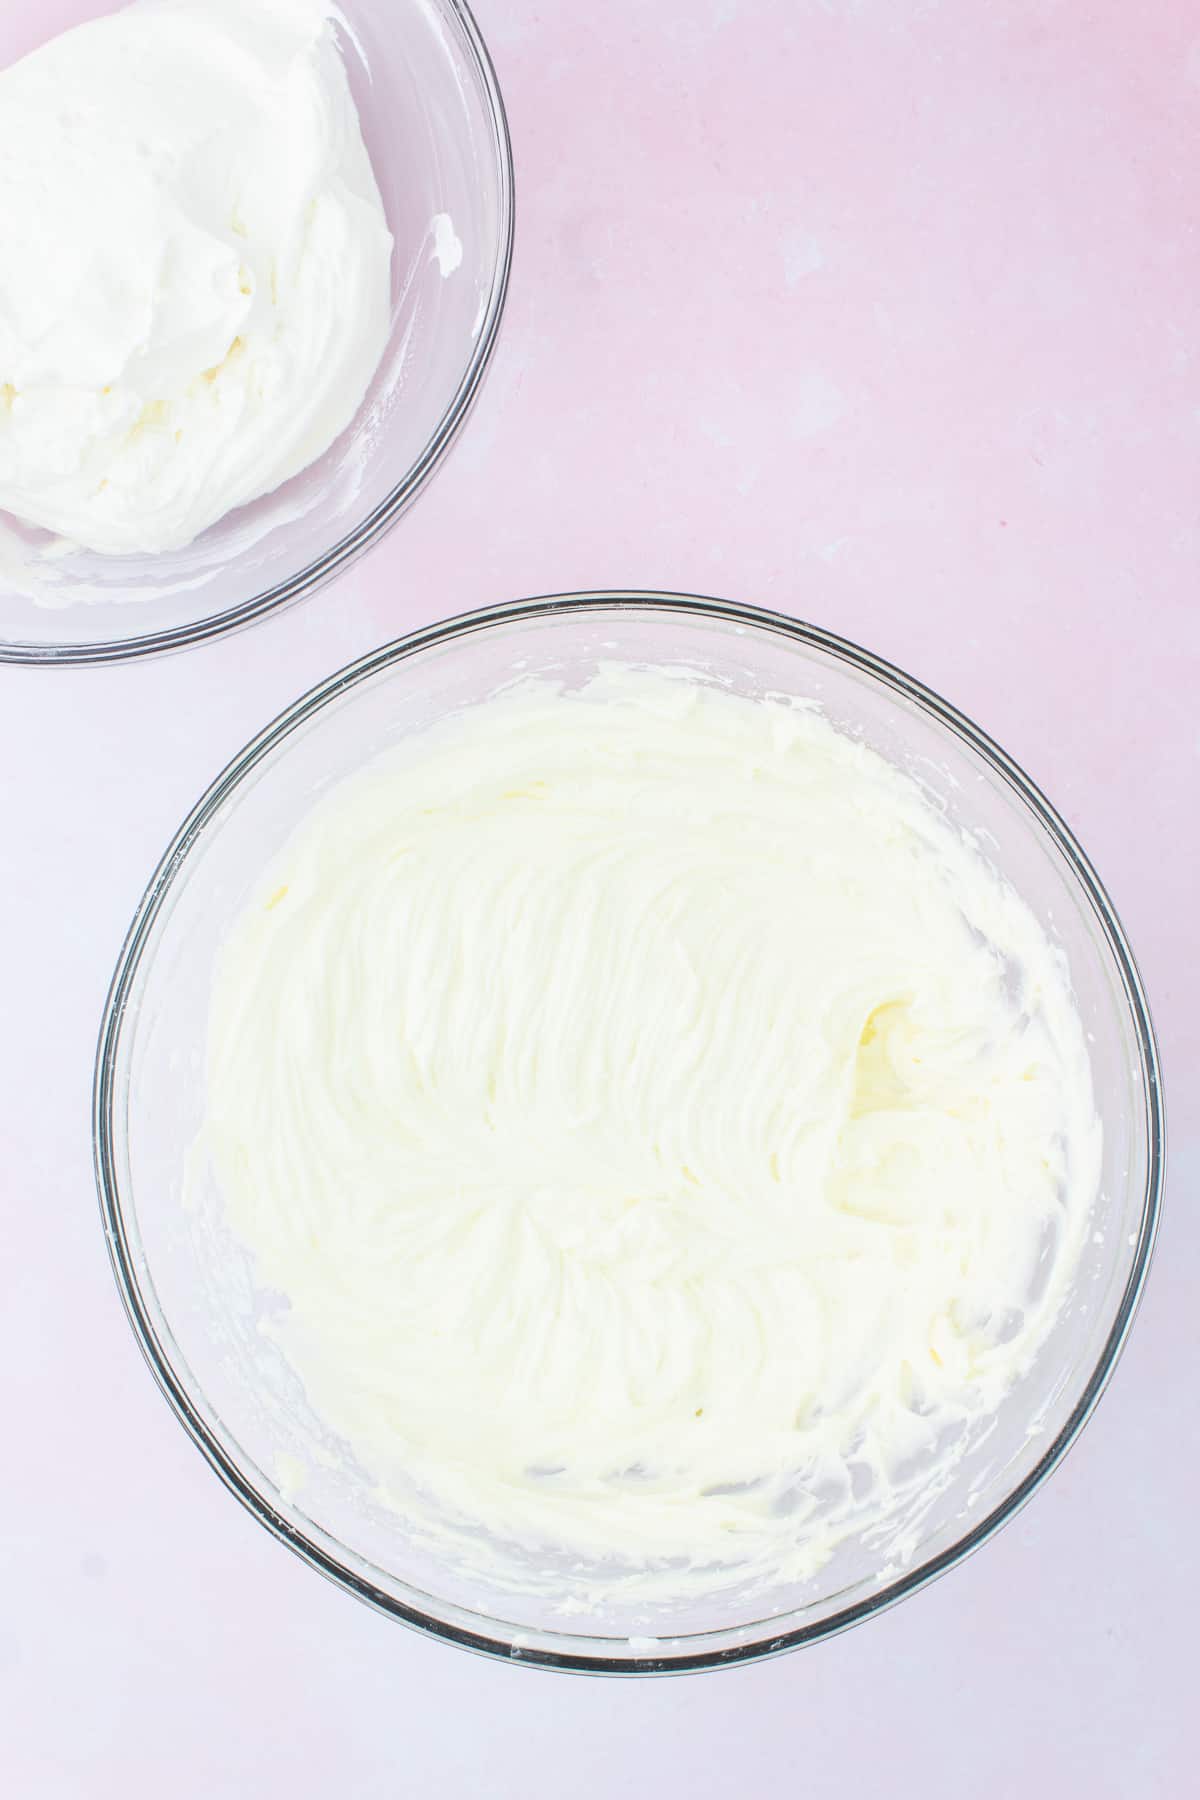
Step 3 - Make the Cheesecake Filling - Add heavy cream to a medium bowl. With an electric hand mixer, whisk the cream on medium speed until you reach stiff peaks. Do not over whip it! Set aside.
Step 4 - In a large mixing bowl, whisk room temperature cream cheese until smooth. Use the same beaters as there is no need to clean them. Add sifted confectioners' sugar and vanilla and mix until combined.
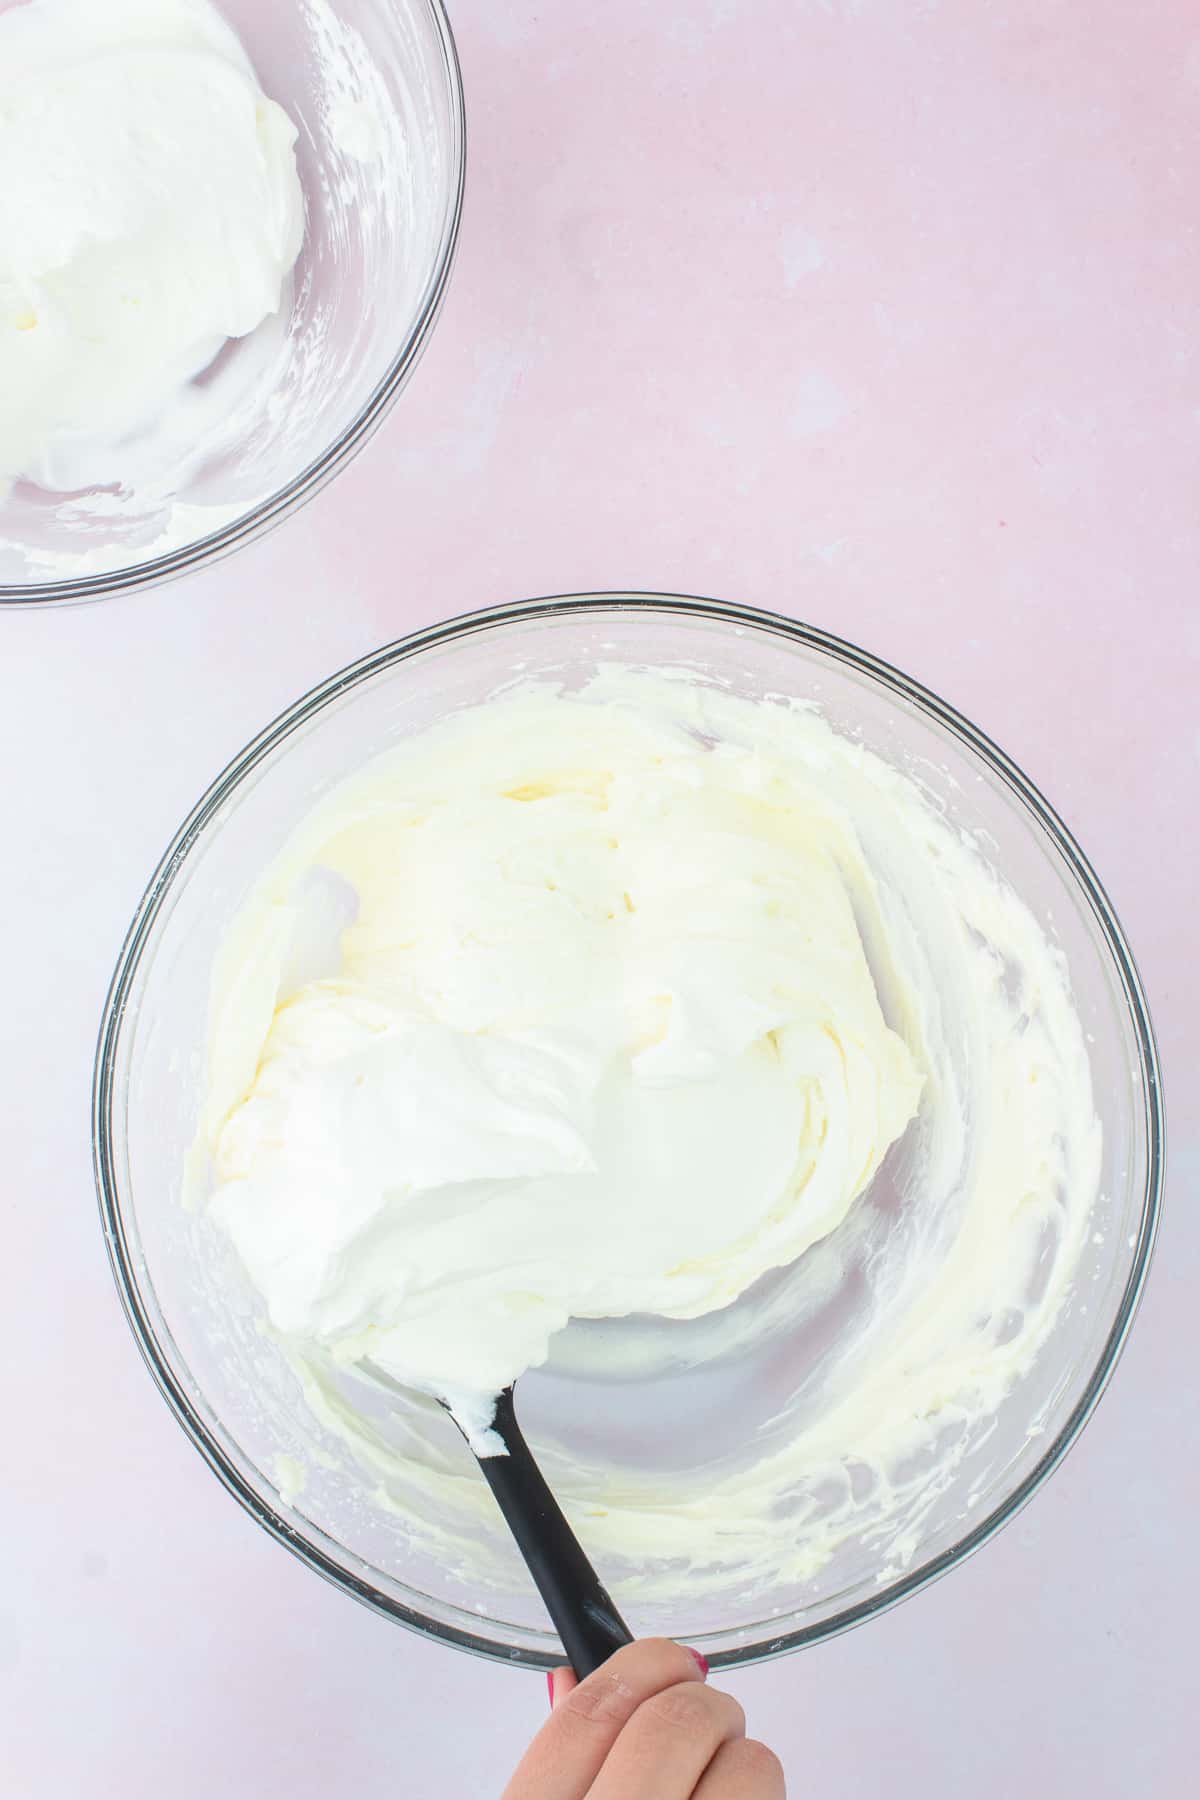
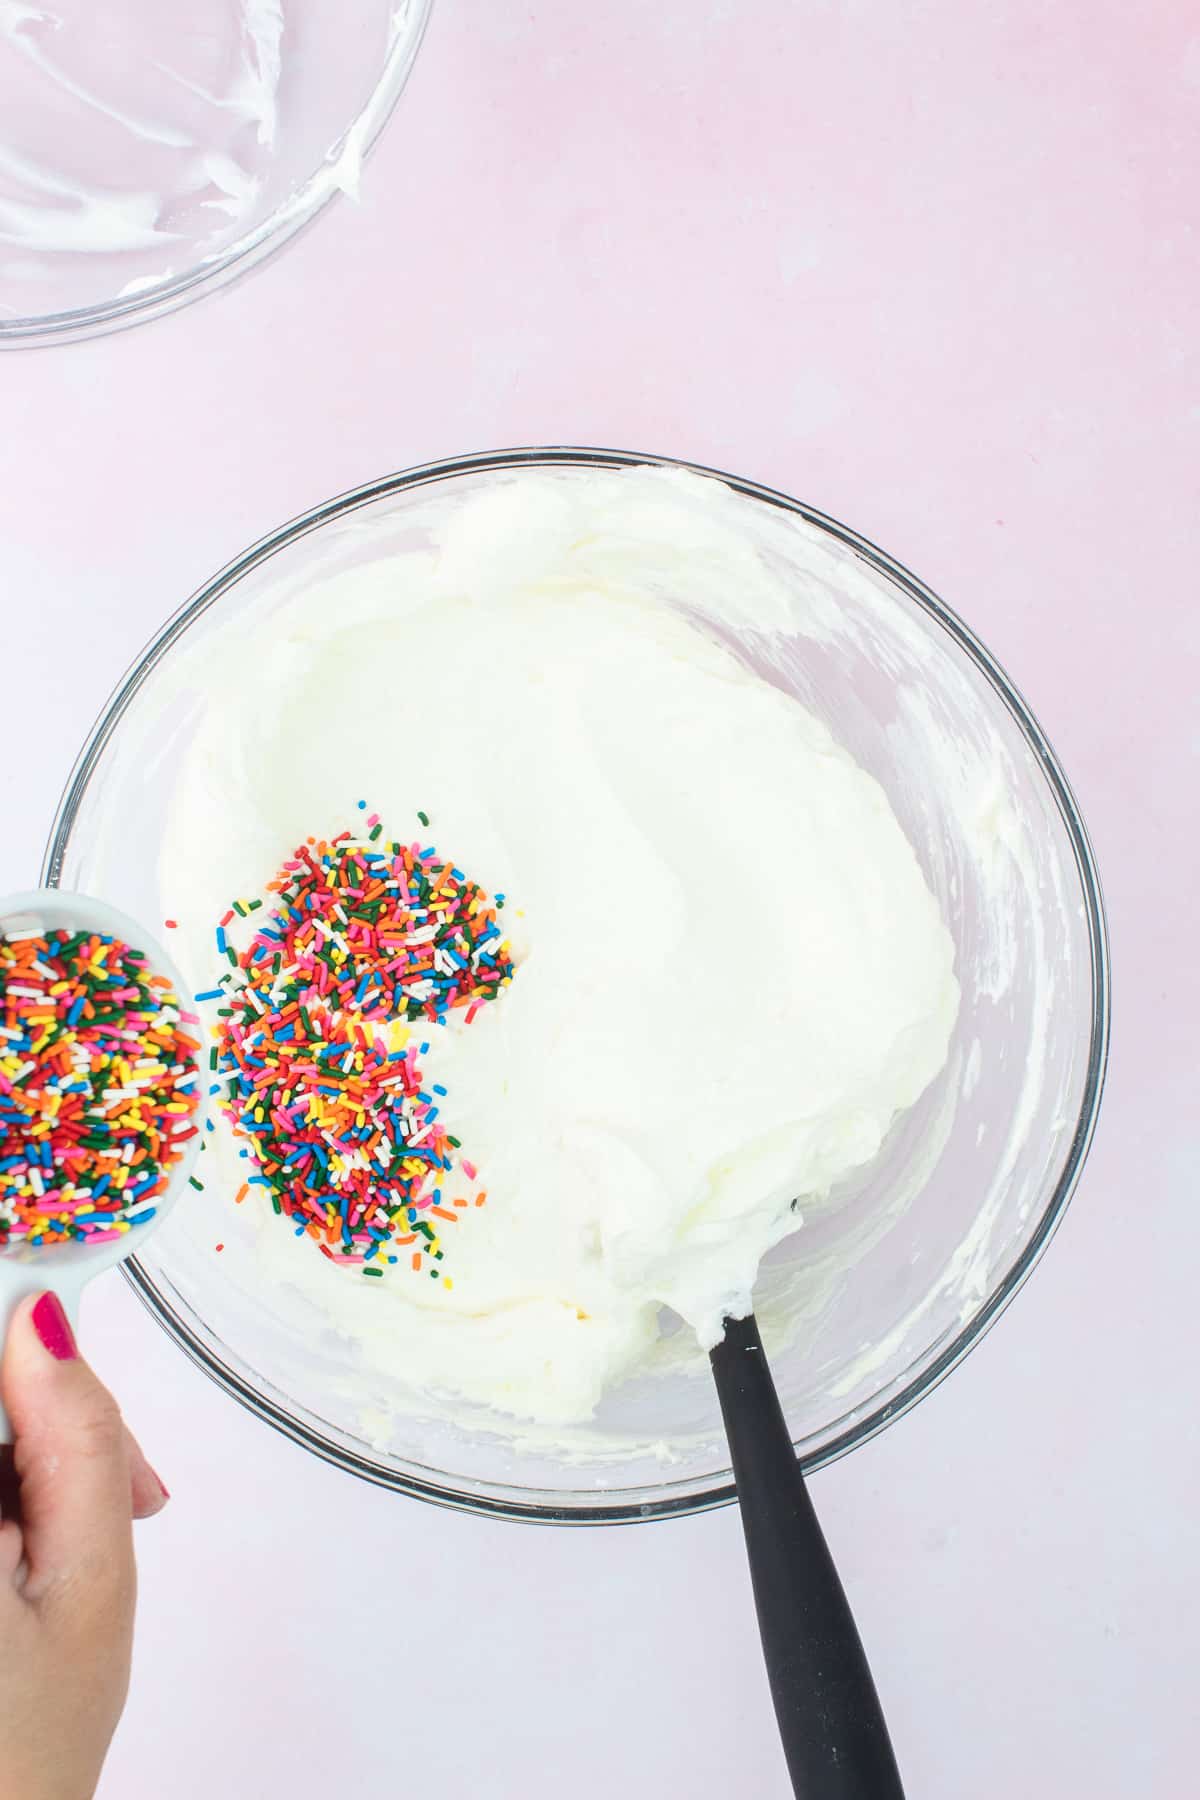
Step 5 - With a rubber spatula, gently fold your whipped cream into your cream cheese mixture just until combined. Do not overmix as this can deflate your whipped cream. Then fold gently fold in your sprinkles.
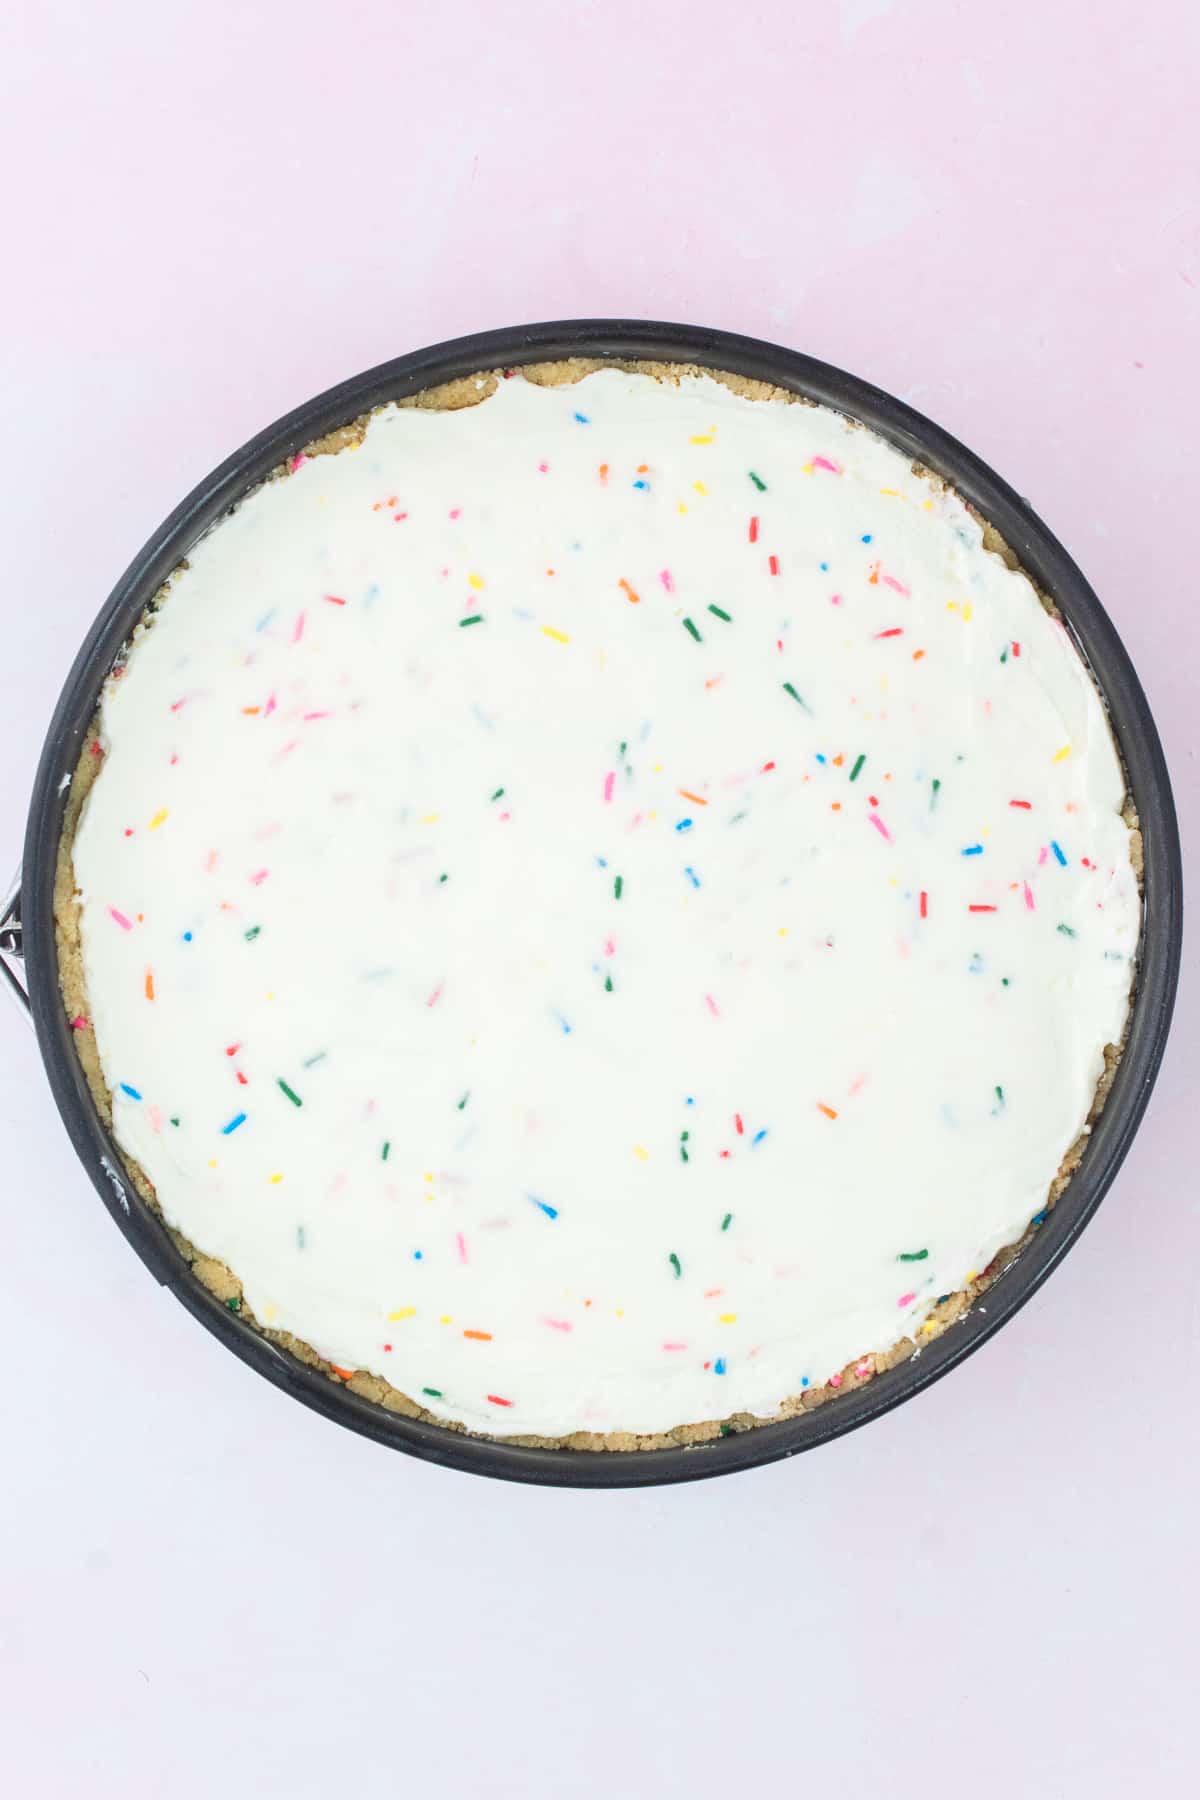
Step 6 - Remove the crust from the freezer and transfer the cheesecake filling into the crust. Use an offset spatula to help spread the filling. Cover with plastic wrap and refrigerate until firm, about 6 hrs. Can be made 1 to 2 days in advance, making it the perfect make-ahead dessert. Enjoy!
Subtitutions
- Golden Oreos - You can graham crackers.
- Clear Vanilla. I am using Clear Vanilla for that classic funfetti taste, but you can use pure vanilla. You can also add a bit of almond extract.
- Rainbow Sprinkles - If you're unable to find rainbow sprinkles (jimmies) then you can use Confetti Candy Quins. They look like little discs.
Storage
- Store cheesecake in an airtight container for up to 5 days in the refrigerator.
Tips for Success
- Use cream cheese blocks, not cream cheese spread. Make sure your cream cheese is at room temperature as well. This will ensure a smooth and lump free filling.
- Before whipping the cream, I like to freeze the bowl and beaters for 10 minutes. Keeping everything cold helps the fat in the cream to stabilize. Additionally, it's important to whip your heavy cream to stiff peaks as it adds structure to this no-bake cheesecake.
- Use all the butter that the recipe calls for in the crust. Six tablespoons may seem like a lot, but the high amount of butter is needed to help the crust set as it does not require any baking.
- Use a springform pan for easy removal.
- Chill for at least 6 hours before serving. The longer the better as it will help the cheesecake set more firmly.
- Store cheesecake in an airtight container for up to 5 days in the refrigerator.
FAQ
I recommend using rainbow jimmies or pastel candy quins. However, I would not recommend using nonpareils (tiny balls) as they tend to bleed.
Yes! You can use a 9-inch pie plate or line a regular 8 or 9 inch square pan, although you won't be able to press the crumbs up the sides of the pan.
Yes you can! Cut into slices and freeze uncovered on a baking tray for 2 hours. Then wrap each piece in cling wrap and store in an airtight container or freezer bags. Allow it to come to room temperature before serving.
You May Also Like:
♡ Did you try this recipe?
Please consider leaving a 5-star rating and review below. This provides helpful feedback to myself and other readers. Thank you so much!
📖 Recipe

Funfetti Cheesecake
INGREDIENTS
Crust
- 26 Whole Golden Oreos standard size
- 6 Tbsp (85g) Melted Unsalted Butter
- 2 to 3 tablespoon Rainbow Jimmies Sprinkles
Filling
- 16 Oz (454g) Cream Cheese room temp
- 1 ½ Cup (169g) Powdered Sugar sifted
- 1 ½ Cups (340g) Heavy Cream cold
- 2 teaspoon Clear Vanilla (or 3 teaspoon Pure Vanilla Extract)
- ½ Cup Rainbow Jimmies Sprinkles
Instructions
Crust
- In the bowl of your food processor fitted with an 'S' blade, pulse whole golden Oreo cookies into fine crumbs. Transfer crumbs to a bowl and toss with melted butter. Crumbs should resemble wet sand and hold together when squeezed. 26 Whole Golden Oreos6 tablespoon (85g) Melted Unsalted Butter
- Next, mix in the sprinkles until evenly combined.2 to 3 tablespoon Rainbow Jimmies Sprinkles
- Transfer the crumbs to a 8-inch (20cm) springform pan that has been lined with parchment paper and firmly press into the bottom and up the sides of the pan. For best results use a drinking glass with straight sides. Place in the freezer while we work on the filling.
Filling
- Add heavy cream to a medium bowl. With a hand-held mixer, whisk the cream on medium speed until stiff peaks form. Do not over whip it! Set aside.1 ½ Cups (340g) Heavy Cream
- In a large bowl, and using the same beaters (no need to wipe down), beat room temperature cream cheese until smooth and lump-free. Add sifted powdered sugar and vanilla, and continue mixing until combined.16 Oz (454g) Cream Cheese1 ½ Cup (169g) Powdered Sugar2 teaspoon Clear Vanilla (or 3 teaspoon Pure Vanilla Extract)
- With a rubber spatula, gently fold your whipped cream into your cream cheese mixture just until combined. Do not overmix as this can deflate your whipped cream.
- Next, fold in the sprinkles.½ Cup Rainbow Jimmies Sprinkles
- Remove the crust from the freezer and transfer the cheesecake filling into the crust. Use an offset spatula to help spread the filling. Cover with cling wrap and refrigerate until firm, about 6 hrs. Can be made 1 to 2 days in advance, making it the perfect make-ahead dessert. Enjoy!
Bre says
Happy birthday to your blog! This recipe looks absolutely delicious!
Lisa says
Thank you so much Bre! I'm so happy you stopped by! 🙂