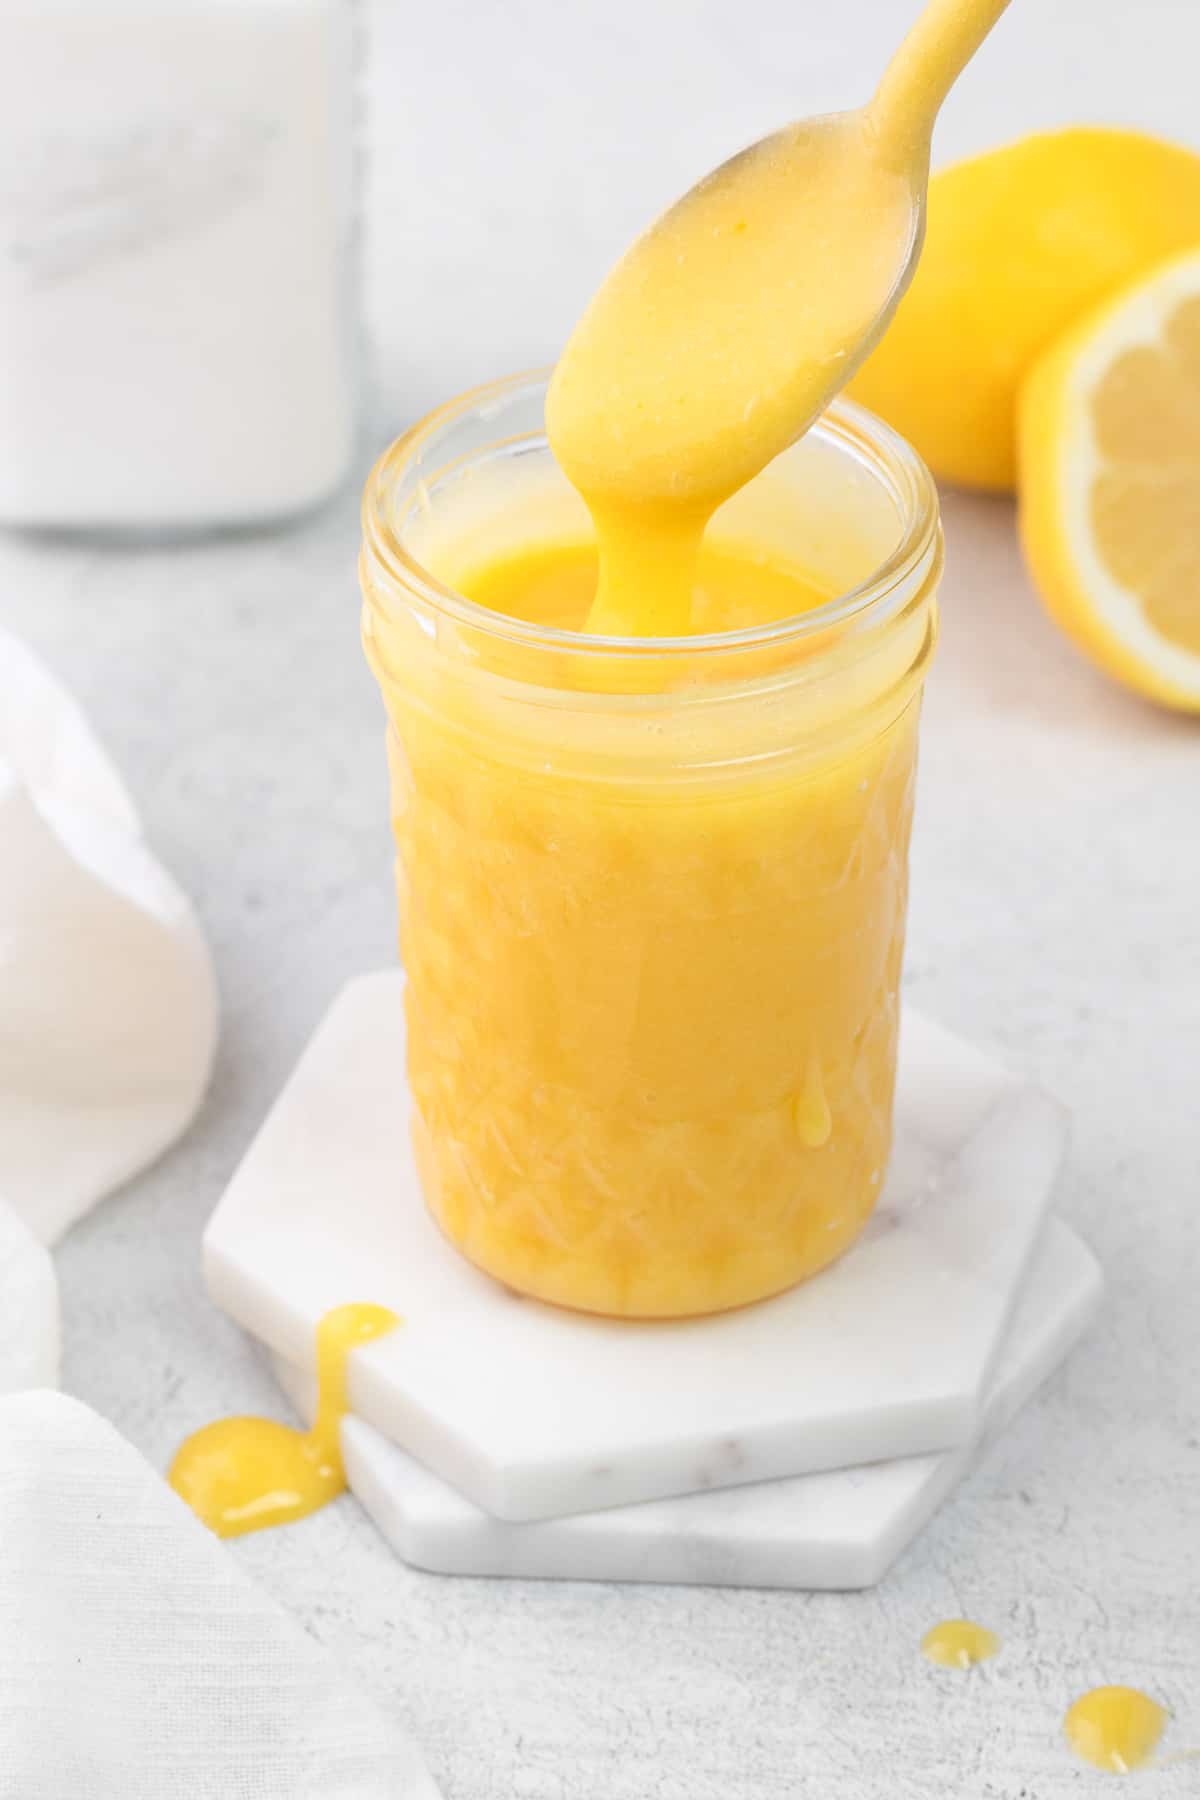
Easy 4-ingredient Easy Homemade Lemon Curd that takes only 10 minutes! This homemade curd is deliciously tangy, creamy, and full of bright lemon flavor!
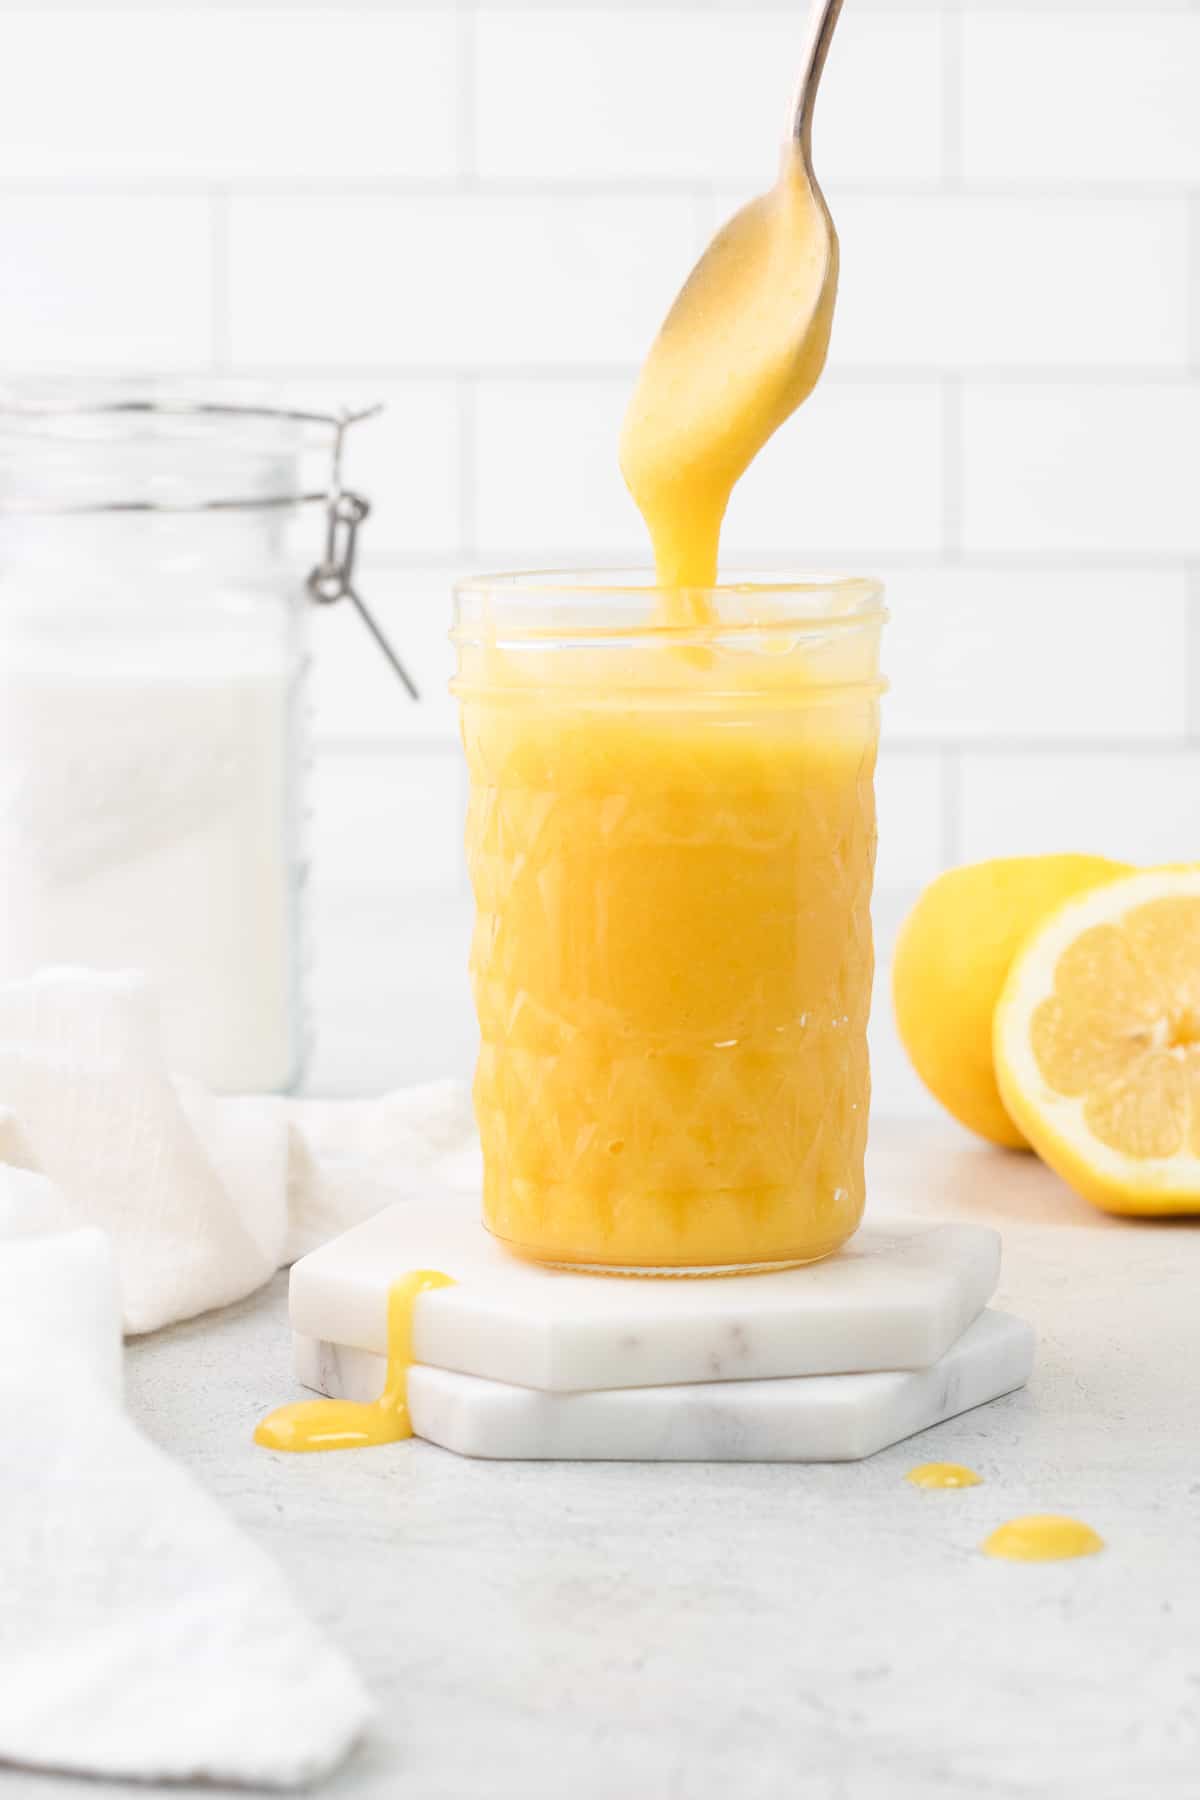
Lemon curd is perfect for filling cakes and donuts and to schmear on scones and biscuits!
Once you see how delicious and easy lemon curd is to make, you won’t be reaching for the store-bought again.
Jump to:
Easy Homemade Lemon Curd Ingredients
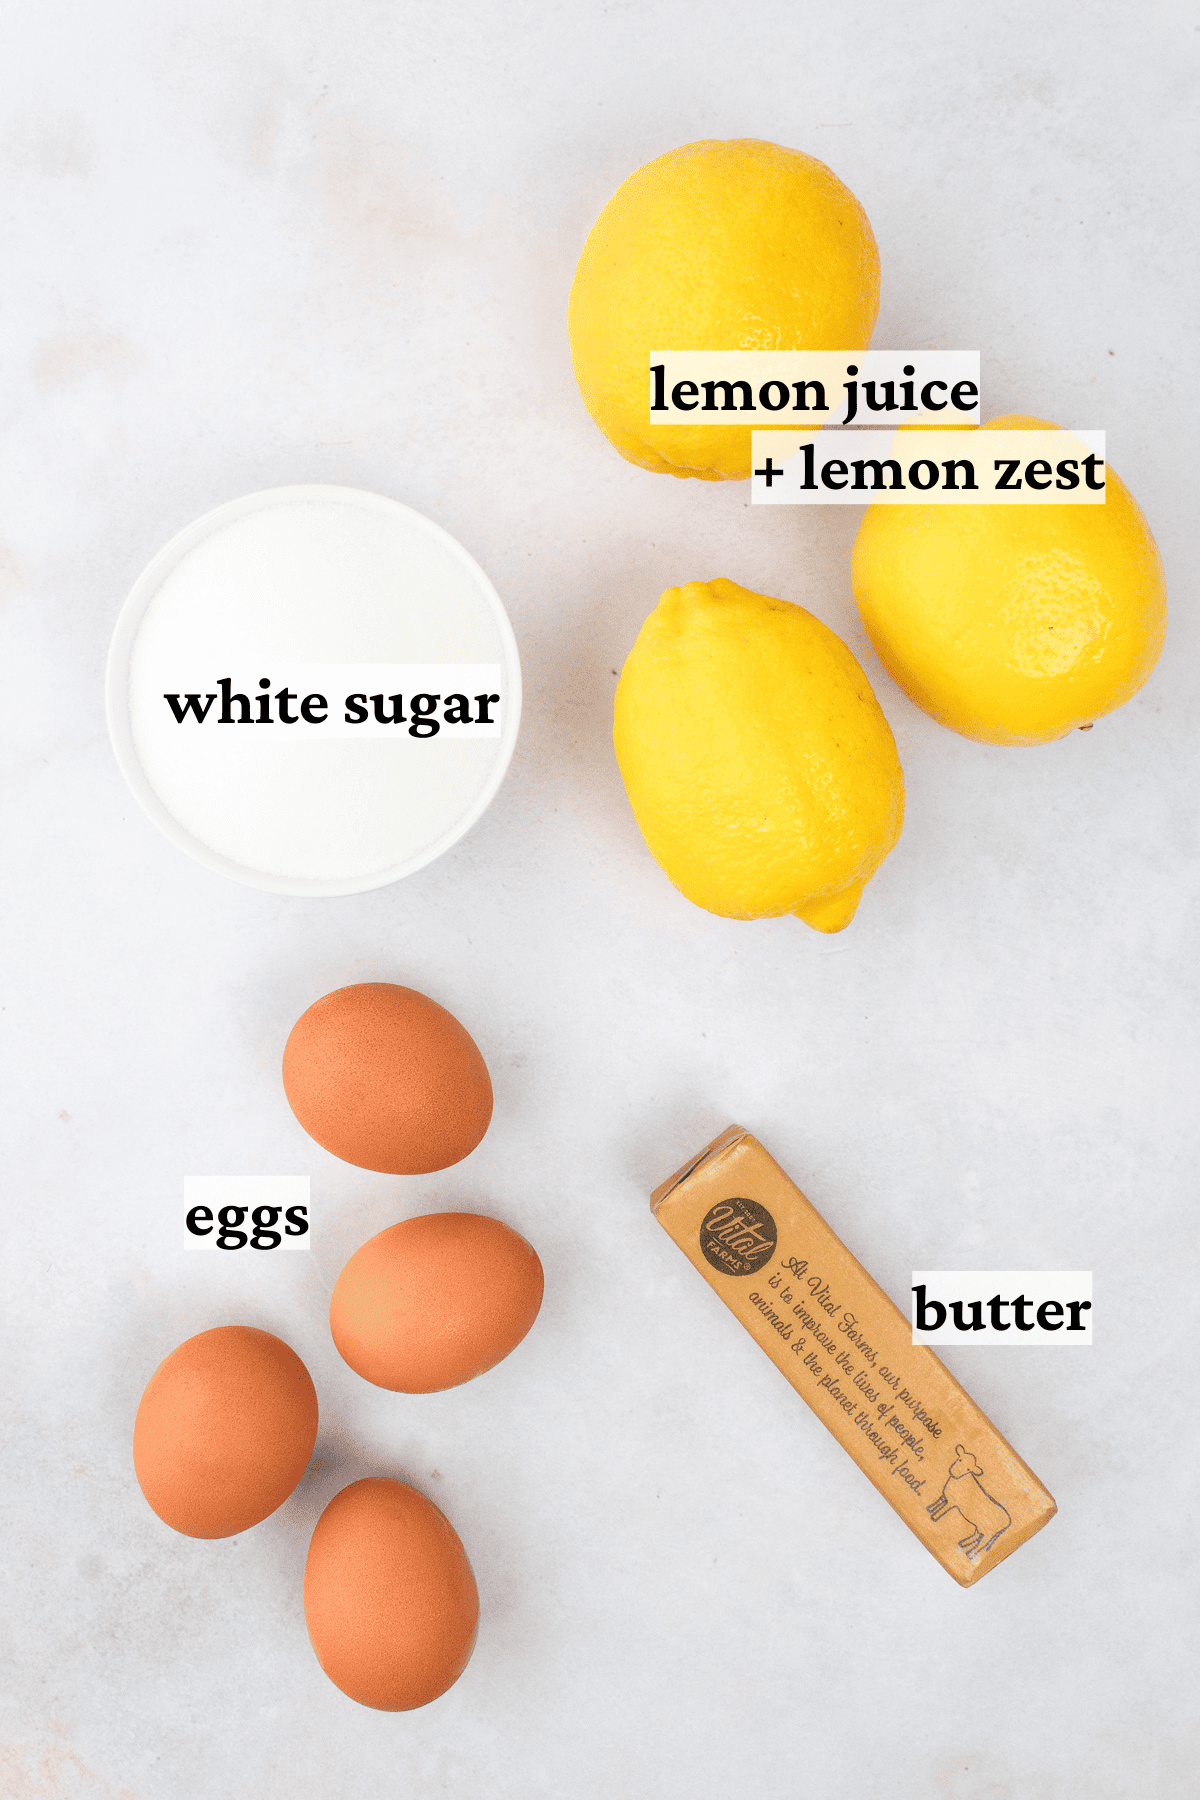
- White Sugar. Make sure to only use white sugar.
- Lemon Juice & Lemon Zest. To get the most out of the lemon flavor, we will use freshly squeezed lemon juice and lemon zest.
- Eggs. We’ll be using a combination of egg yolks and whole eggs.
- Butter. Adds richness.
See recipe card for quantities.
Easy Homemade Lemon Curd Instructions
Step 1. Fill a saucepan with 1–2 inches of water and bring to a simmer.
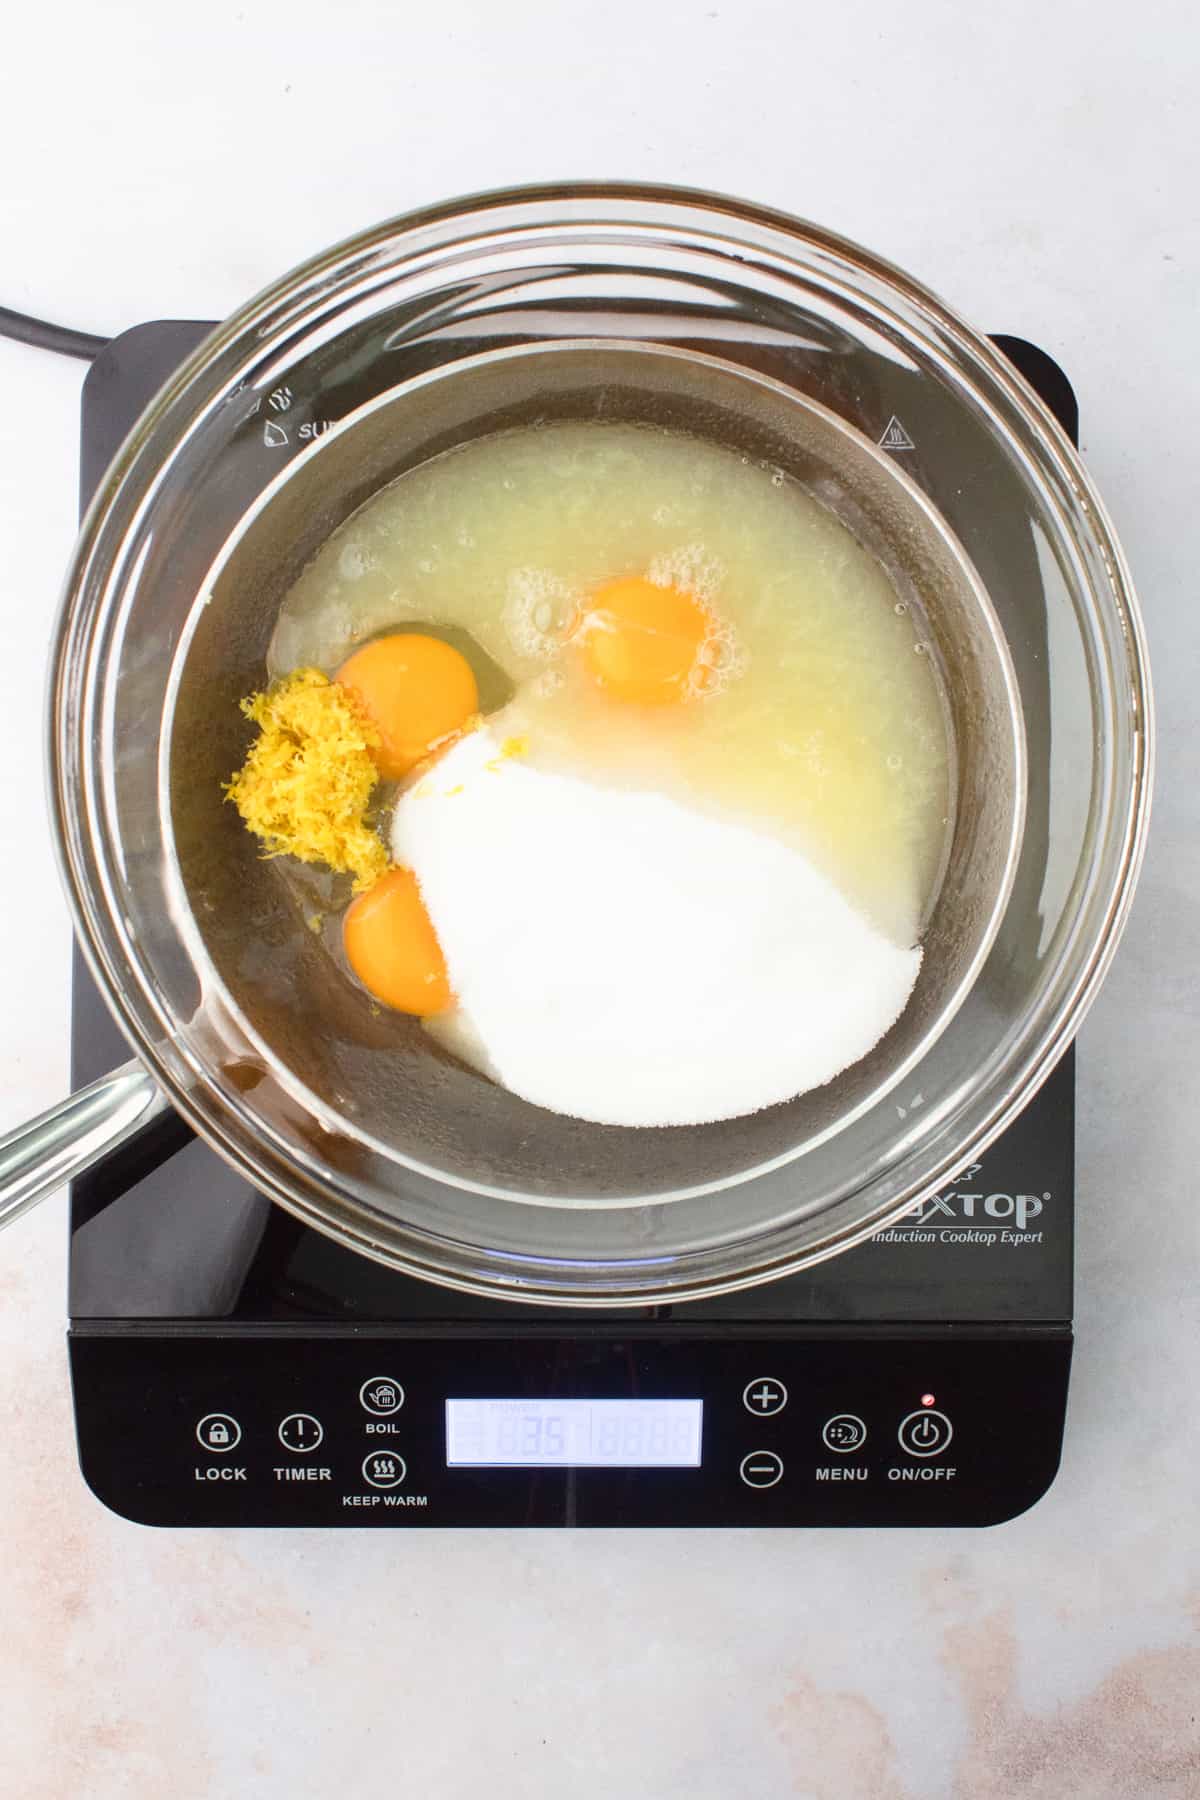
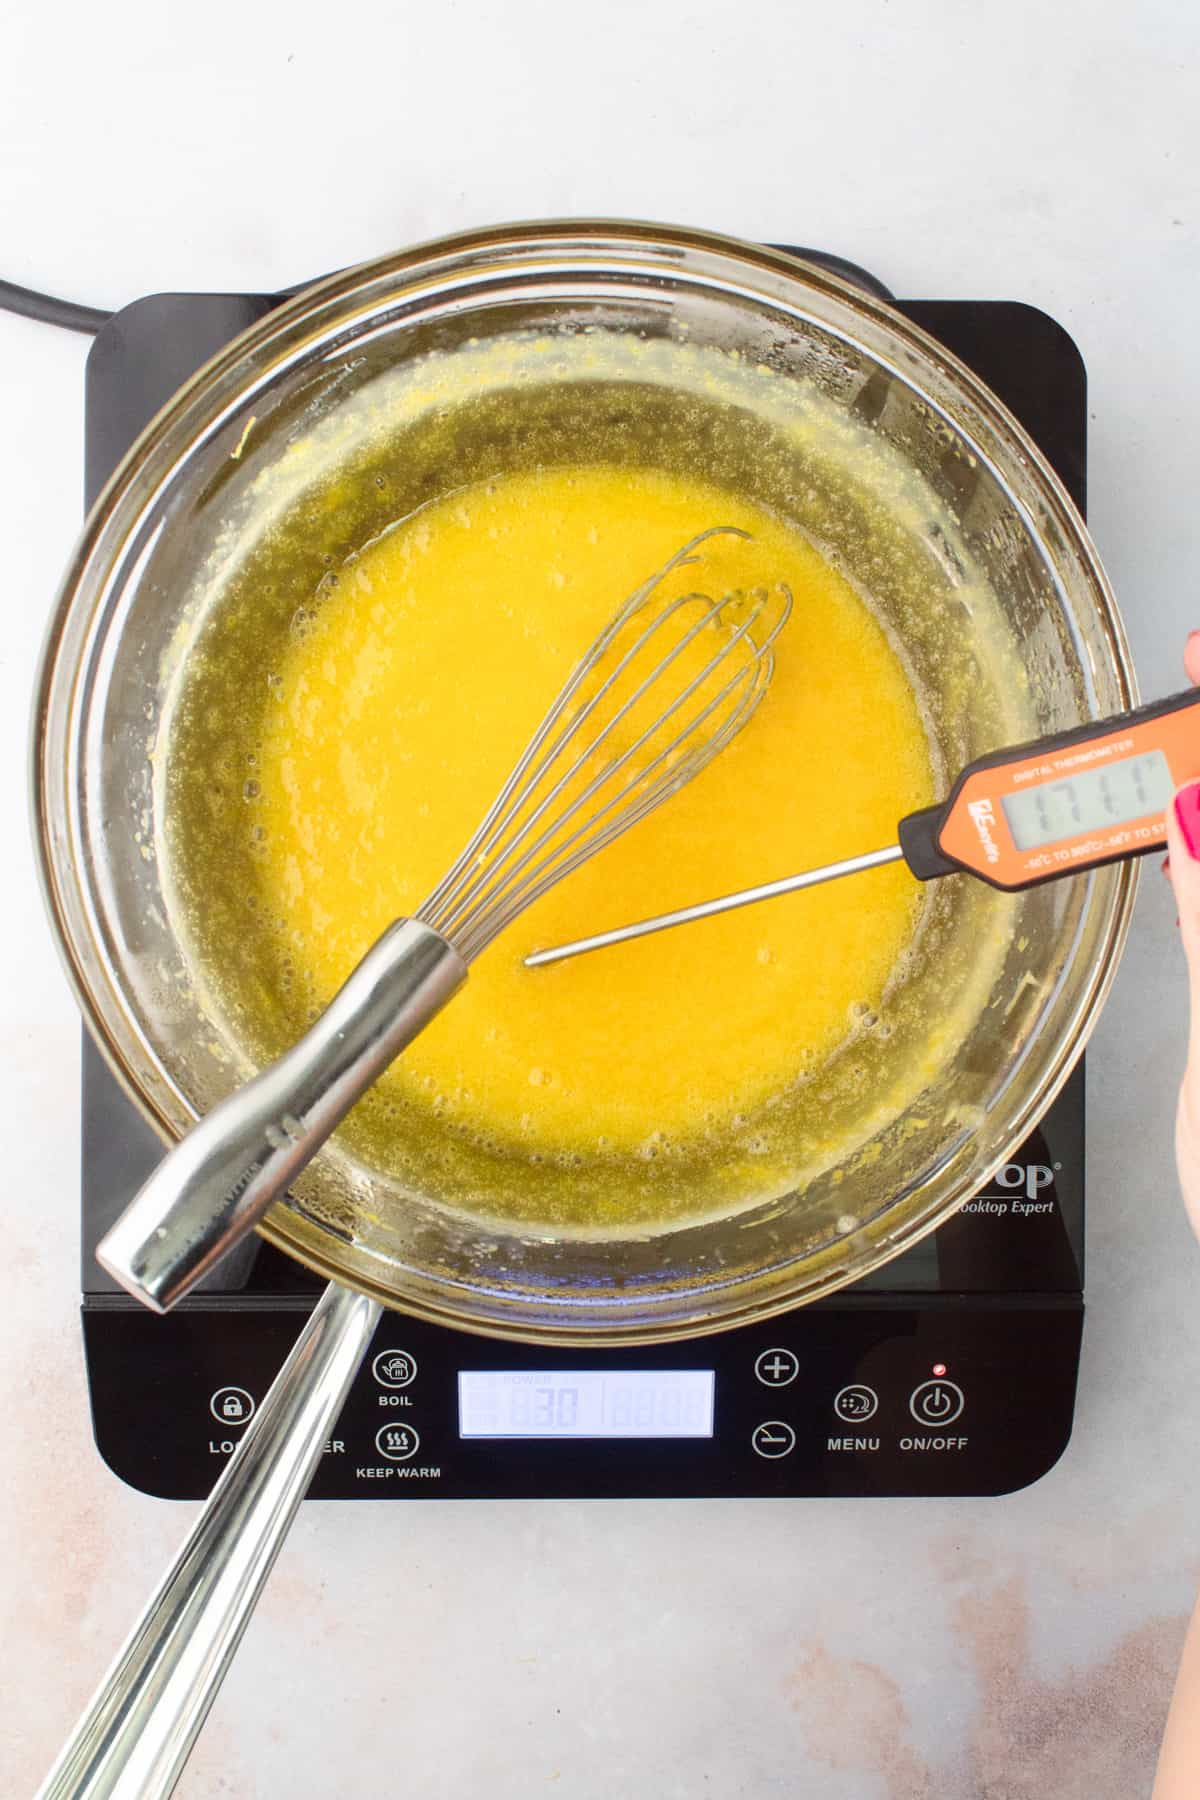
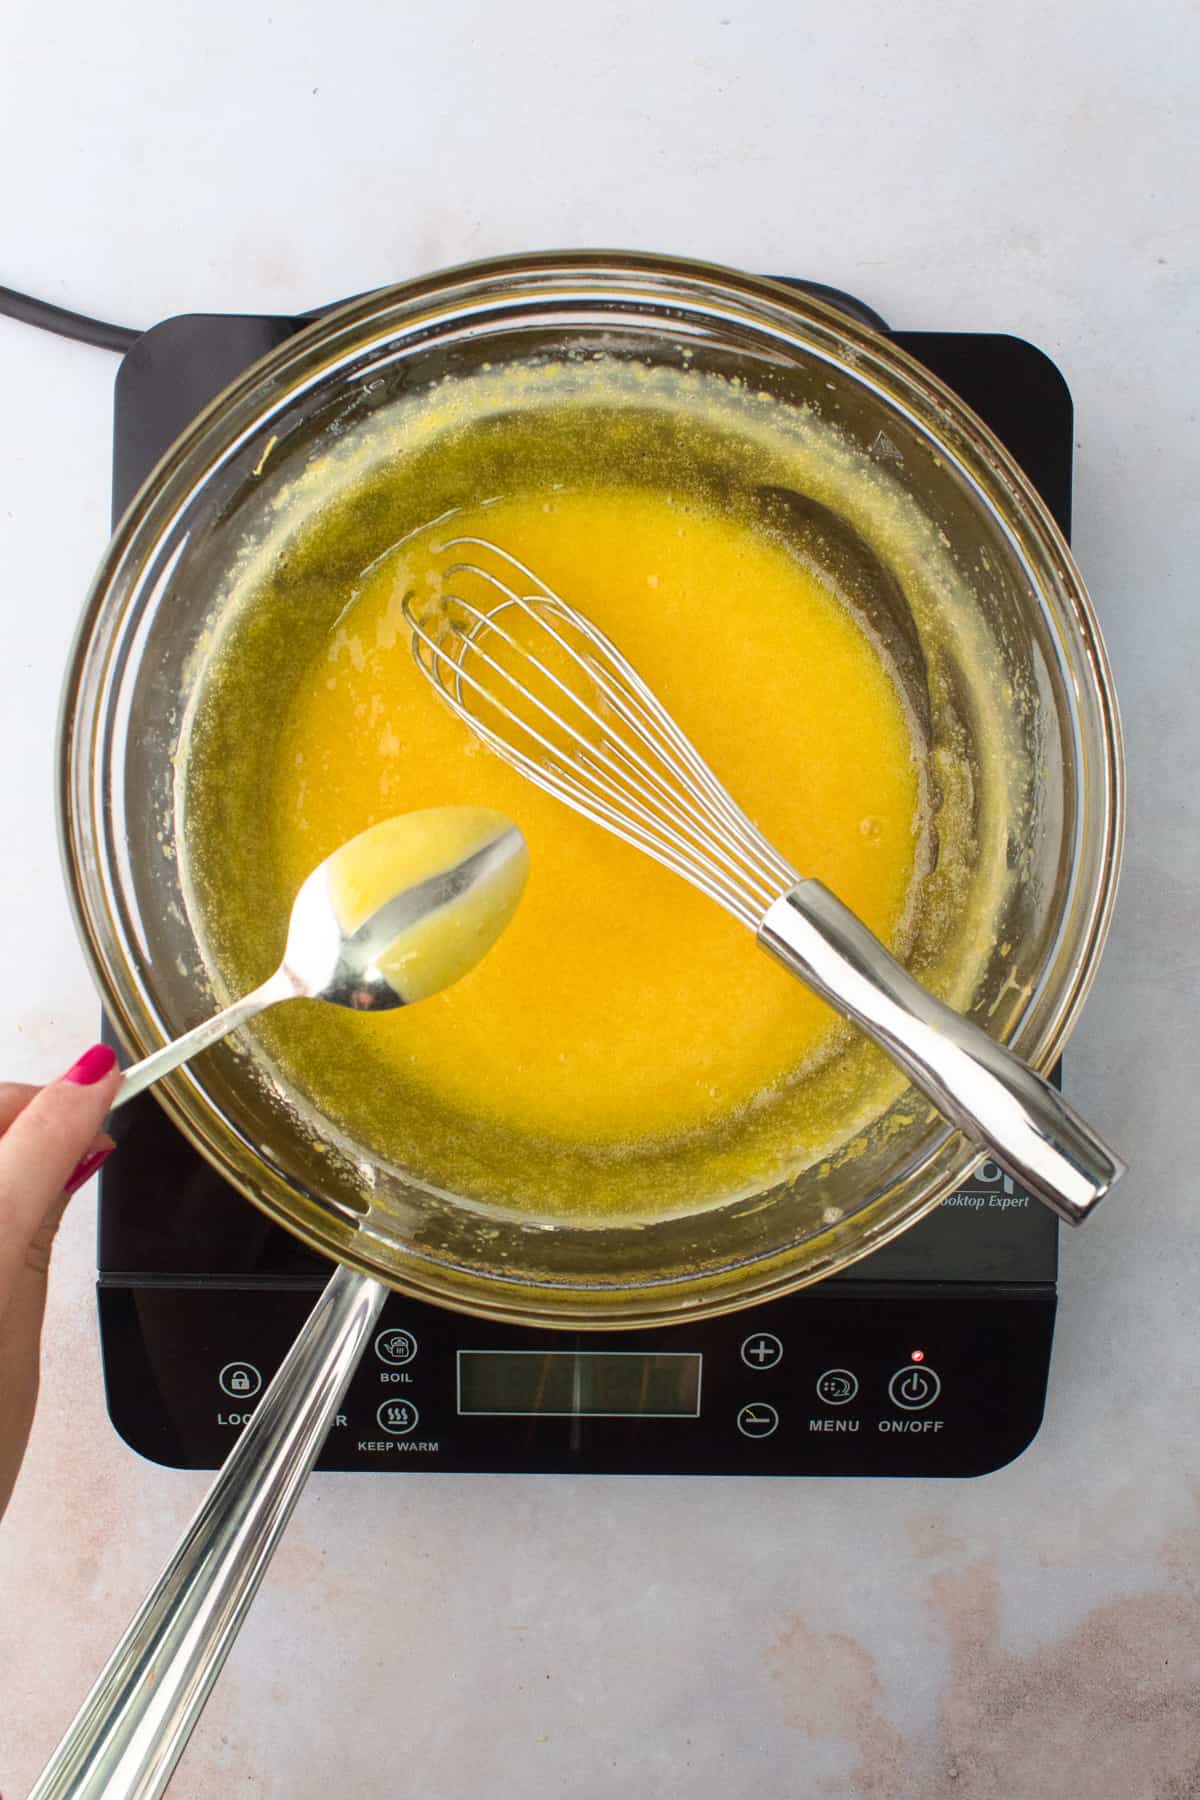
Step 2. Add 3 yolks, 1 whole egg, granulated sugar, lemon zest and lemon juice into a heatproof bowl and place it over the pot of simmering water. Whisking constantly to prevent curdling, cook until the mixture thickens. The curd is ready when reaches about 170ºF (76ºC) or coats the back of a spoon. About 10 minutes.
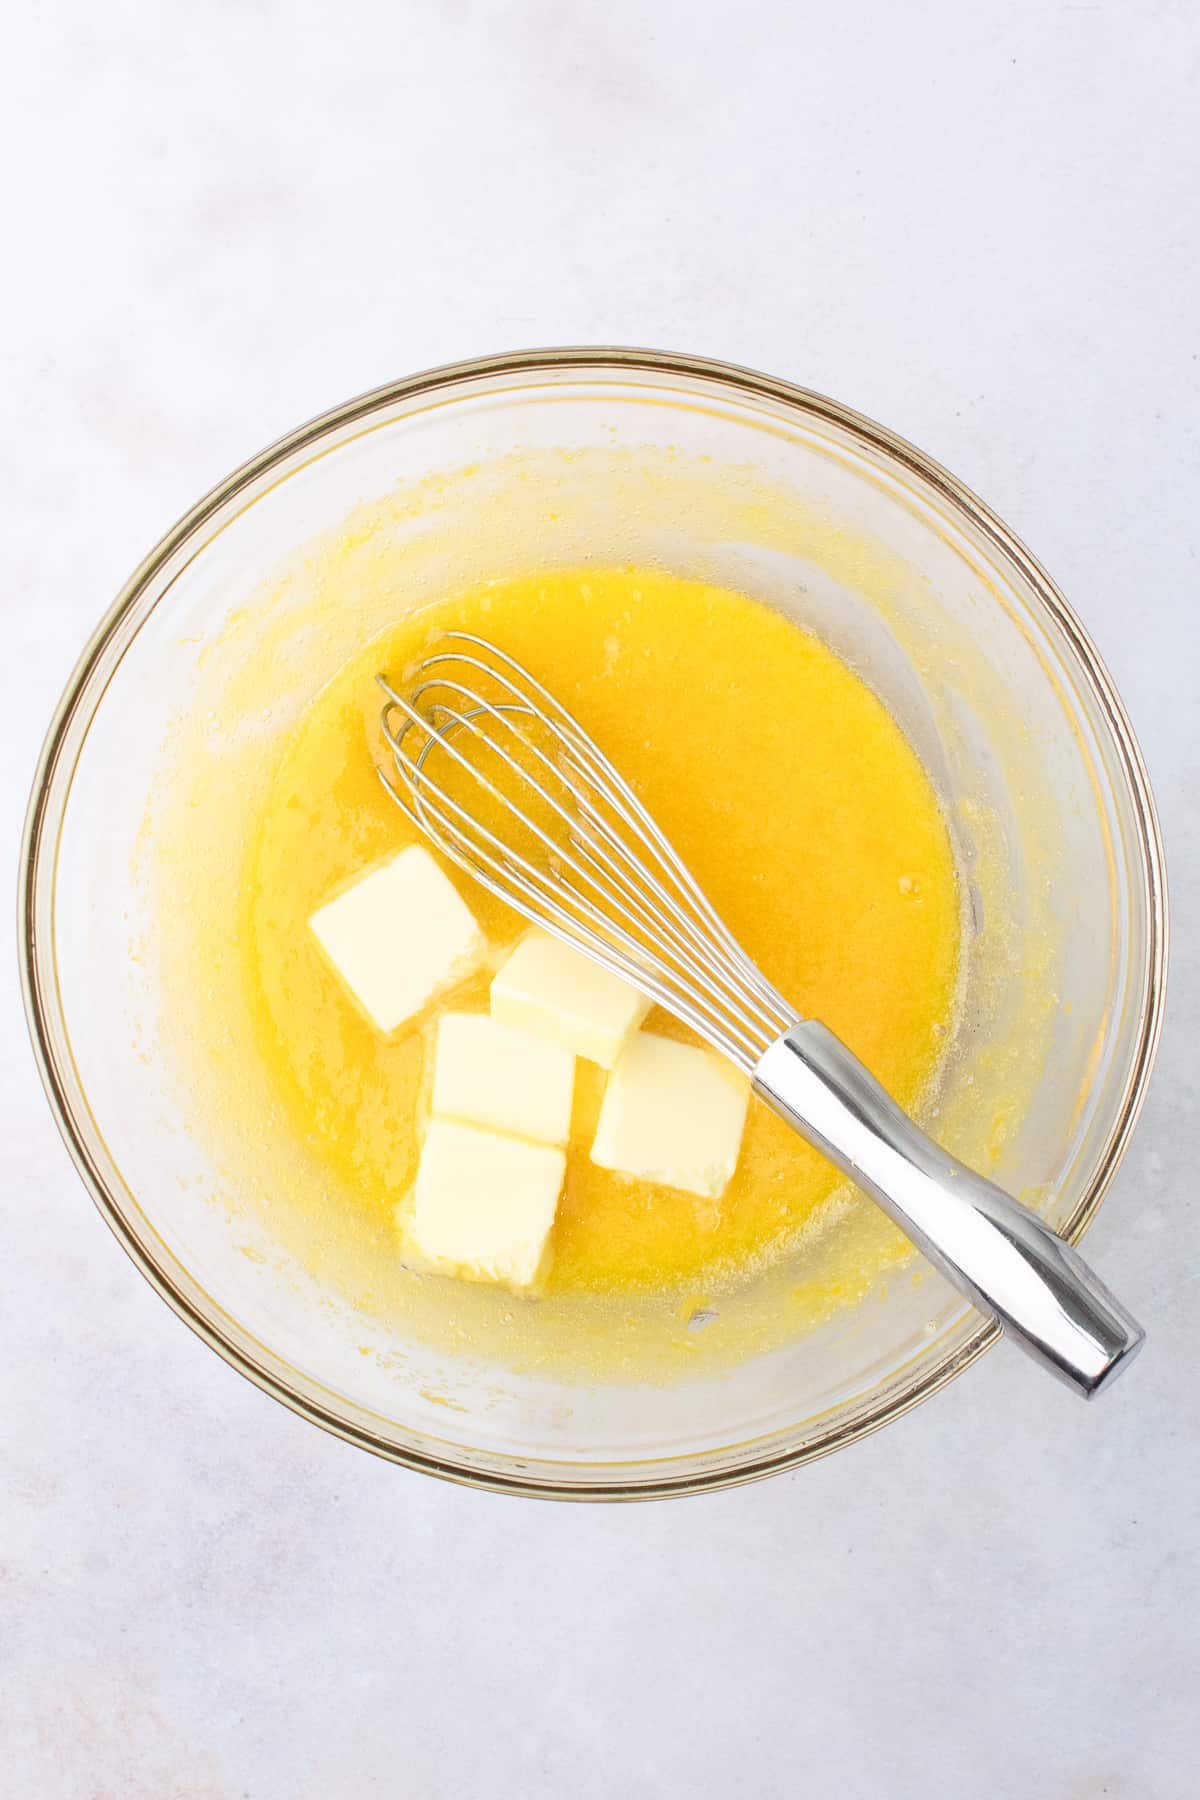
Step 3. Turn the heat off and carefully remove the bowl from the pan. Be careful, as the steam under the bowl will be hot. Add sliced butter into the curd and whisk until combined. The heat from the curd will melt the butter as you whisk.
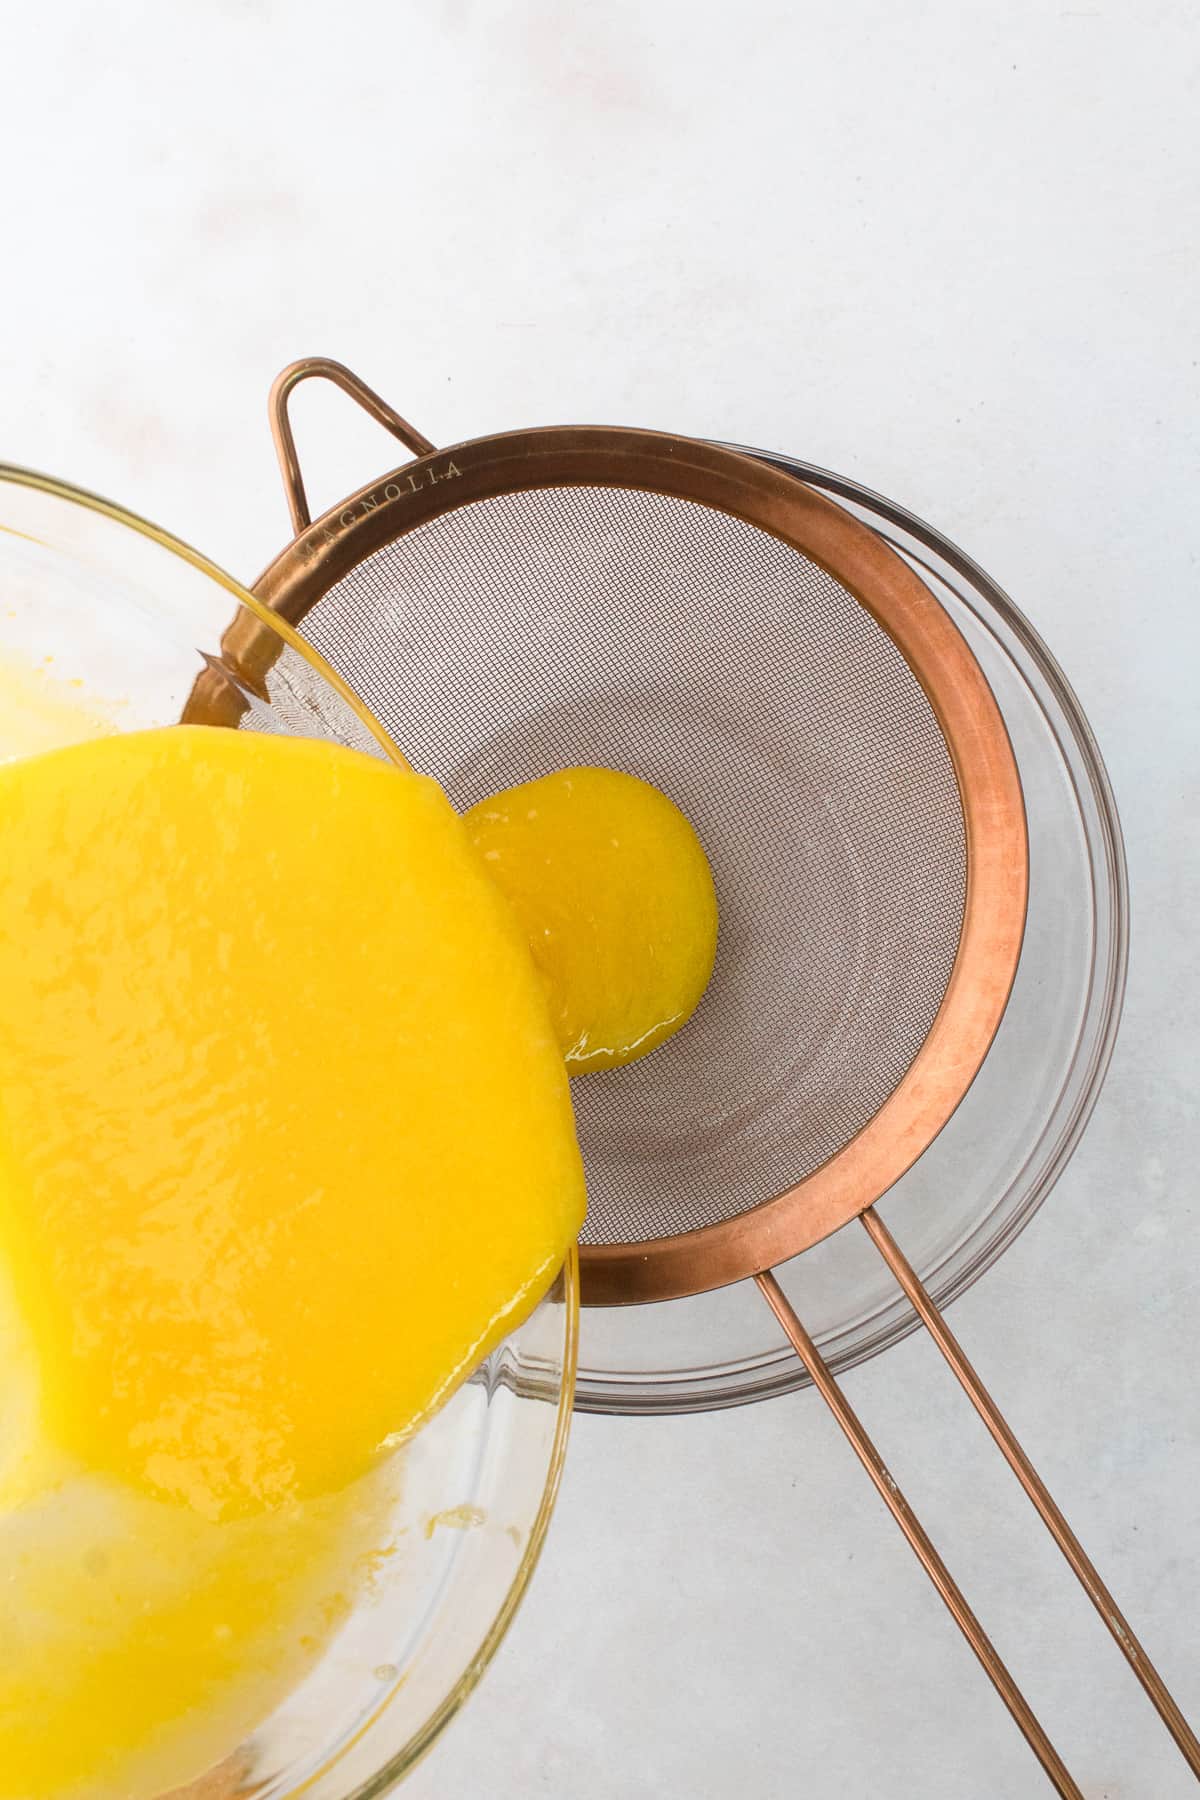
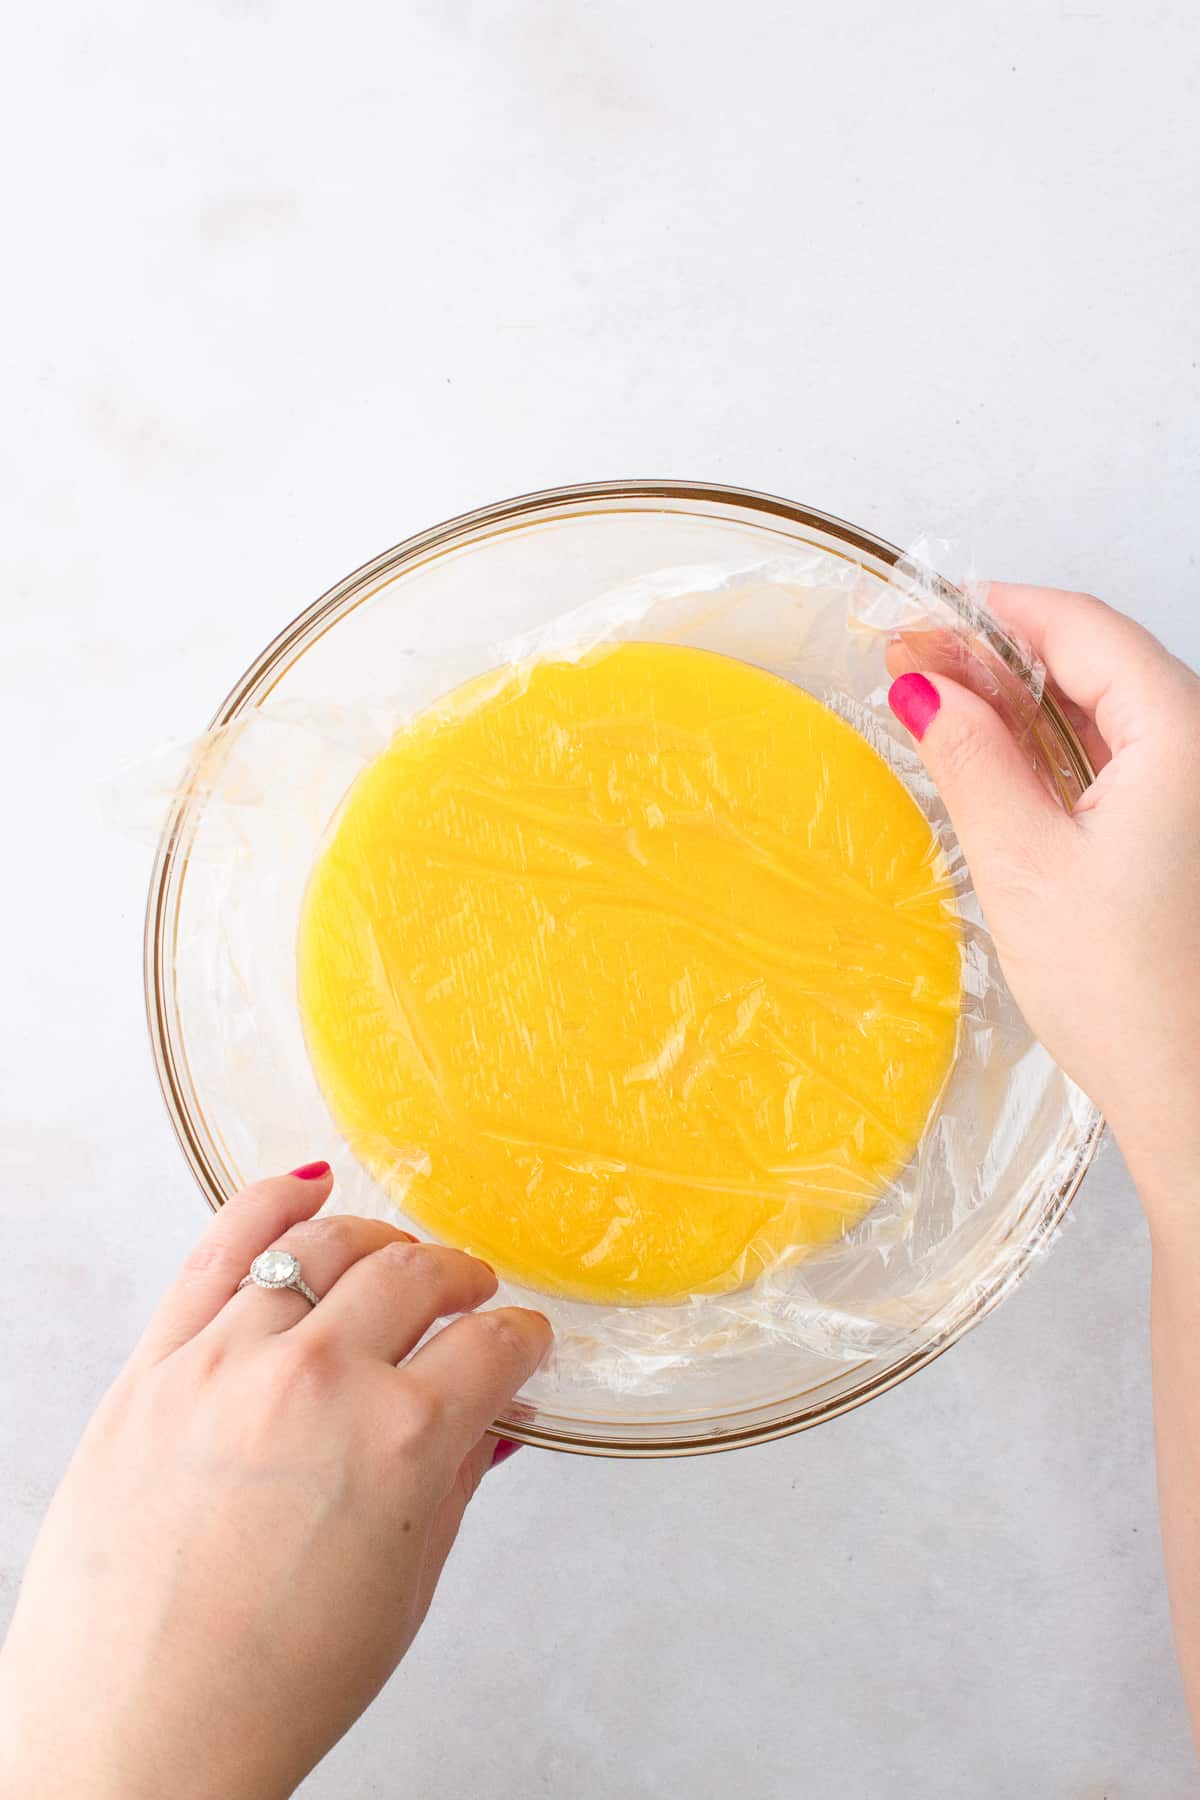
Step 4. Strain the curd into a bowl and place a piece of plastic wrap directly on top, making sure it’s touching the top of the curd. (This prevents a skin from forming on top.) The curd will continue to thicken as it cools. Store in the fridge for 10 days and enjoy!
Pro Tips!
- Use Fresh lemons. For the best flavor, use lemon juice that has been freshly squeezed. Don’t be tempted to use bottled lemon juice.
- Don’t stop stirring. You don’t need to stir vigorously, but you’ll want to keep it moving in the bowl. It will only take about 10 minutes.
- Use cold butter. This allows the fat to incorporate easily and prevents any chance of the fat splitting.
- Strain your curd. This is to ensure a smooth texture.
- Cover your curd with plastic wrap after it has cooked. Make sure the cling wrap is directly touching the curd. This will prevent a skin from forming on top of the curd. Keep in mind that you’ll only need to do this initially, as it is cooling down. After you transfer to an airtight container, you do not need to cover with plastic wrap.
Storage
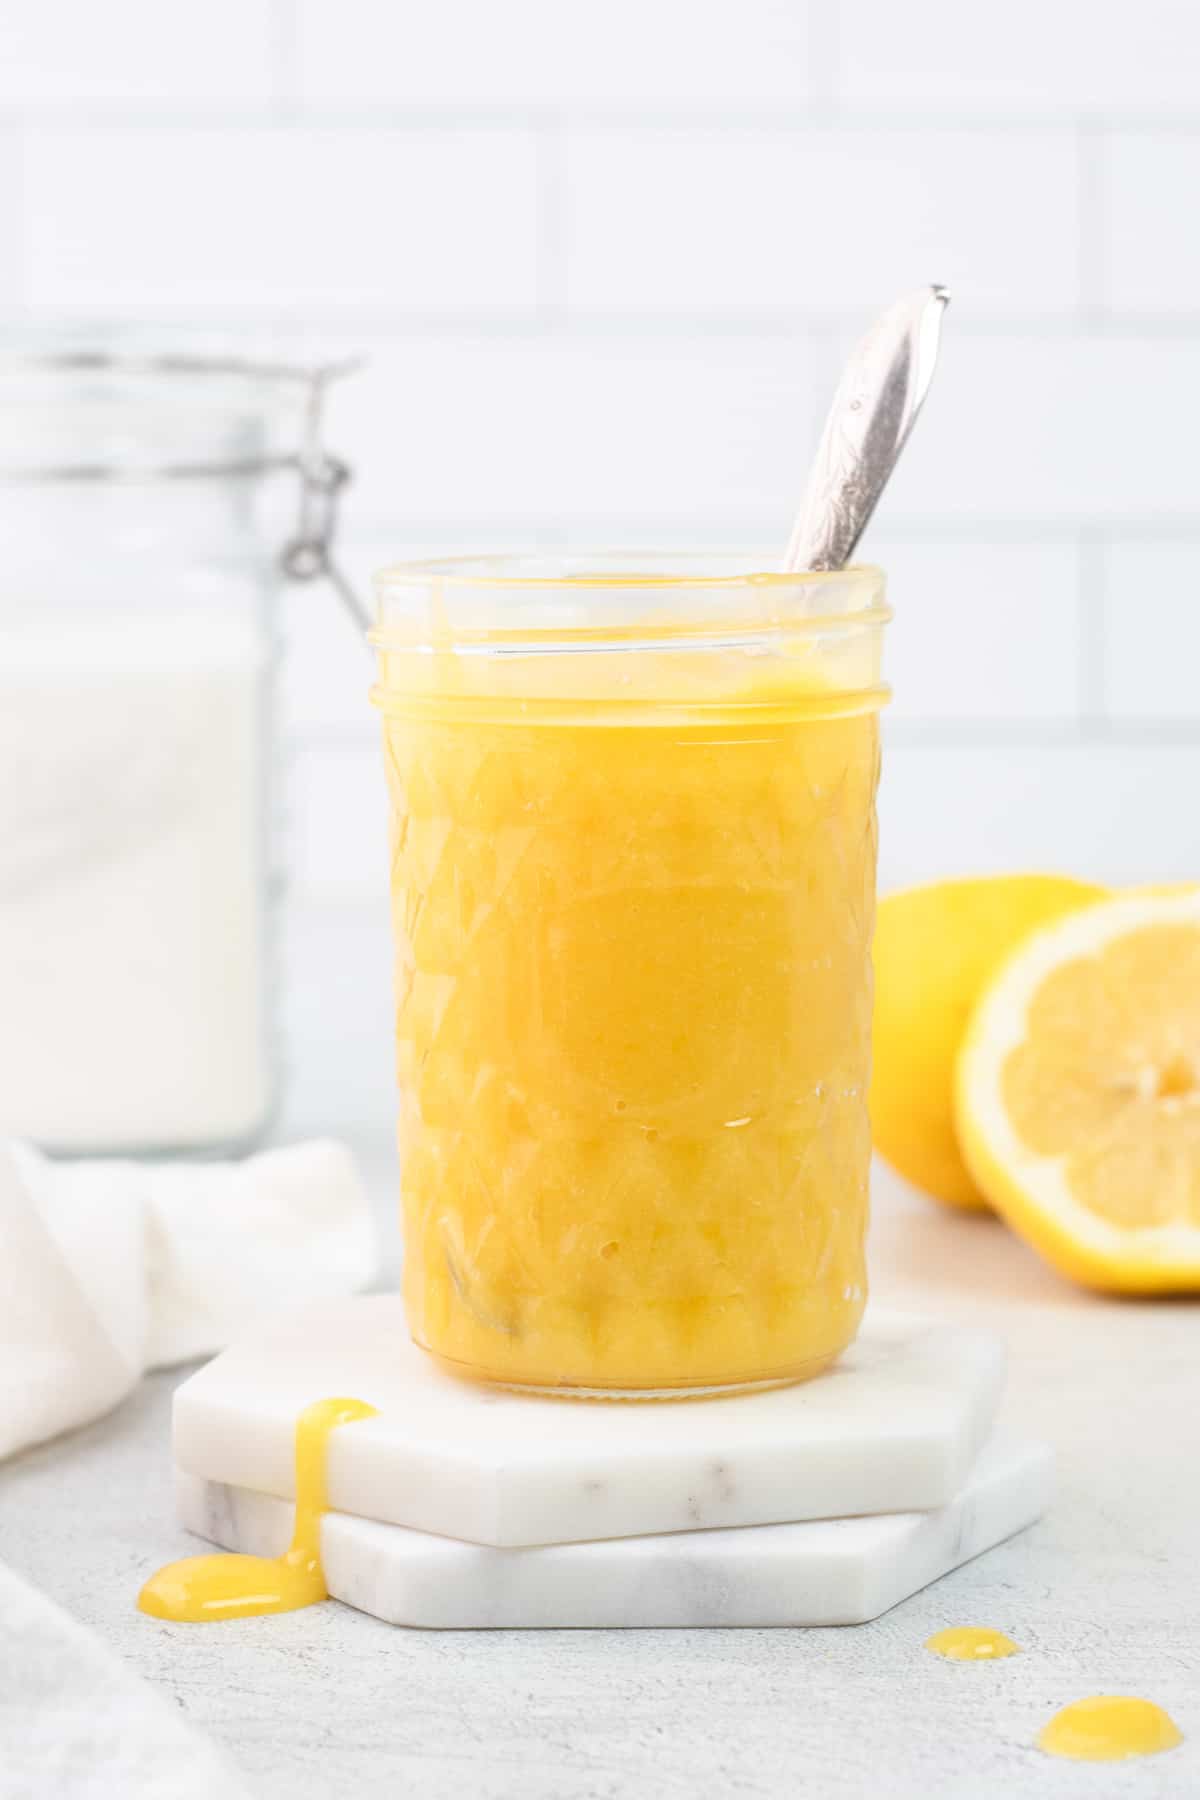
Store the lemon curd in an airtight container and in the refrigerator for about 10 days.
Alternatively, you can store it in the freezer for 2 months. Thaw in the fridge overnight before using.
Did you try this recipe? Please consider leaving a star rating and review below and tag me on Instagram @shortstackkitchen. This provides helpful feedback to myself and other readers. Thank you so much!
Recipe

Easy Homemade Lemon Curd
- Total Time: 15 Mins
- Yield: 1 ½ Cup 1x
Description
Easy 4-ingredient Easy Homemade Lemon Curd that takes only 10 minutes! This homemade curd is deliciously tangy, creamy, and full of bright lemon flavor!
Ingredients
- 3 Large Yolks
- 1 Large Whole Egg
- ½ Cup Freshly Squeezed Lemon Juice
- Zest of 2 Large Lemons
- ¾ Cup (150g) White Sugar
- 4 Tbsp (56g) Unsalted Butter
Instructions
- Fill a saucepan with 1–2 inches of water and bring to a simmer.
- Add 2 whole egg and 2 yolks, granulated sugar, lemon zest and lemon juice into a heatproof bowl and place it over the pot of simmering water. Whisking constantly to prevent curdling, cook until the mixture thickens. The curd is ready when reaches about 170ºF (76ºC) or coats the back of a spoon. About 10 minutes.
- Turn the heat off and carefully remove the bowl from the pan. Be careful, as the steam under the bowl will be hot. Add sliced butter into the curd and whisk until combined. The heat from the curd will melt the butter as you whisk.
- Strain the curd into a bowl and place a piece of plastic wrap directly on top, making sure it’s touching the top of the curd. (This prevents a skin from forming on top.) The curd will continue to thicken as it cools. Store in the fridge for 10 days and enjoy!
- Prep Time: 5 Mins
- Cook Time: 10 Mins
- Method: No-Bake
Looking for other recipes like this? Try these:






Leave a Rating and Comment